

Phase One – Window Casing, Addition Wainscoting, Herringbone Floor Progress, Cabinet Installation Kickoff
I’ve been doing a quick photo roundup at the end of each month on Instagram, but I’m going to make an effort to update the blog with our monthly progress as well. I thought that if I set up a template for this, and added tasks to it over the course of the month, then maybe it would be a little easier to hit publish. This should give me the opportunity to talk a little bit more about the things I enjoy about working on a new/old house. I also plan to reference back to previous work completed, so by the end of the year I should have a pretty comprehensive diary of this renovation thus far. And we should have a pretty complete project by then as well!
…………………….
It’s the last day of January, and here’s what we’ve completed on the project this month.
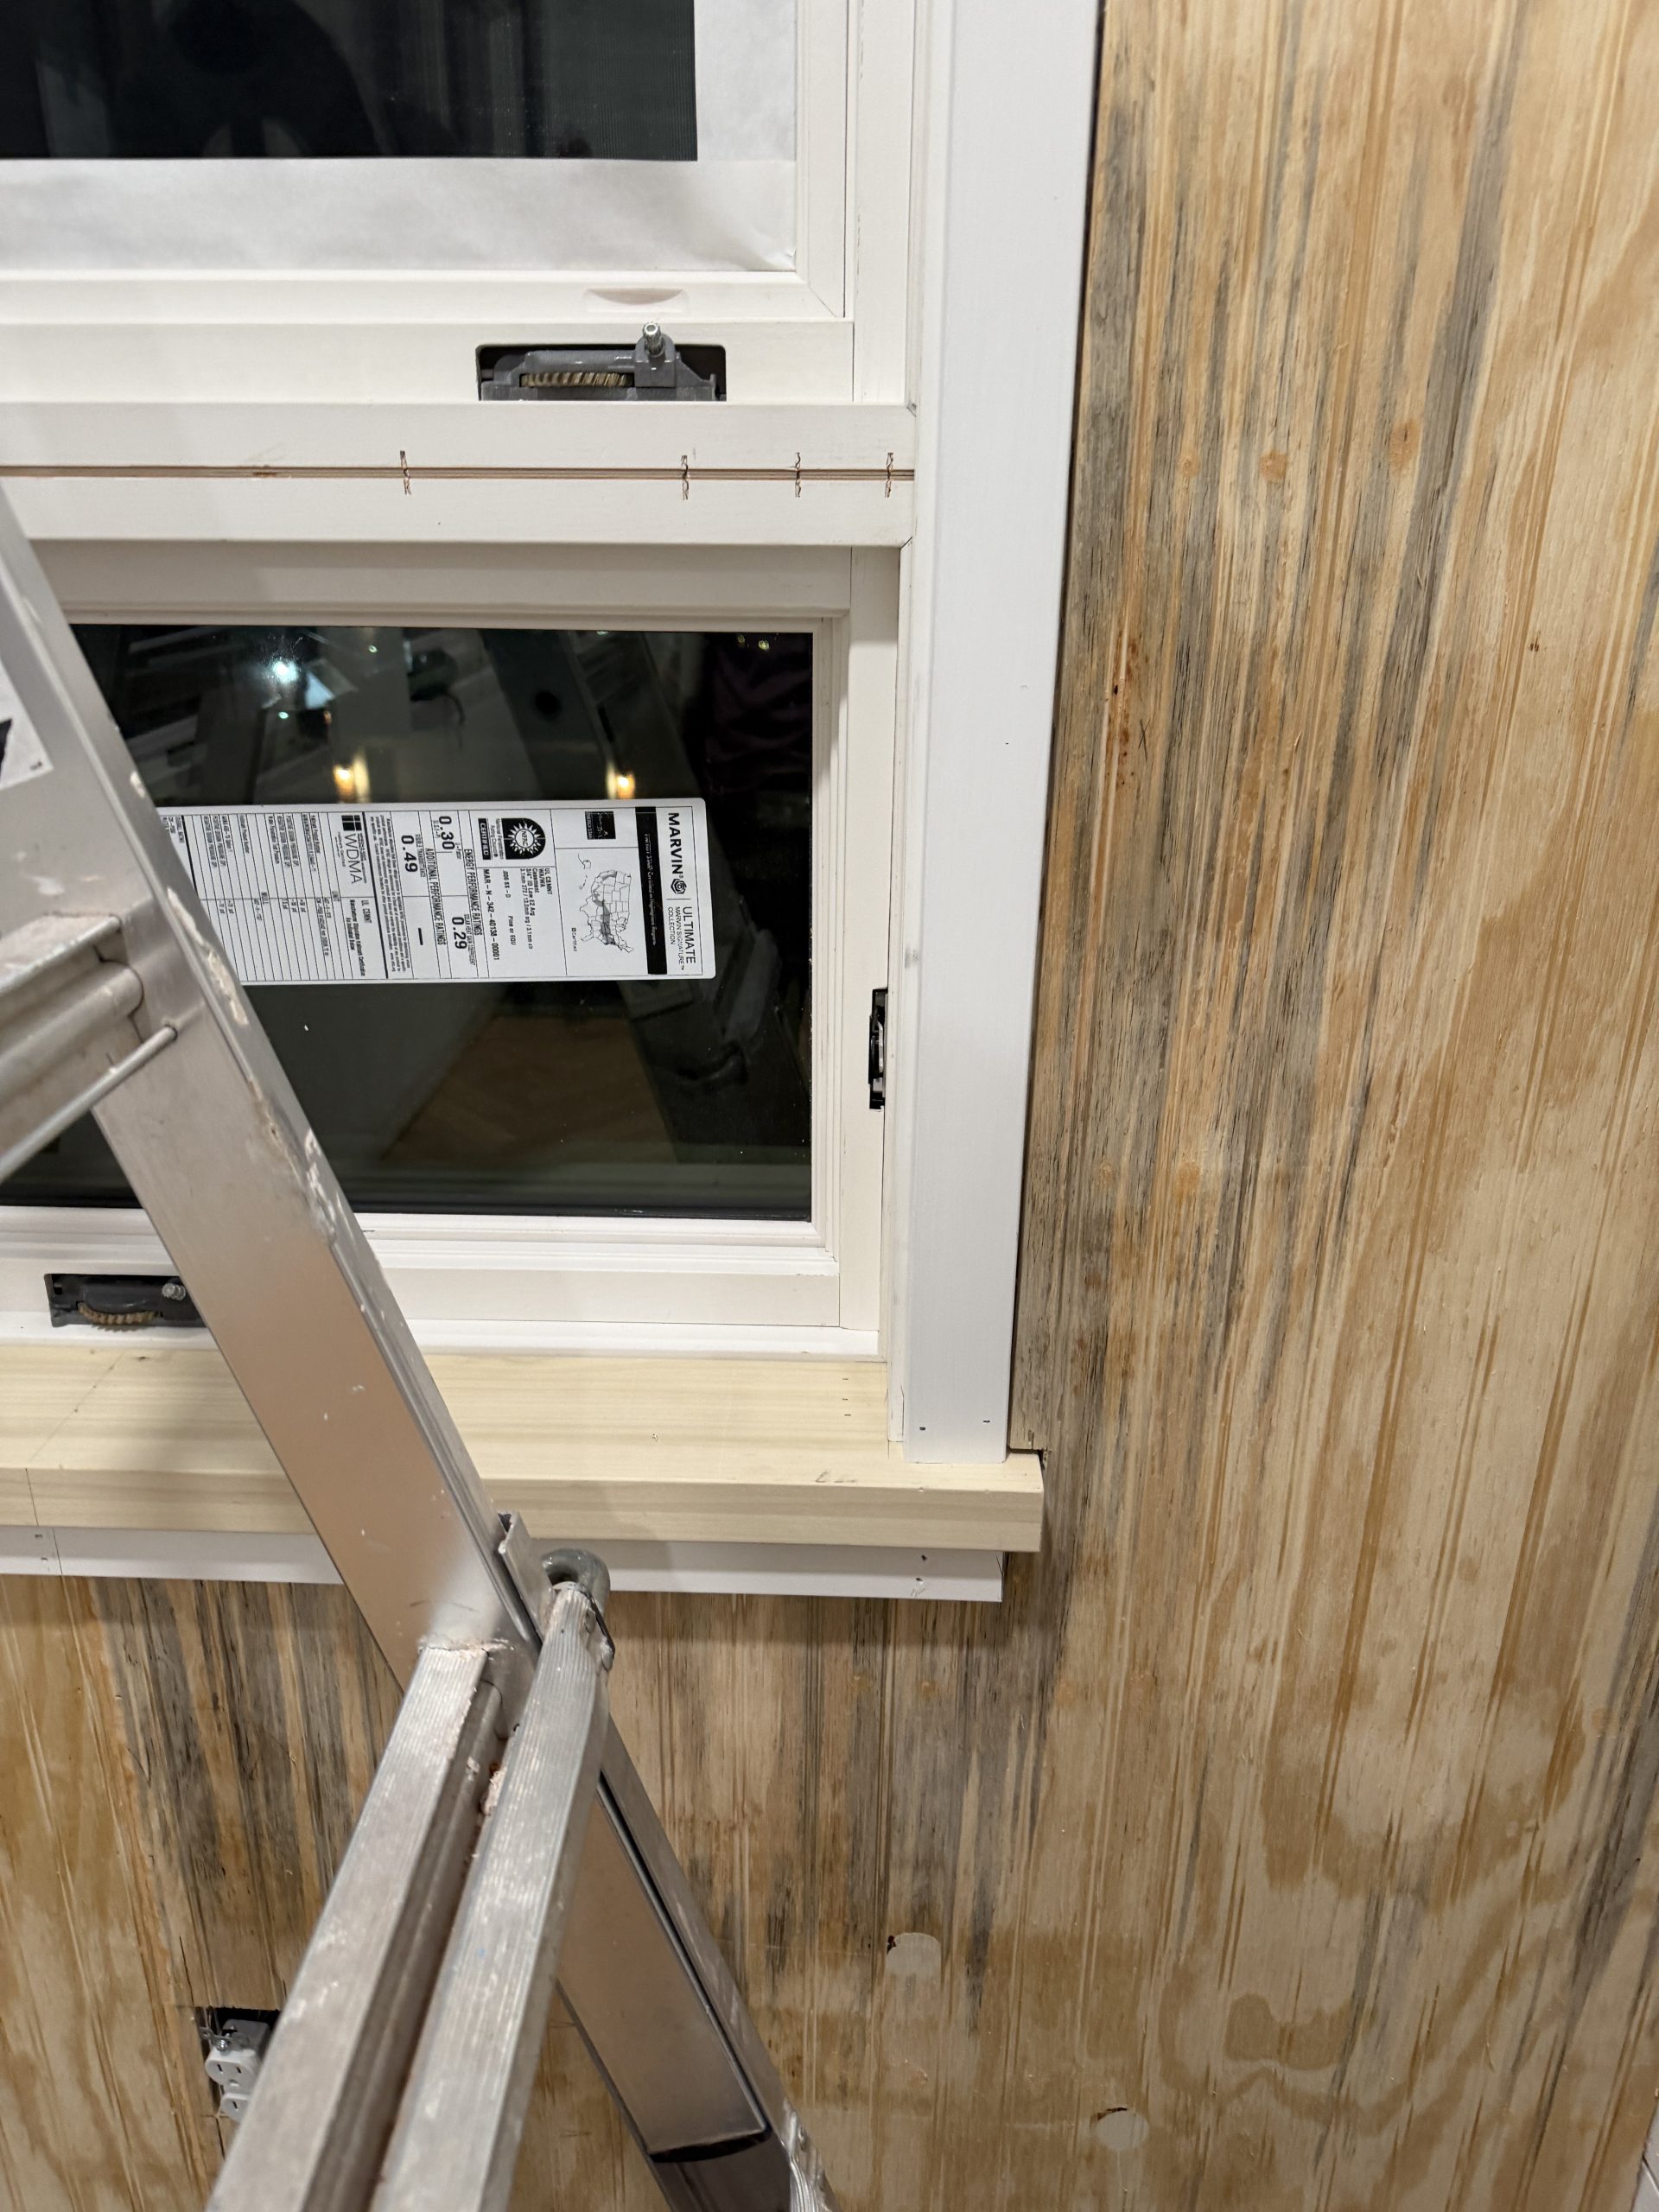
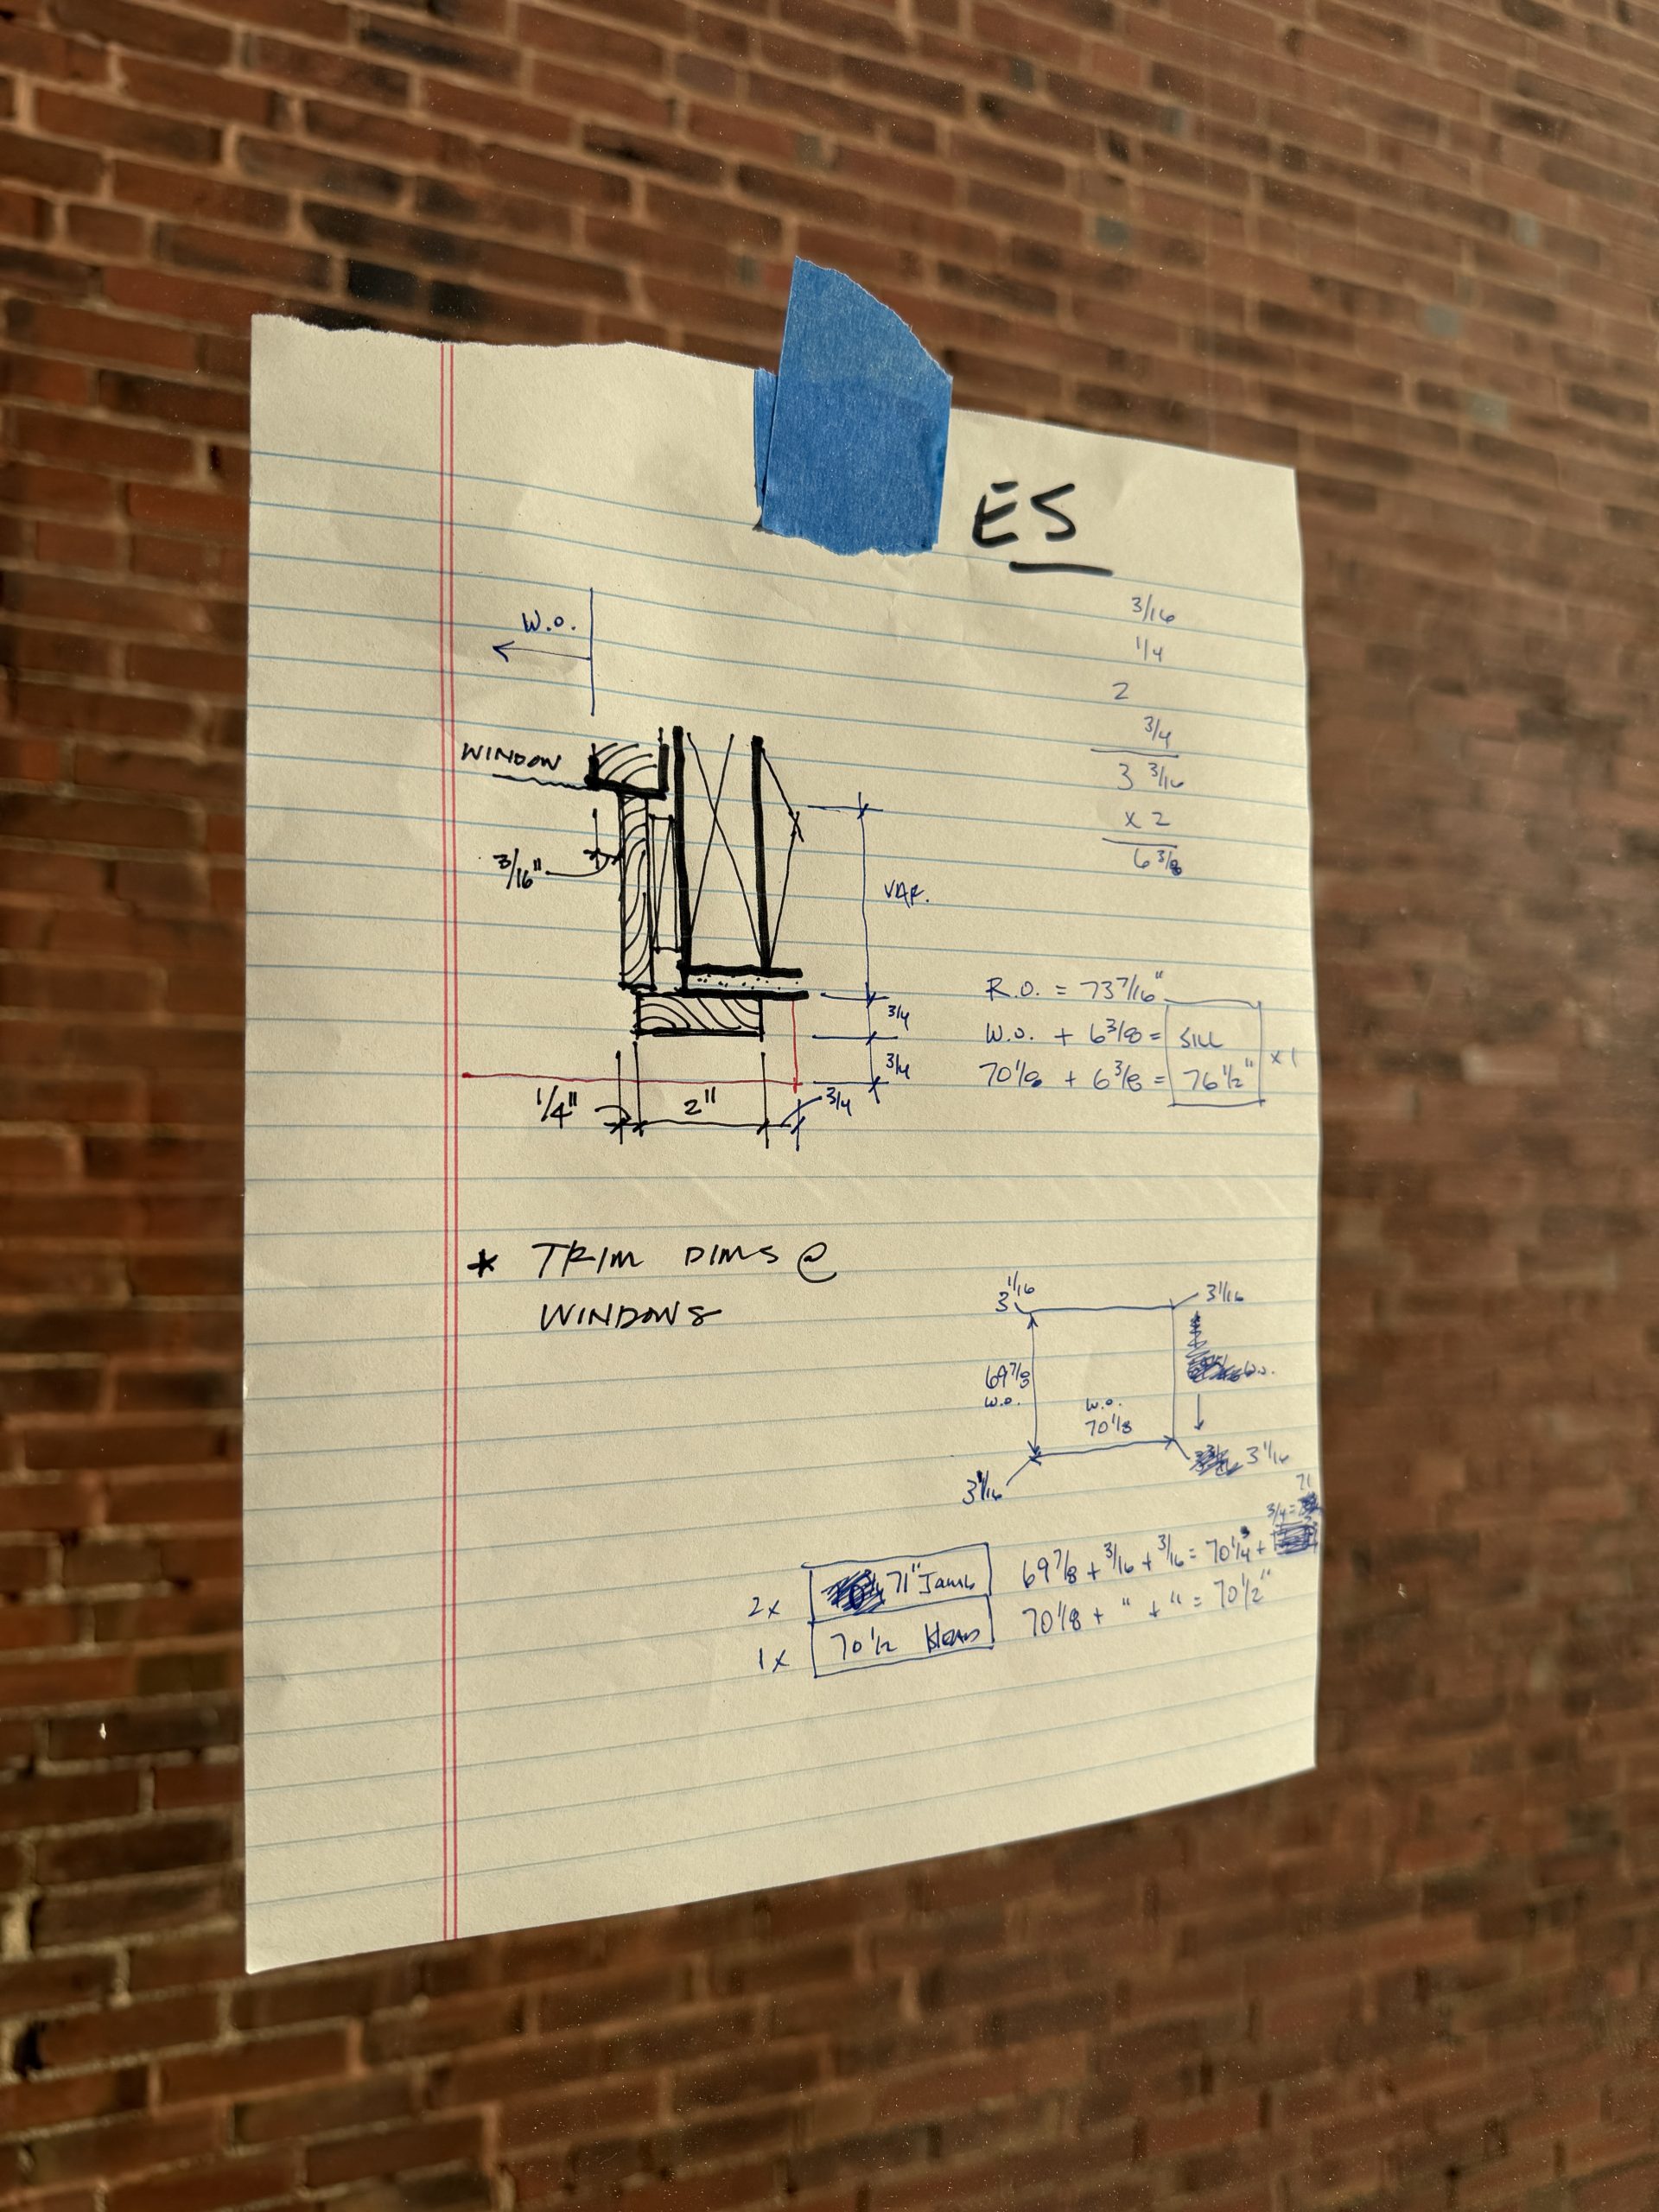
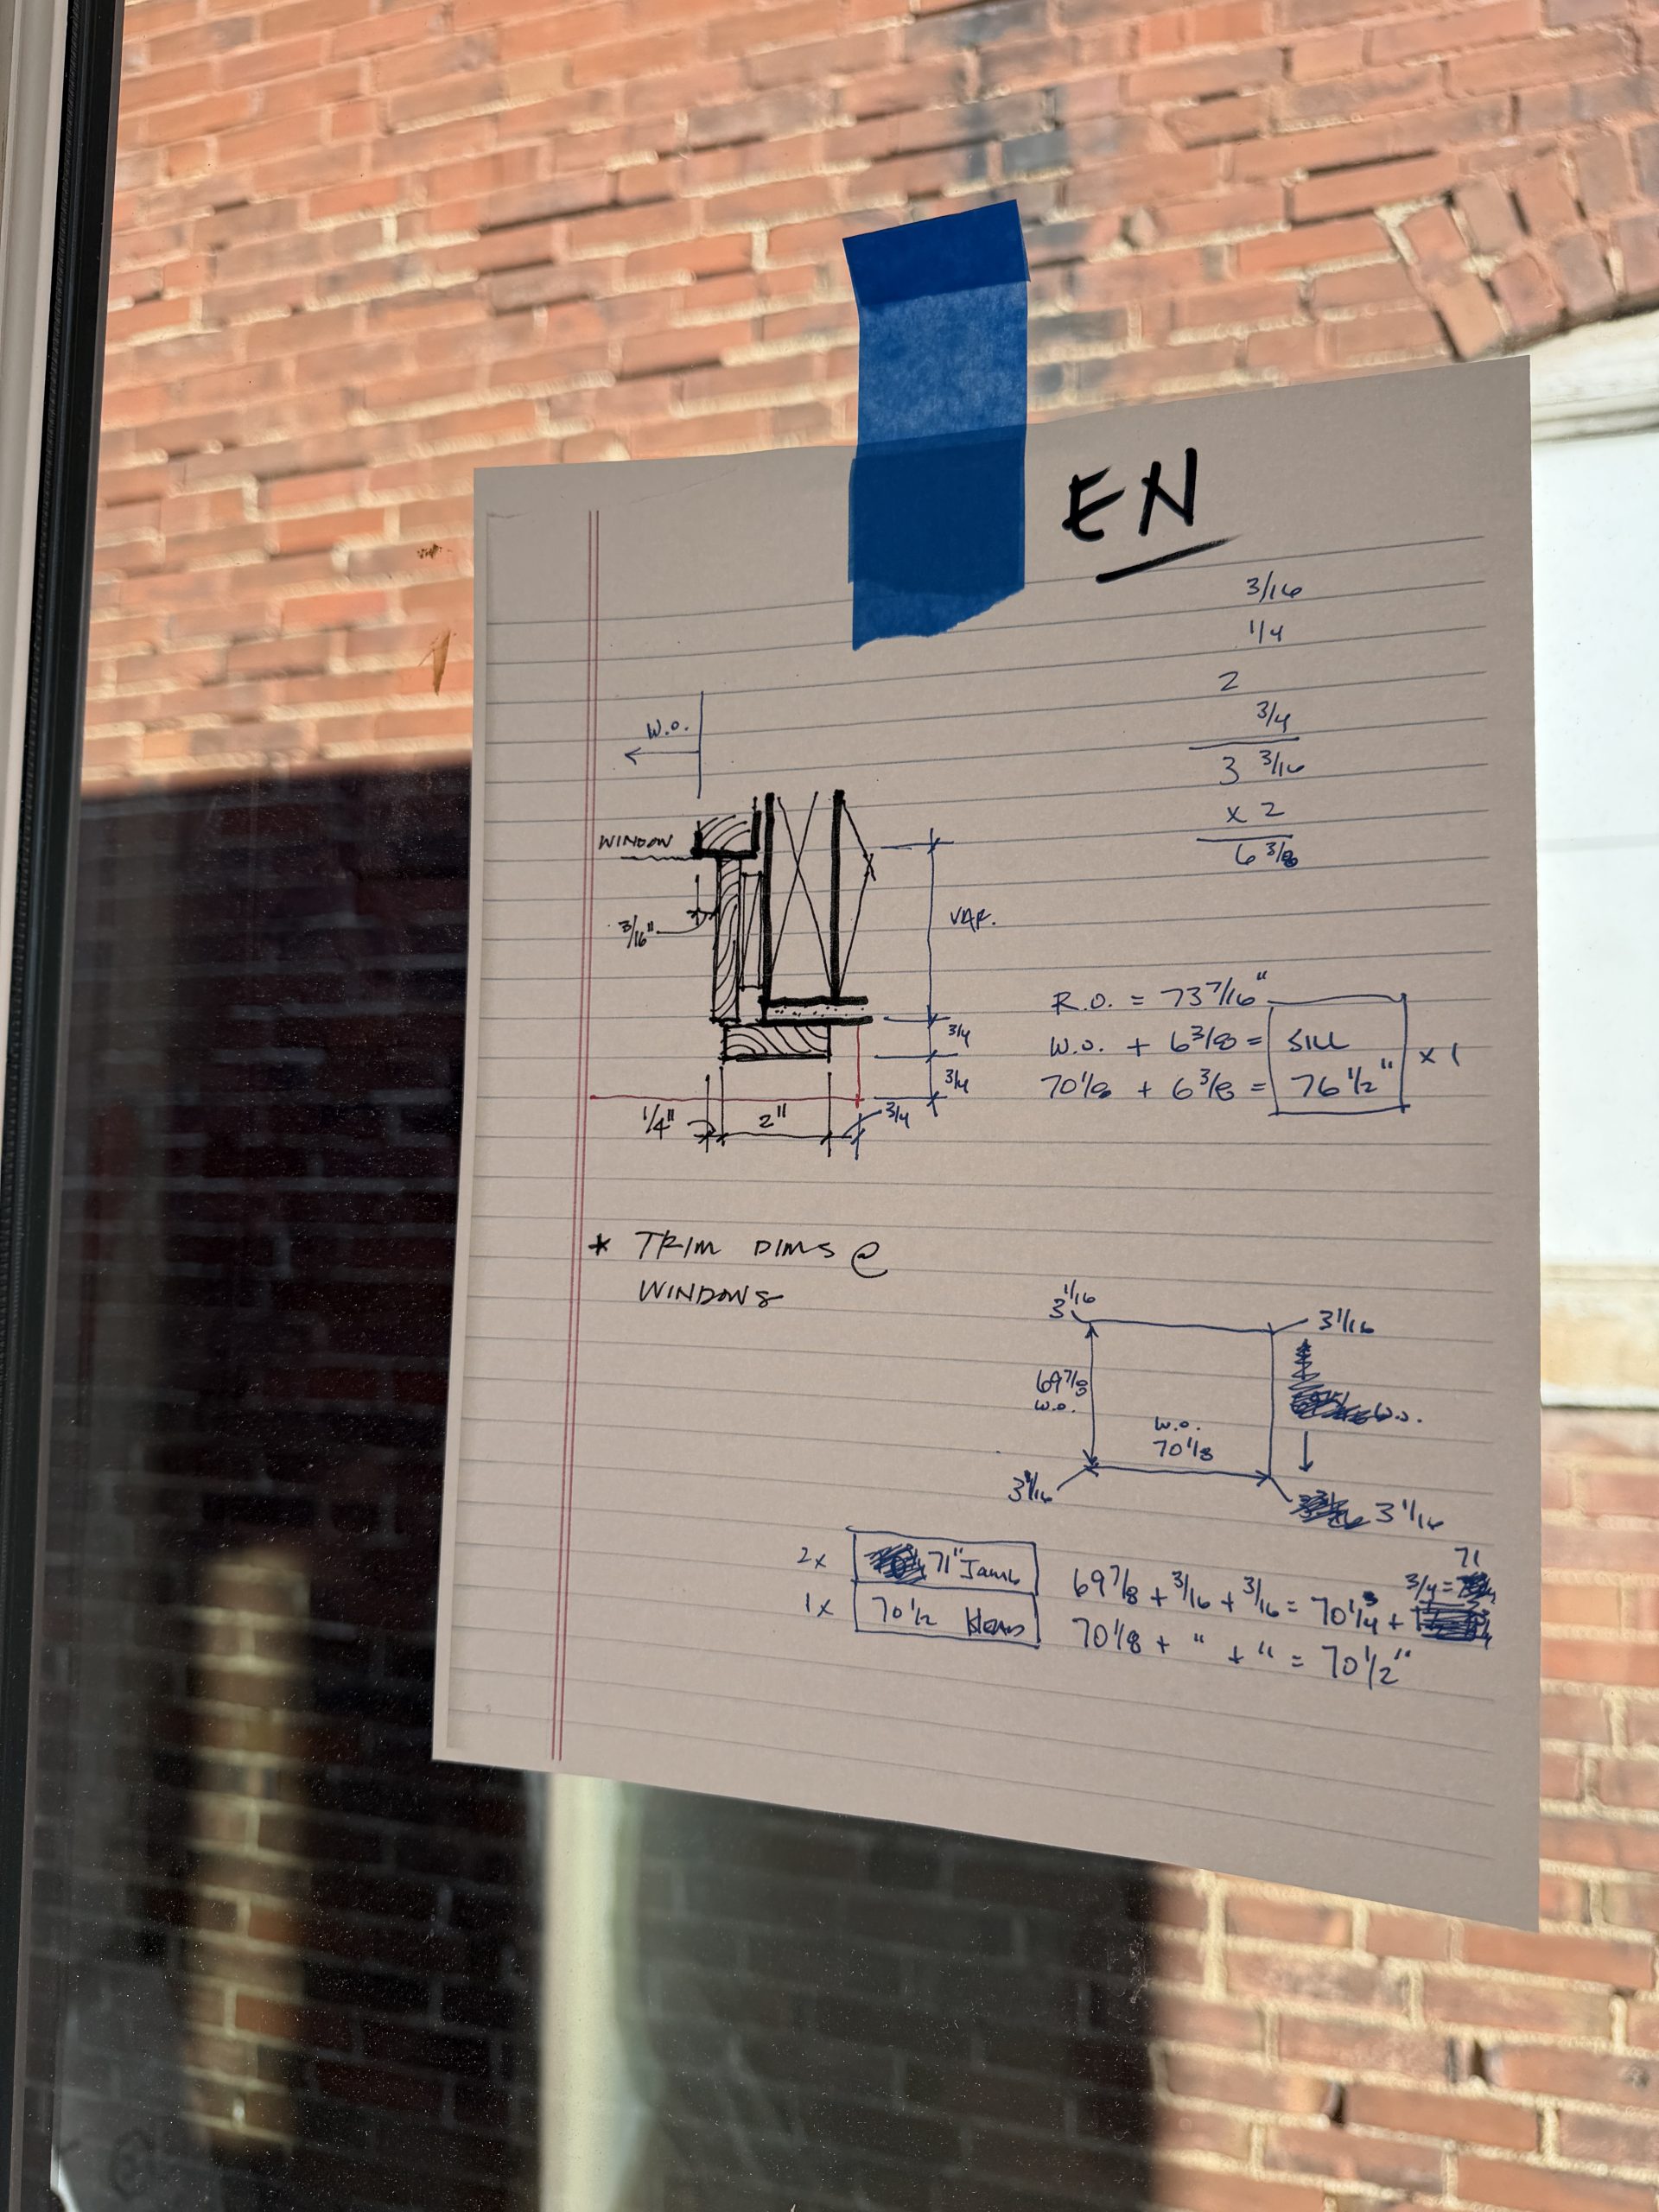
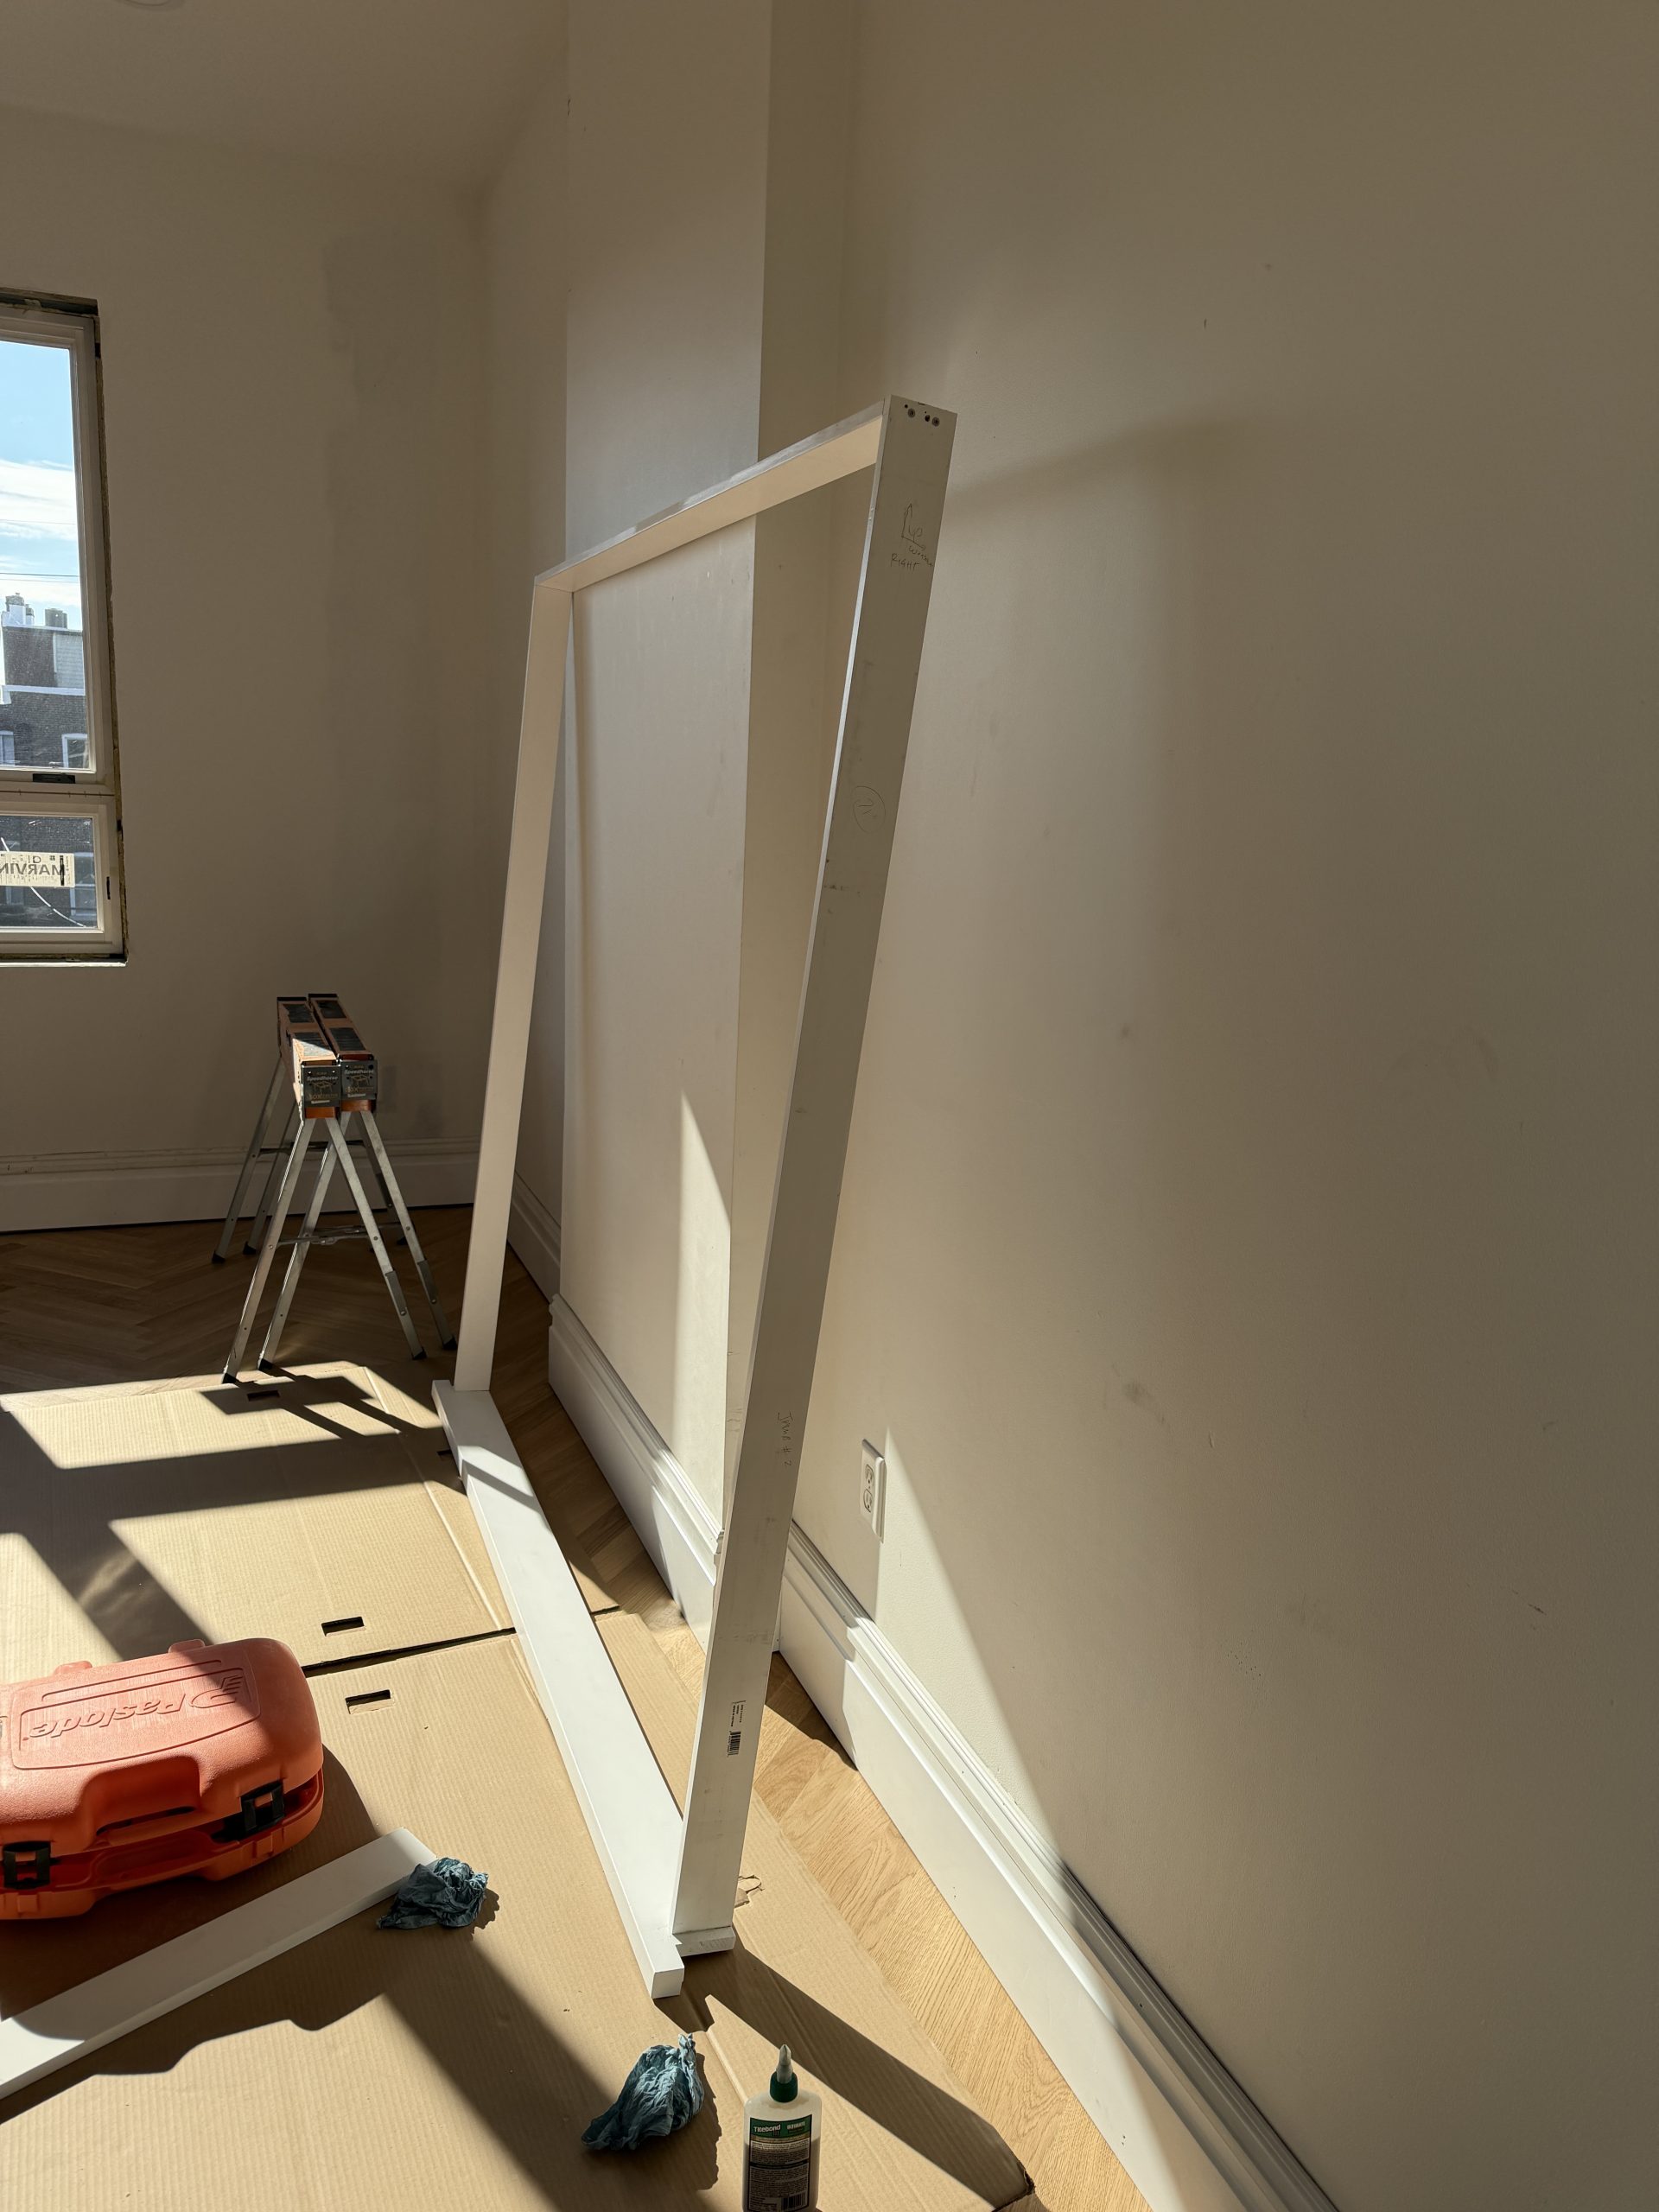
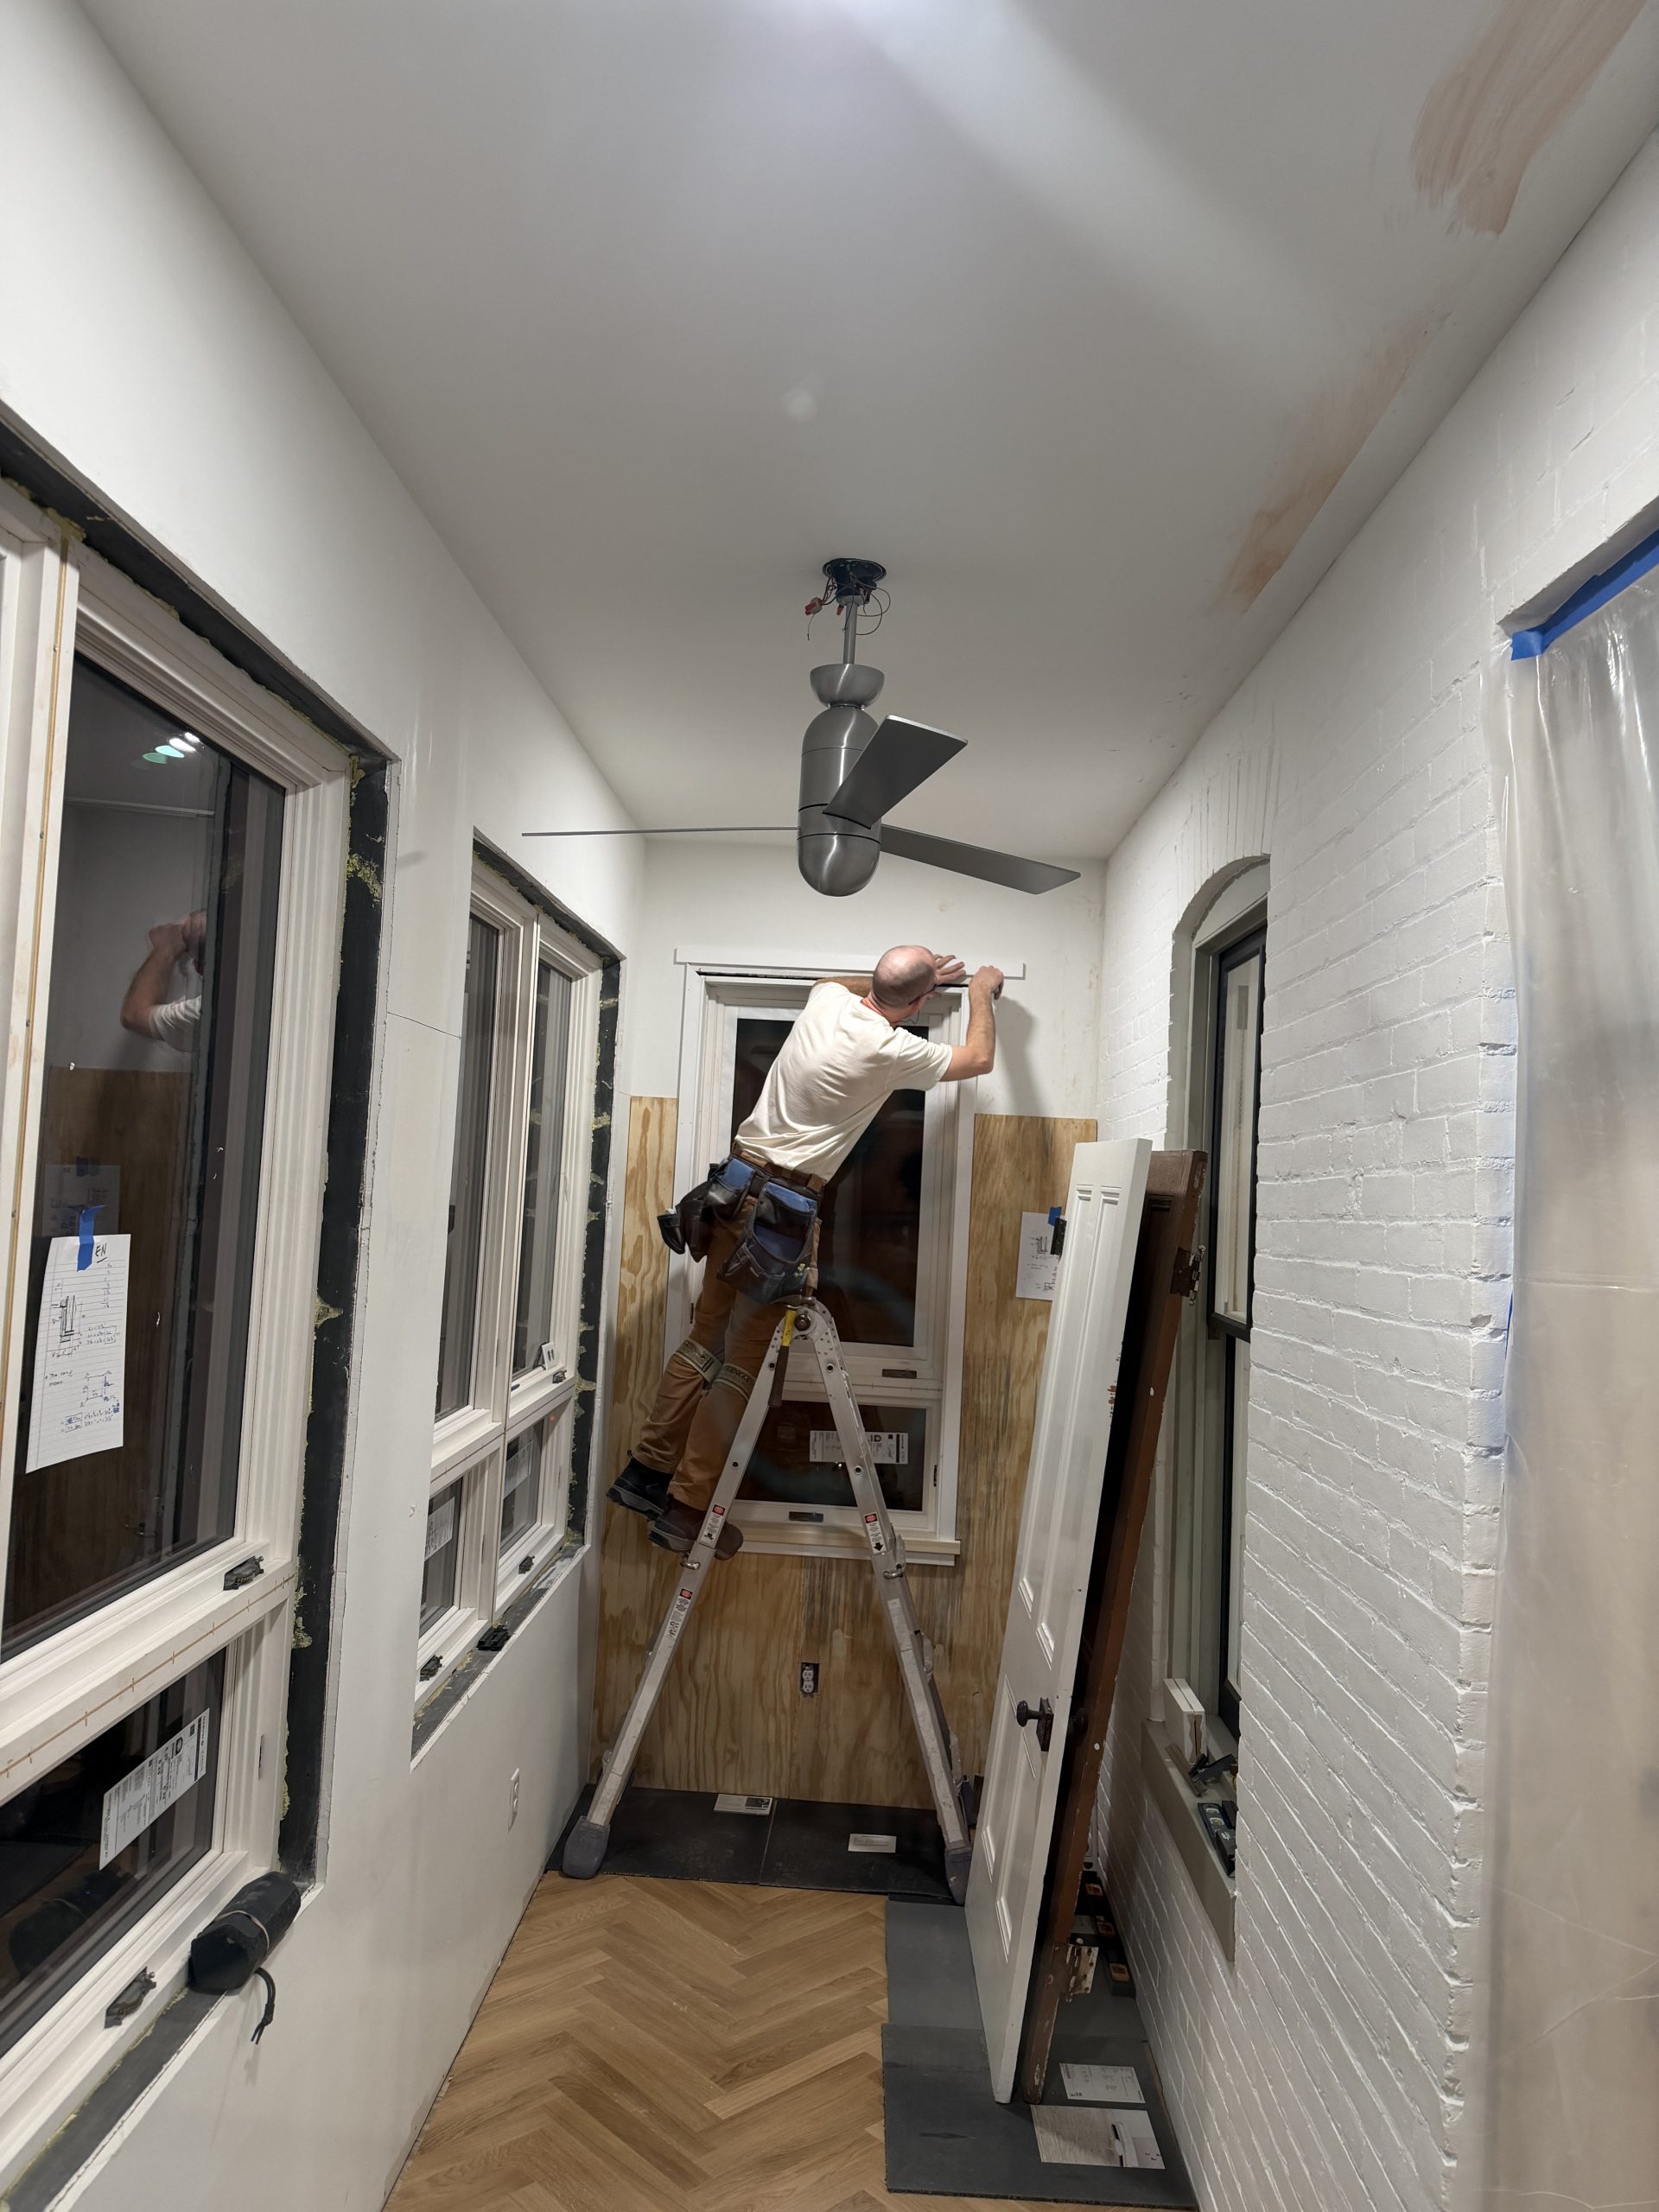
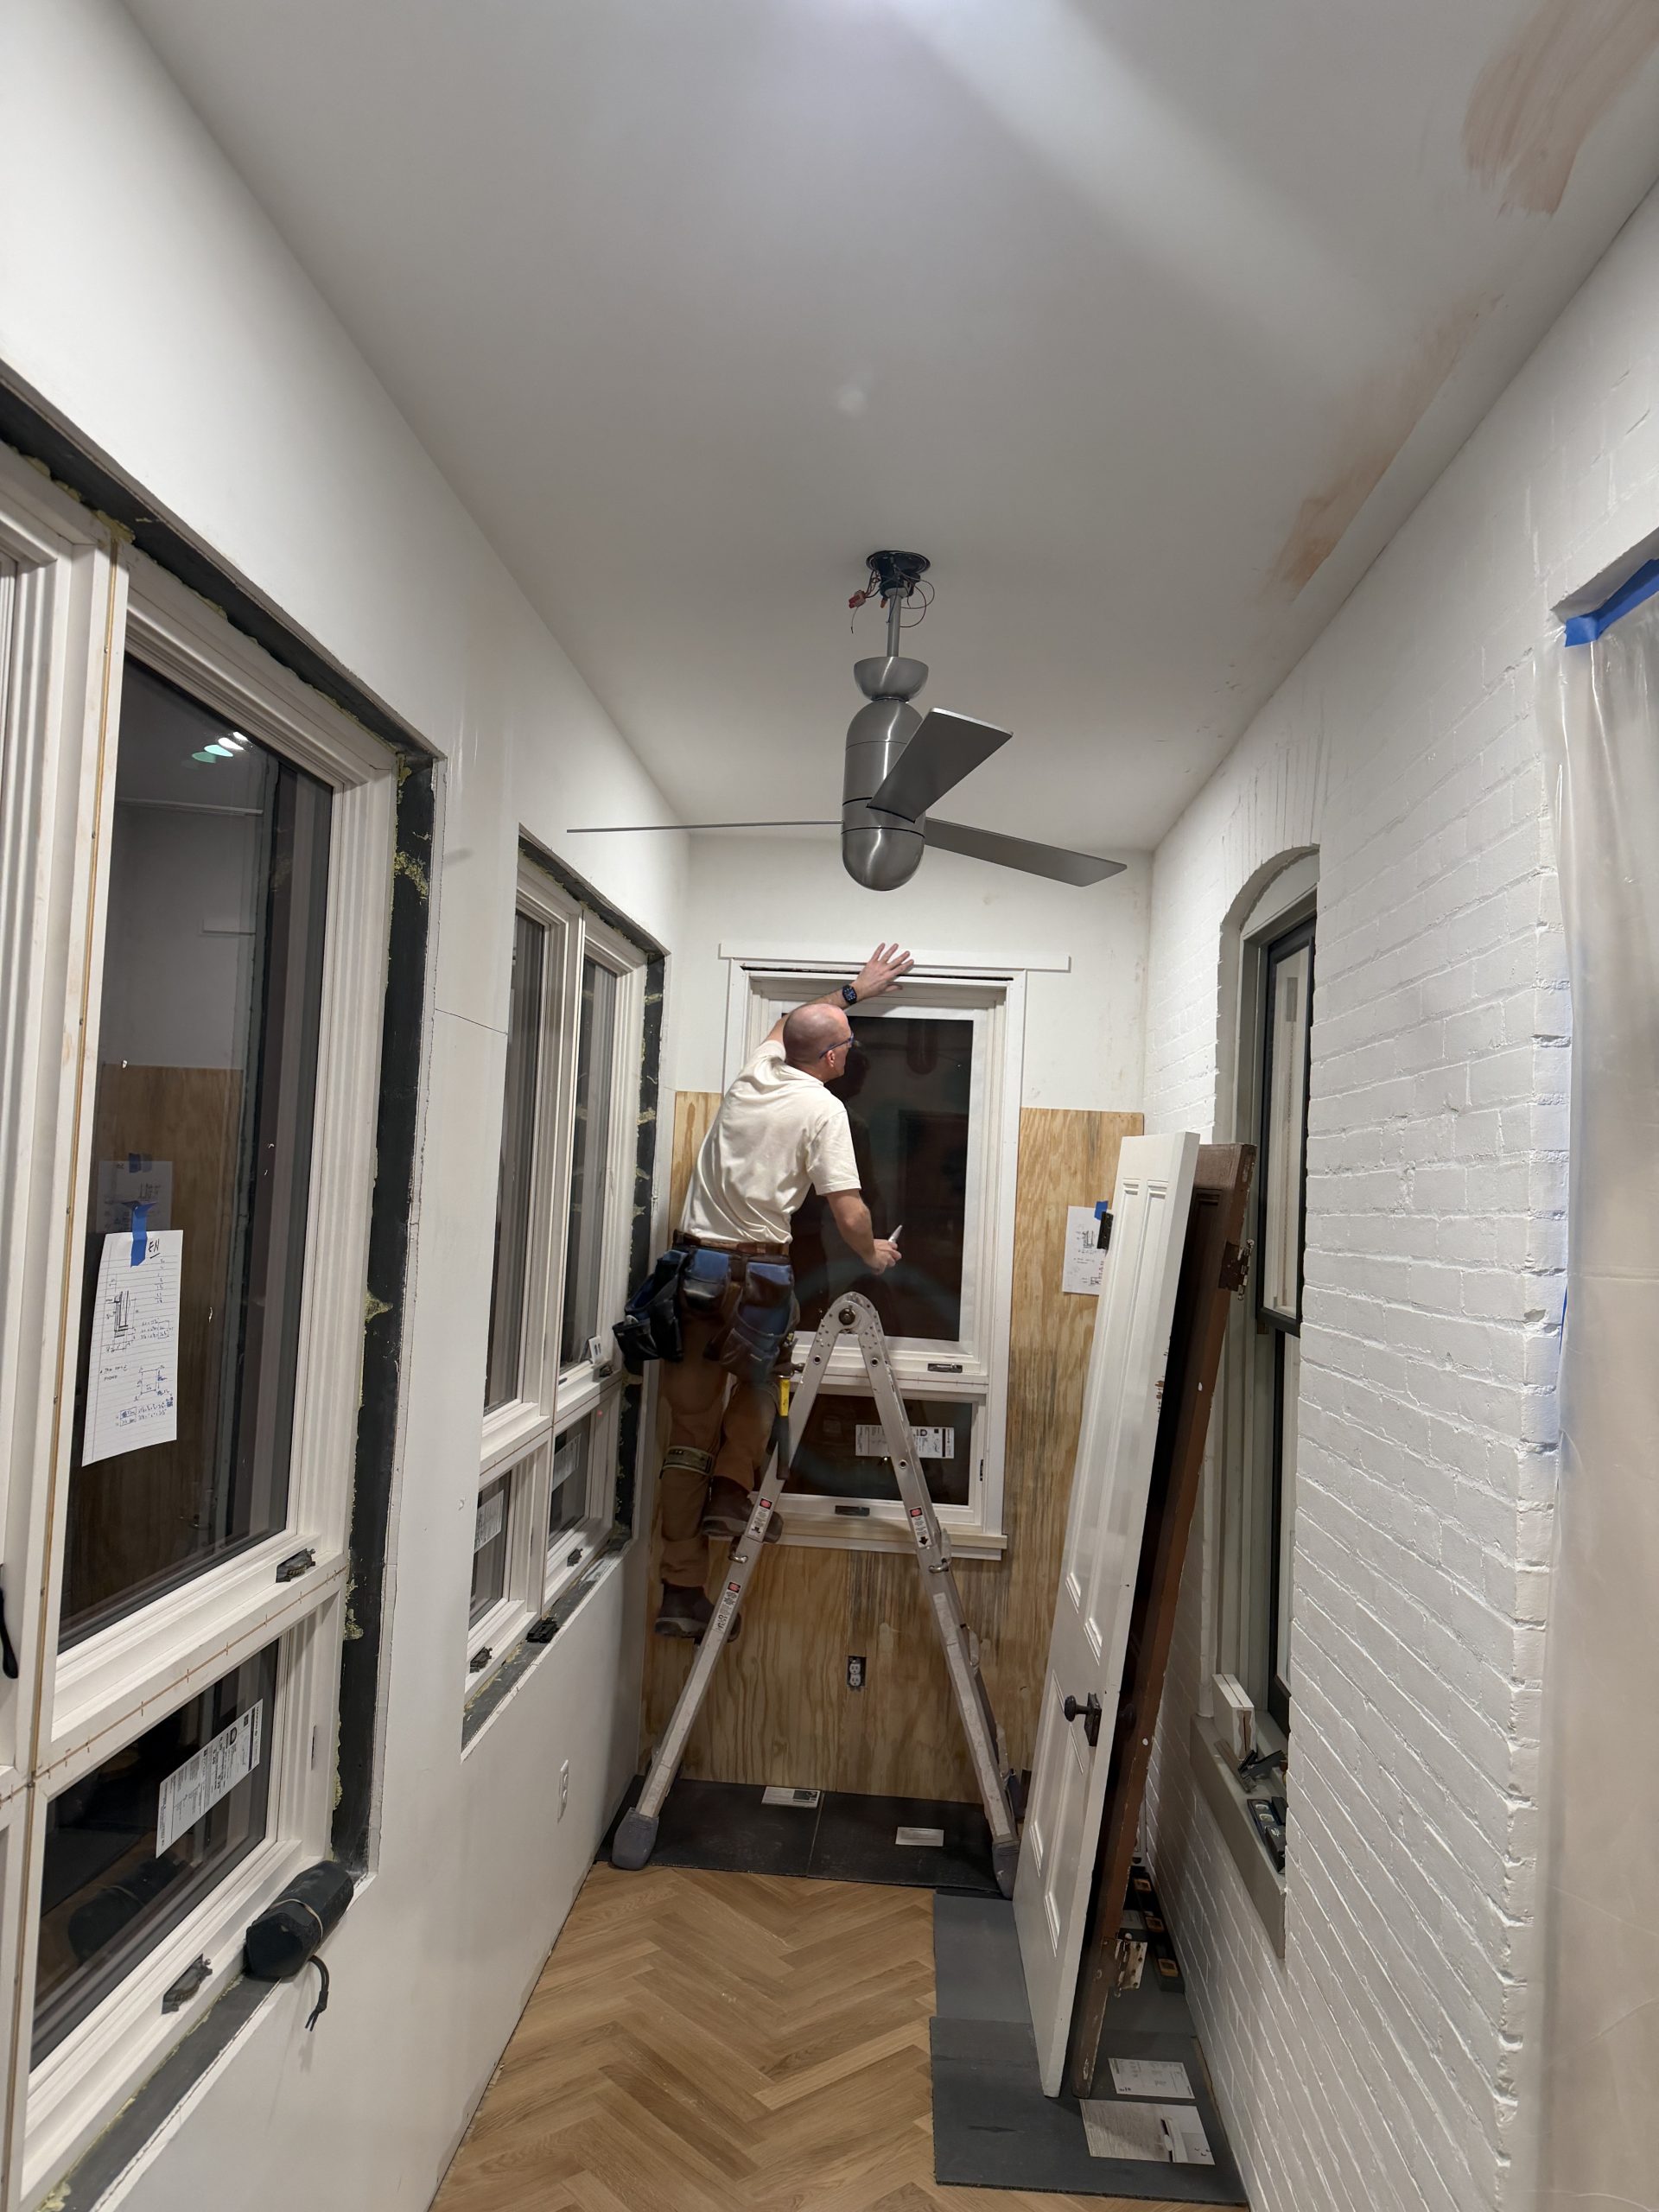
Talked through the details of the new window casings, and mocked one up for review. This is for all of the new windows we added to the back wall of the original house, and in the addition on both floors.
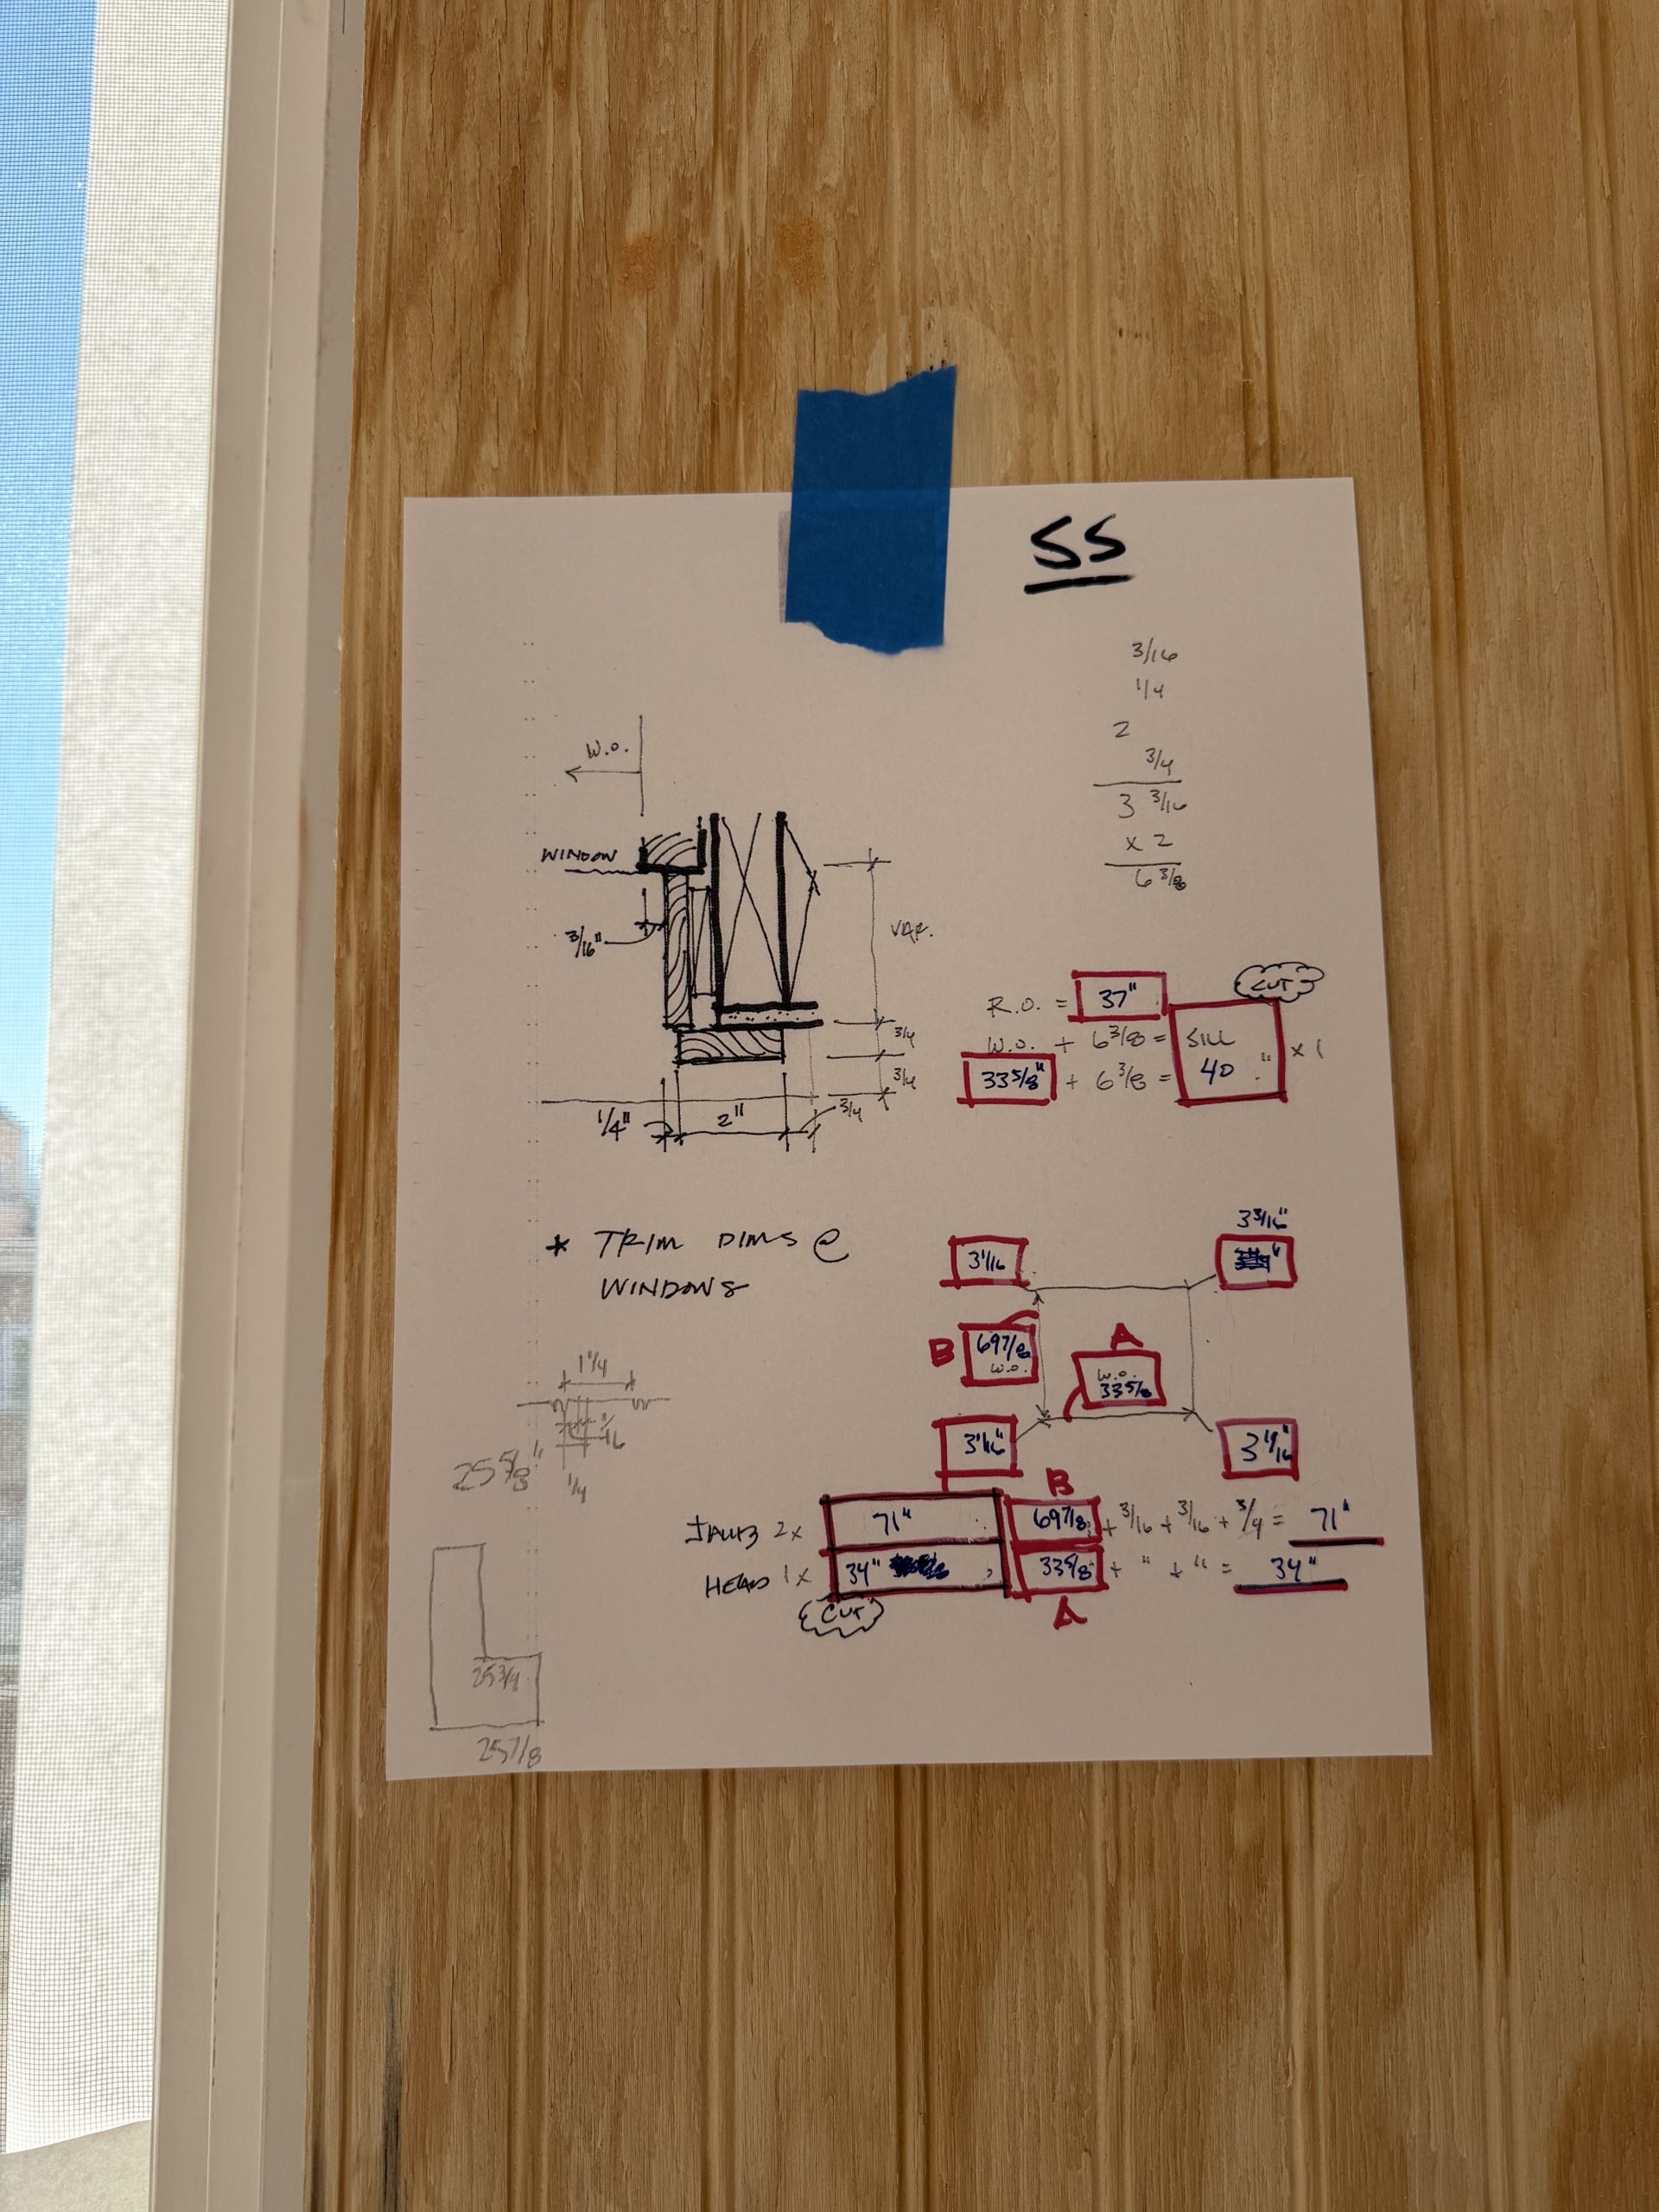
The preferred approach to modifying or adding onto an historic home is to avoid matching original details on things that weren’t original to the building. We’ve tried to follow this on our house to the extent possible. Here’s an example: Our home never had an interior stair, so when we cut through all the floors and added one, we made sure that it had modern detailing rather than installing a staircase that looked like it would have been original to a house like ours. Staircases and stair halls in our other houses in our neighborhood have very ornate details, and if we tried to copy those details onto our new stair then a) we would likely fail at creating a perfect match, and b) it would be like trying to trick someone into thinking there was always a stair in here. When you enter our house it’s very clear that the vertical intervention in the center of it was a modern addition. This might prompt a curious visitor to wonder why there wasn’t a stair in the original building – and that’s the goal! There are lots of interesting answers to that – which is the whole point of making a clear distinction between historic vs. new.
If there had been an internal stair at one time and it had been removed or was in serious disrepair then it would be more appropriate to restore it or even replicate it to the extent possible. We took that kind of approach with the mansard roof, dormer, and decorative cornice on our house. We restored the damaged portions, and used the information we had from those areas (and similar houses in our neighborhood) to replace the portions that were missing. It would not be appropriate to mimic that kind of detailing on the roof edge of our new addition.
Our new two-story addition was not original to the house, but historic homes aren’t locked into the time period when they were first built or when something significant happened within them (unless they are preserved for those reasons – like a museum). Additions were added to lots of houses over time to accommodate growing and changing families, new ways of living, and modern improvements and technologies (like indoor plumbing!), so it’s perfectly appropriate to continue to do so. But it’s always good to follow some general rules when you do. In our case, the new addition was designed to sit under the original roof overhang, and be similar in massing to the previous construction. We held the sides of the new walls back a few inches from the face of the masonry walls, and didn’t go beyond them in any way. Most importantly, we didn’t pretend like the addition was original to the home by installing windows that match the historic ones on the house. We clad the addition in a dark color, and kept the siding and trim and window frames the same color so that it recedes in importance from the original masonry house. This is in direct contrast to the original multi-colored trim details on the front of the house and on the windows.
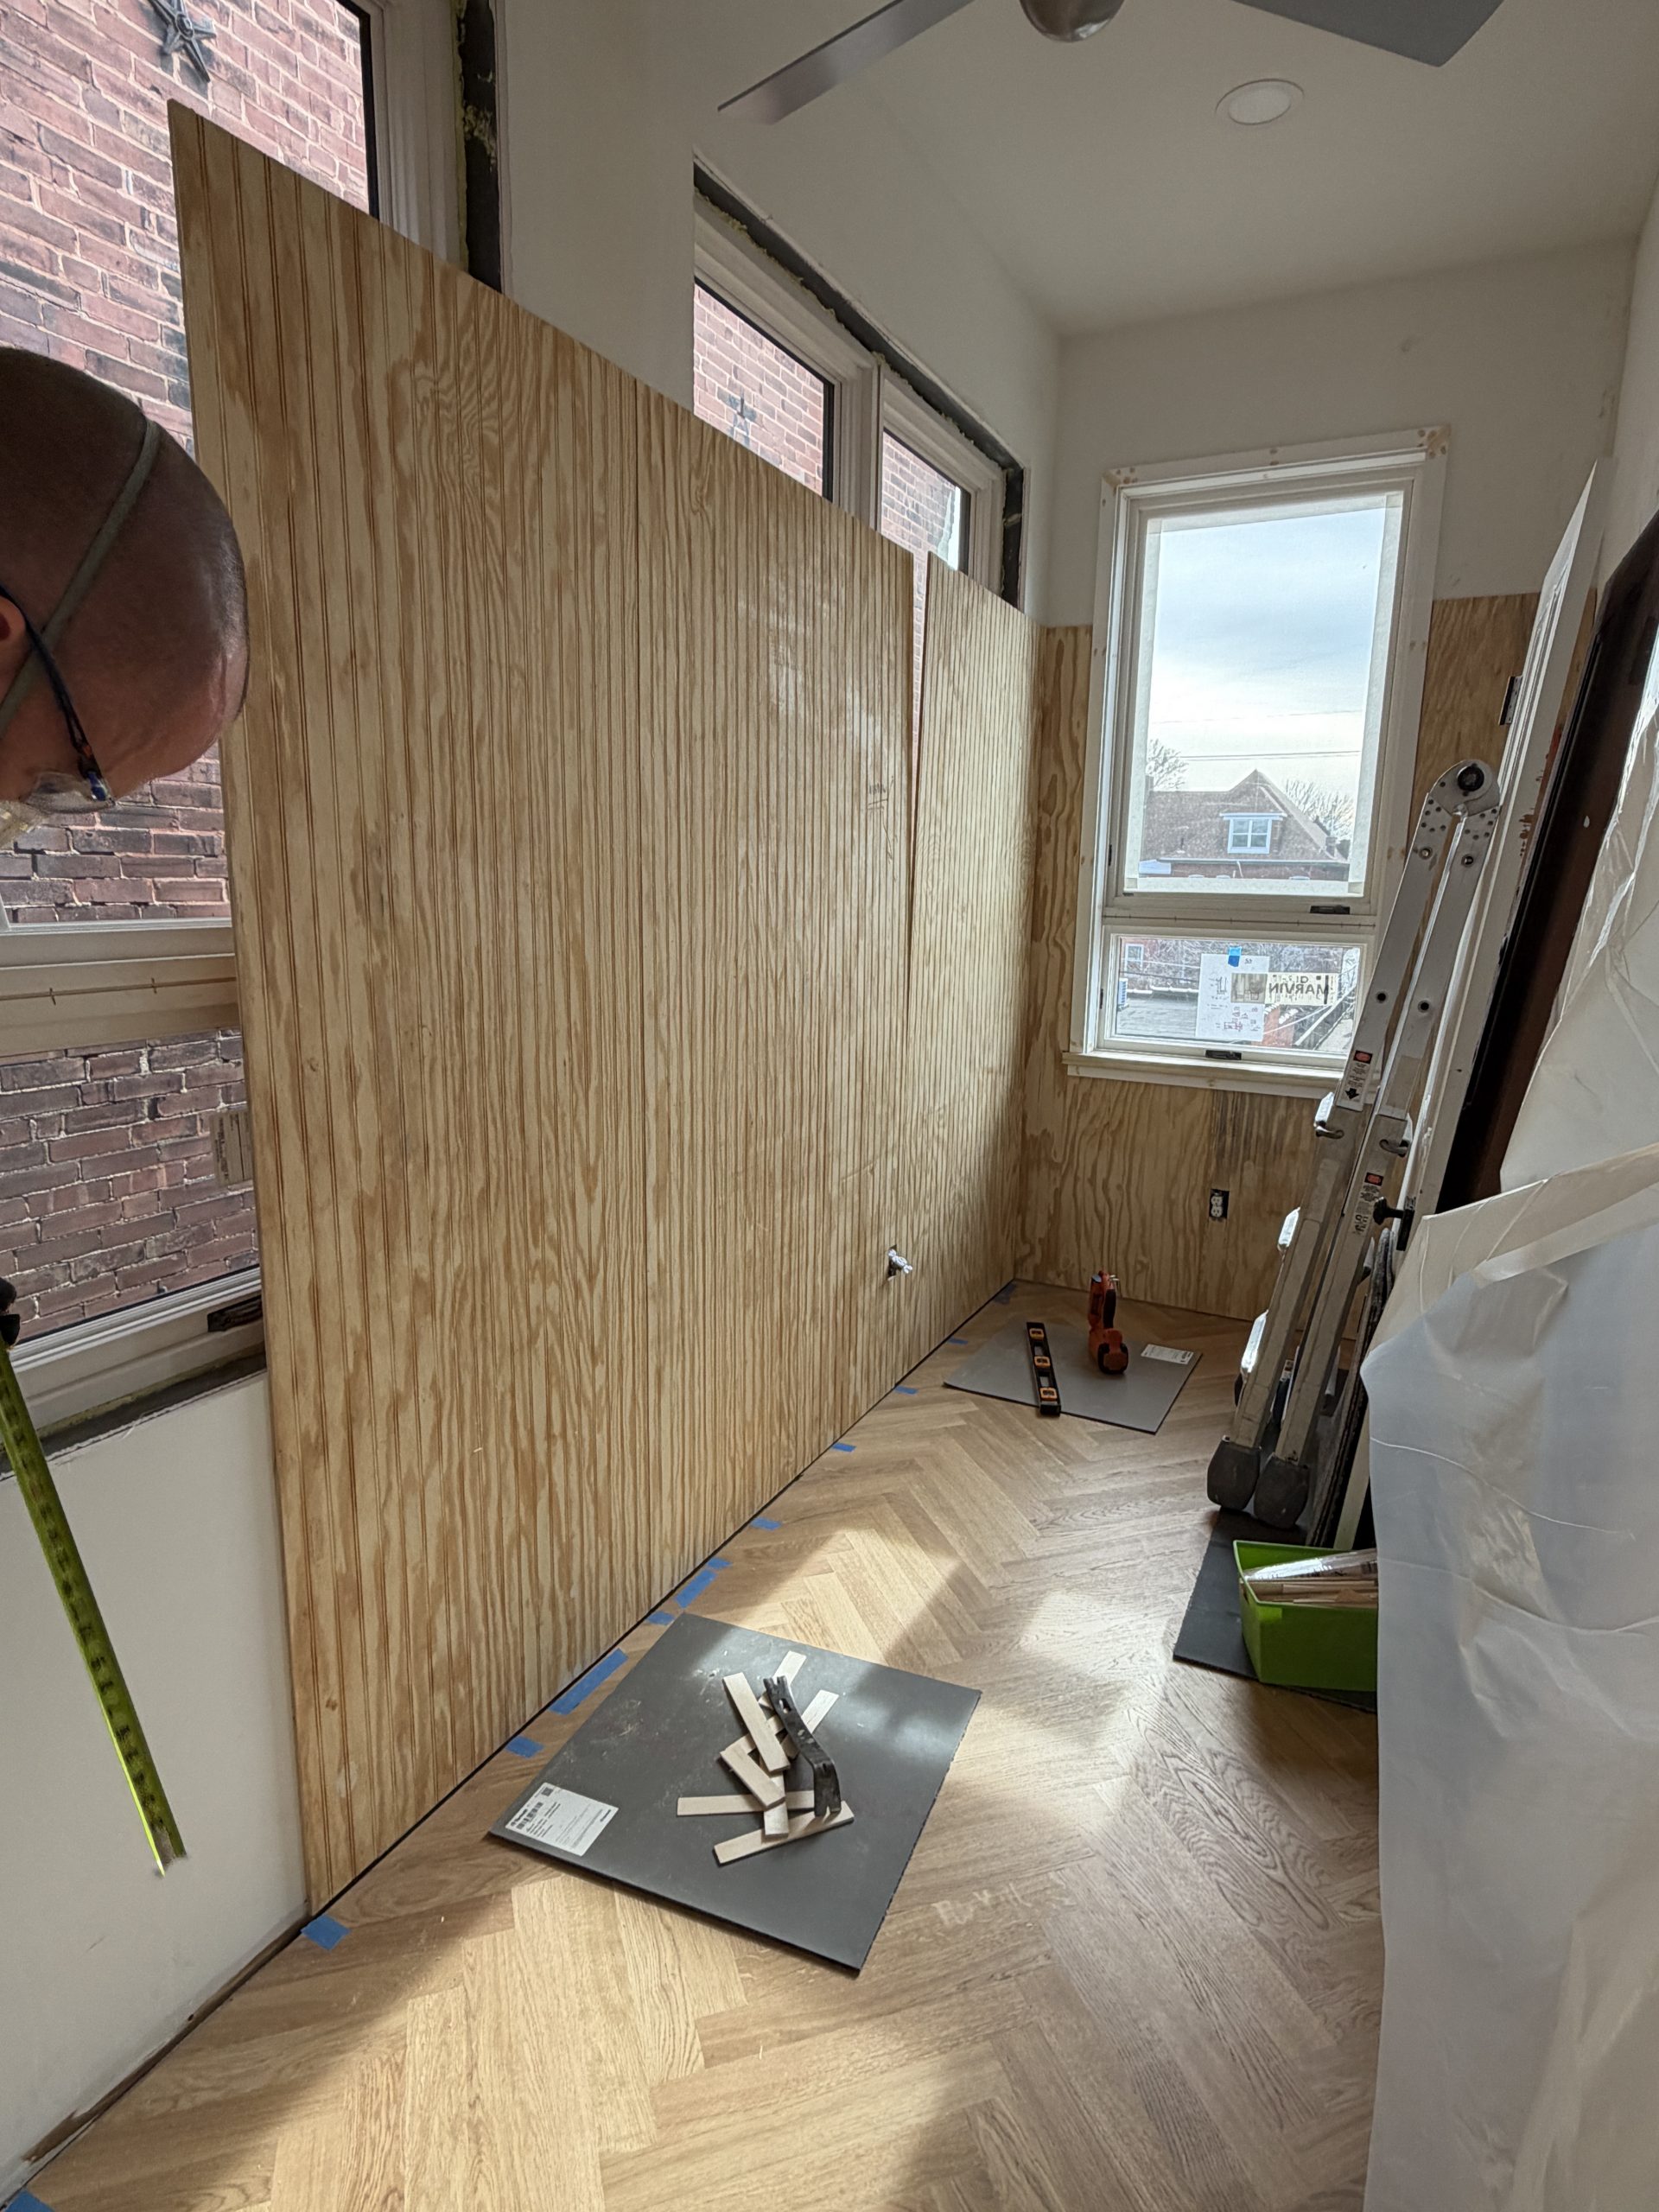
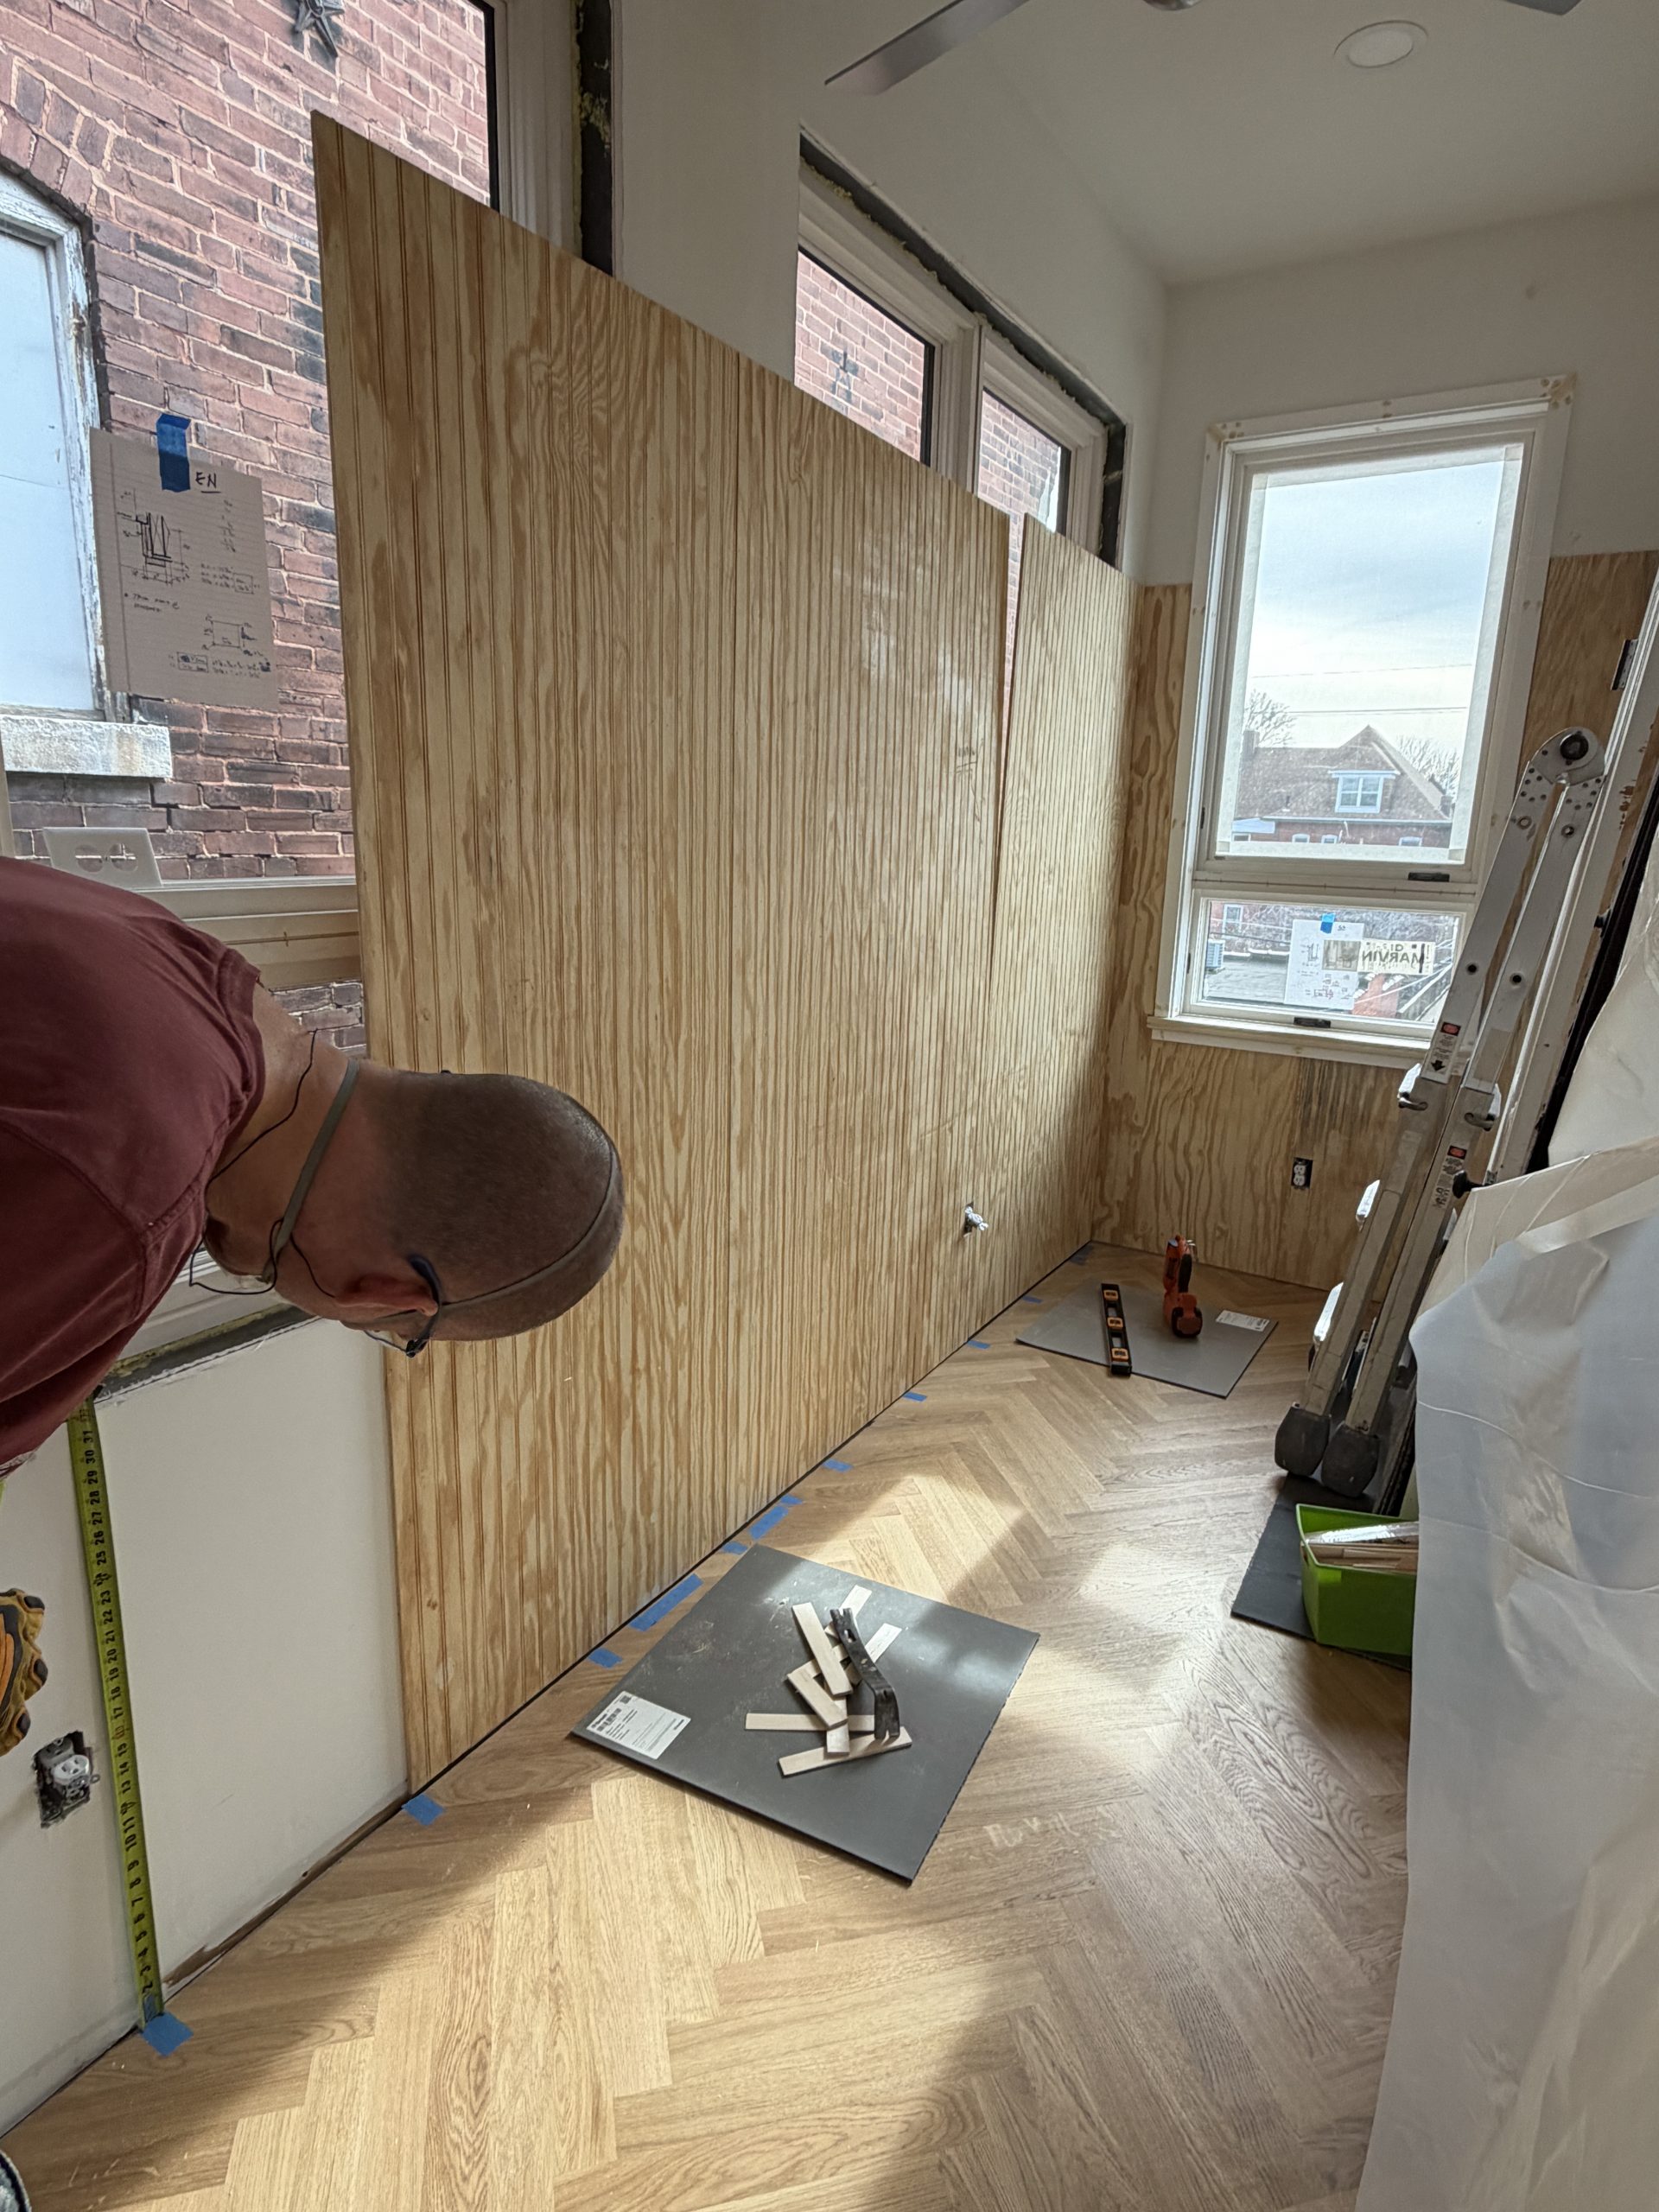
Installed wainscoting on second floor of addition, approved mockup of first floor wainscoting (by others).
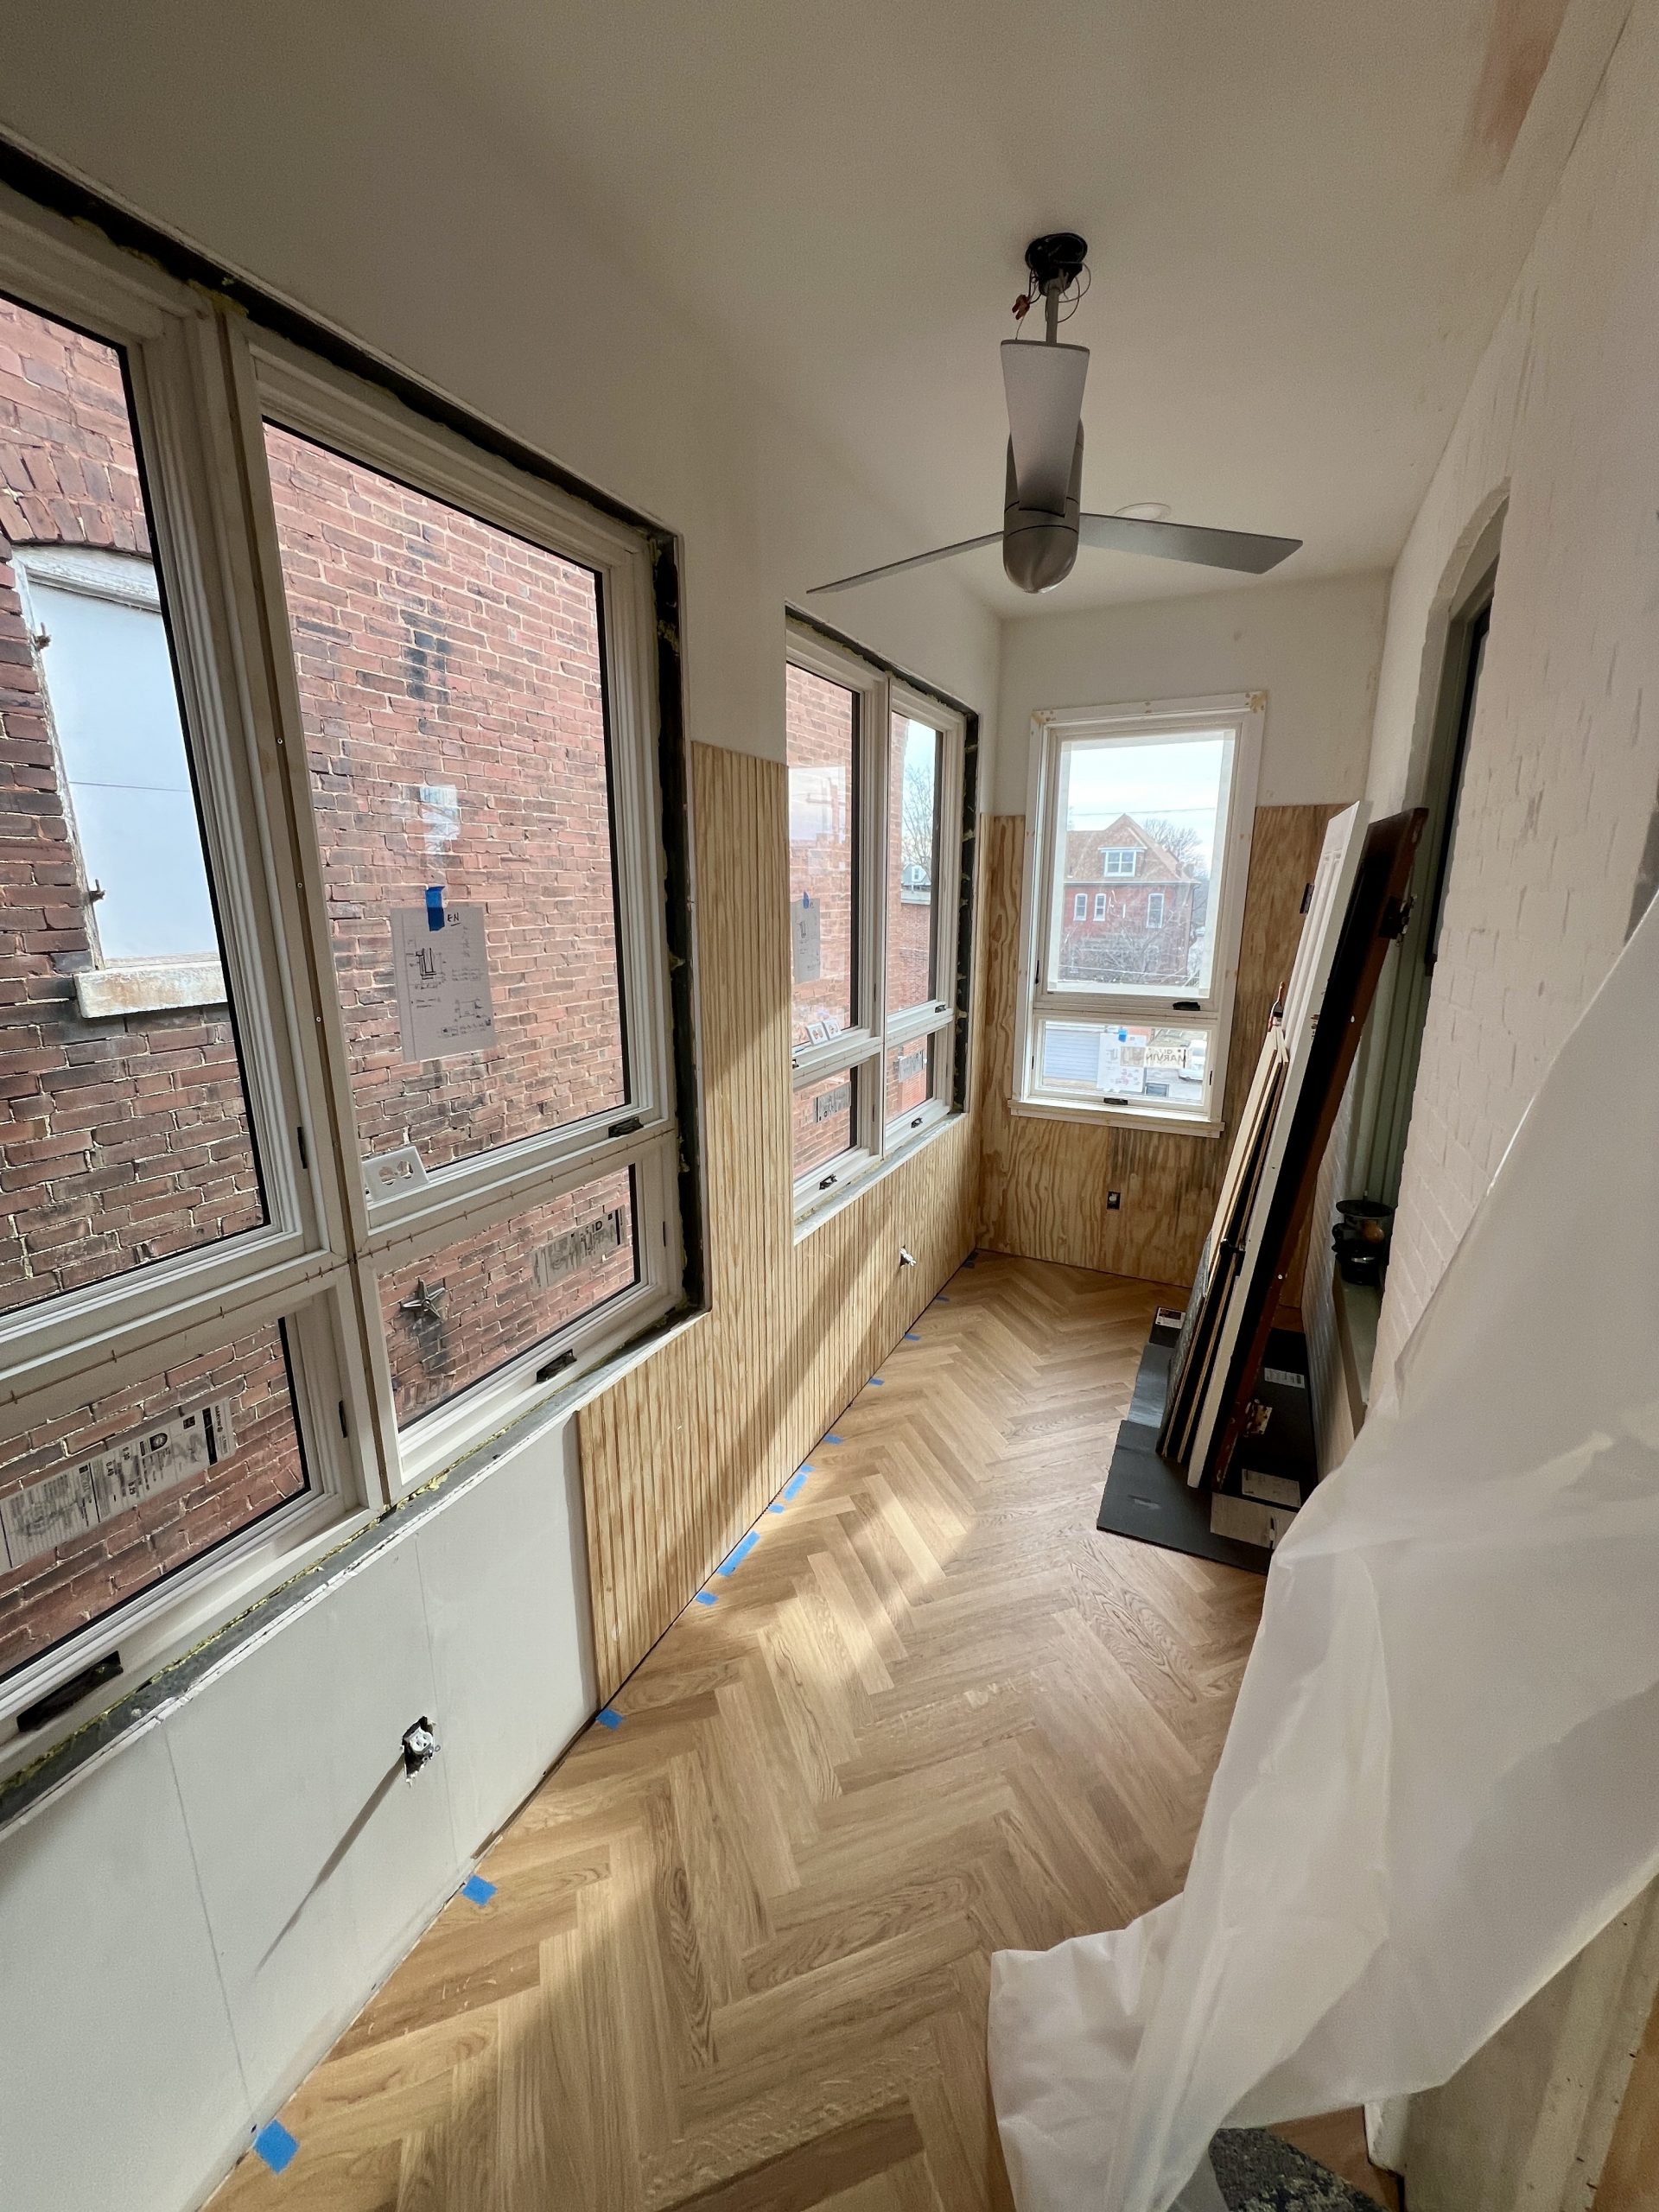
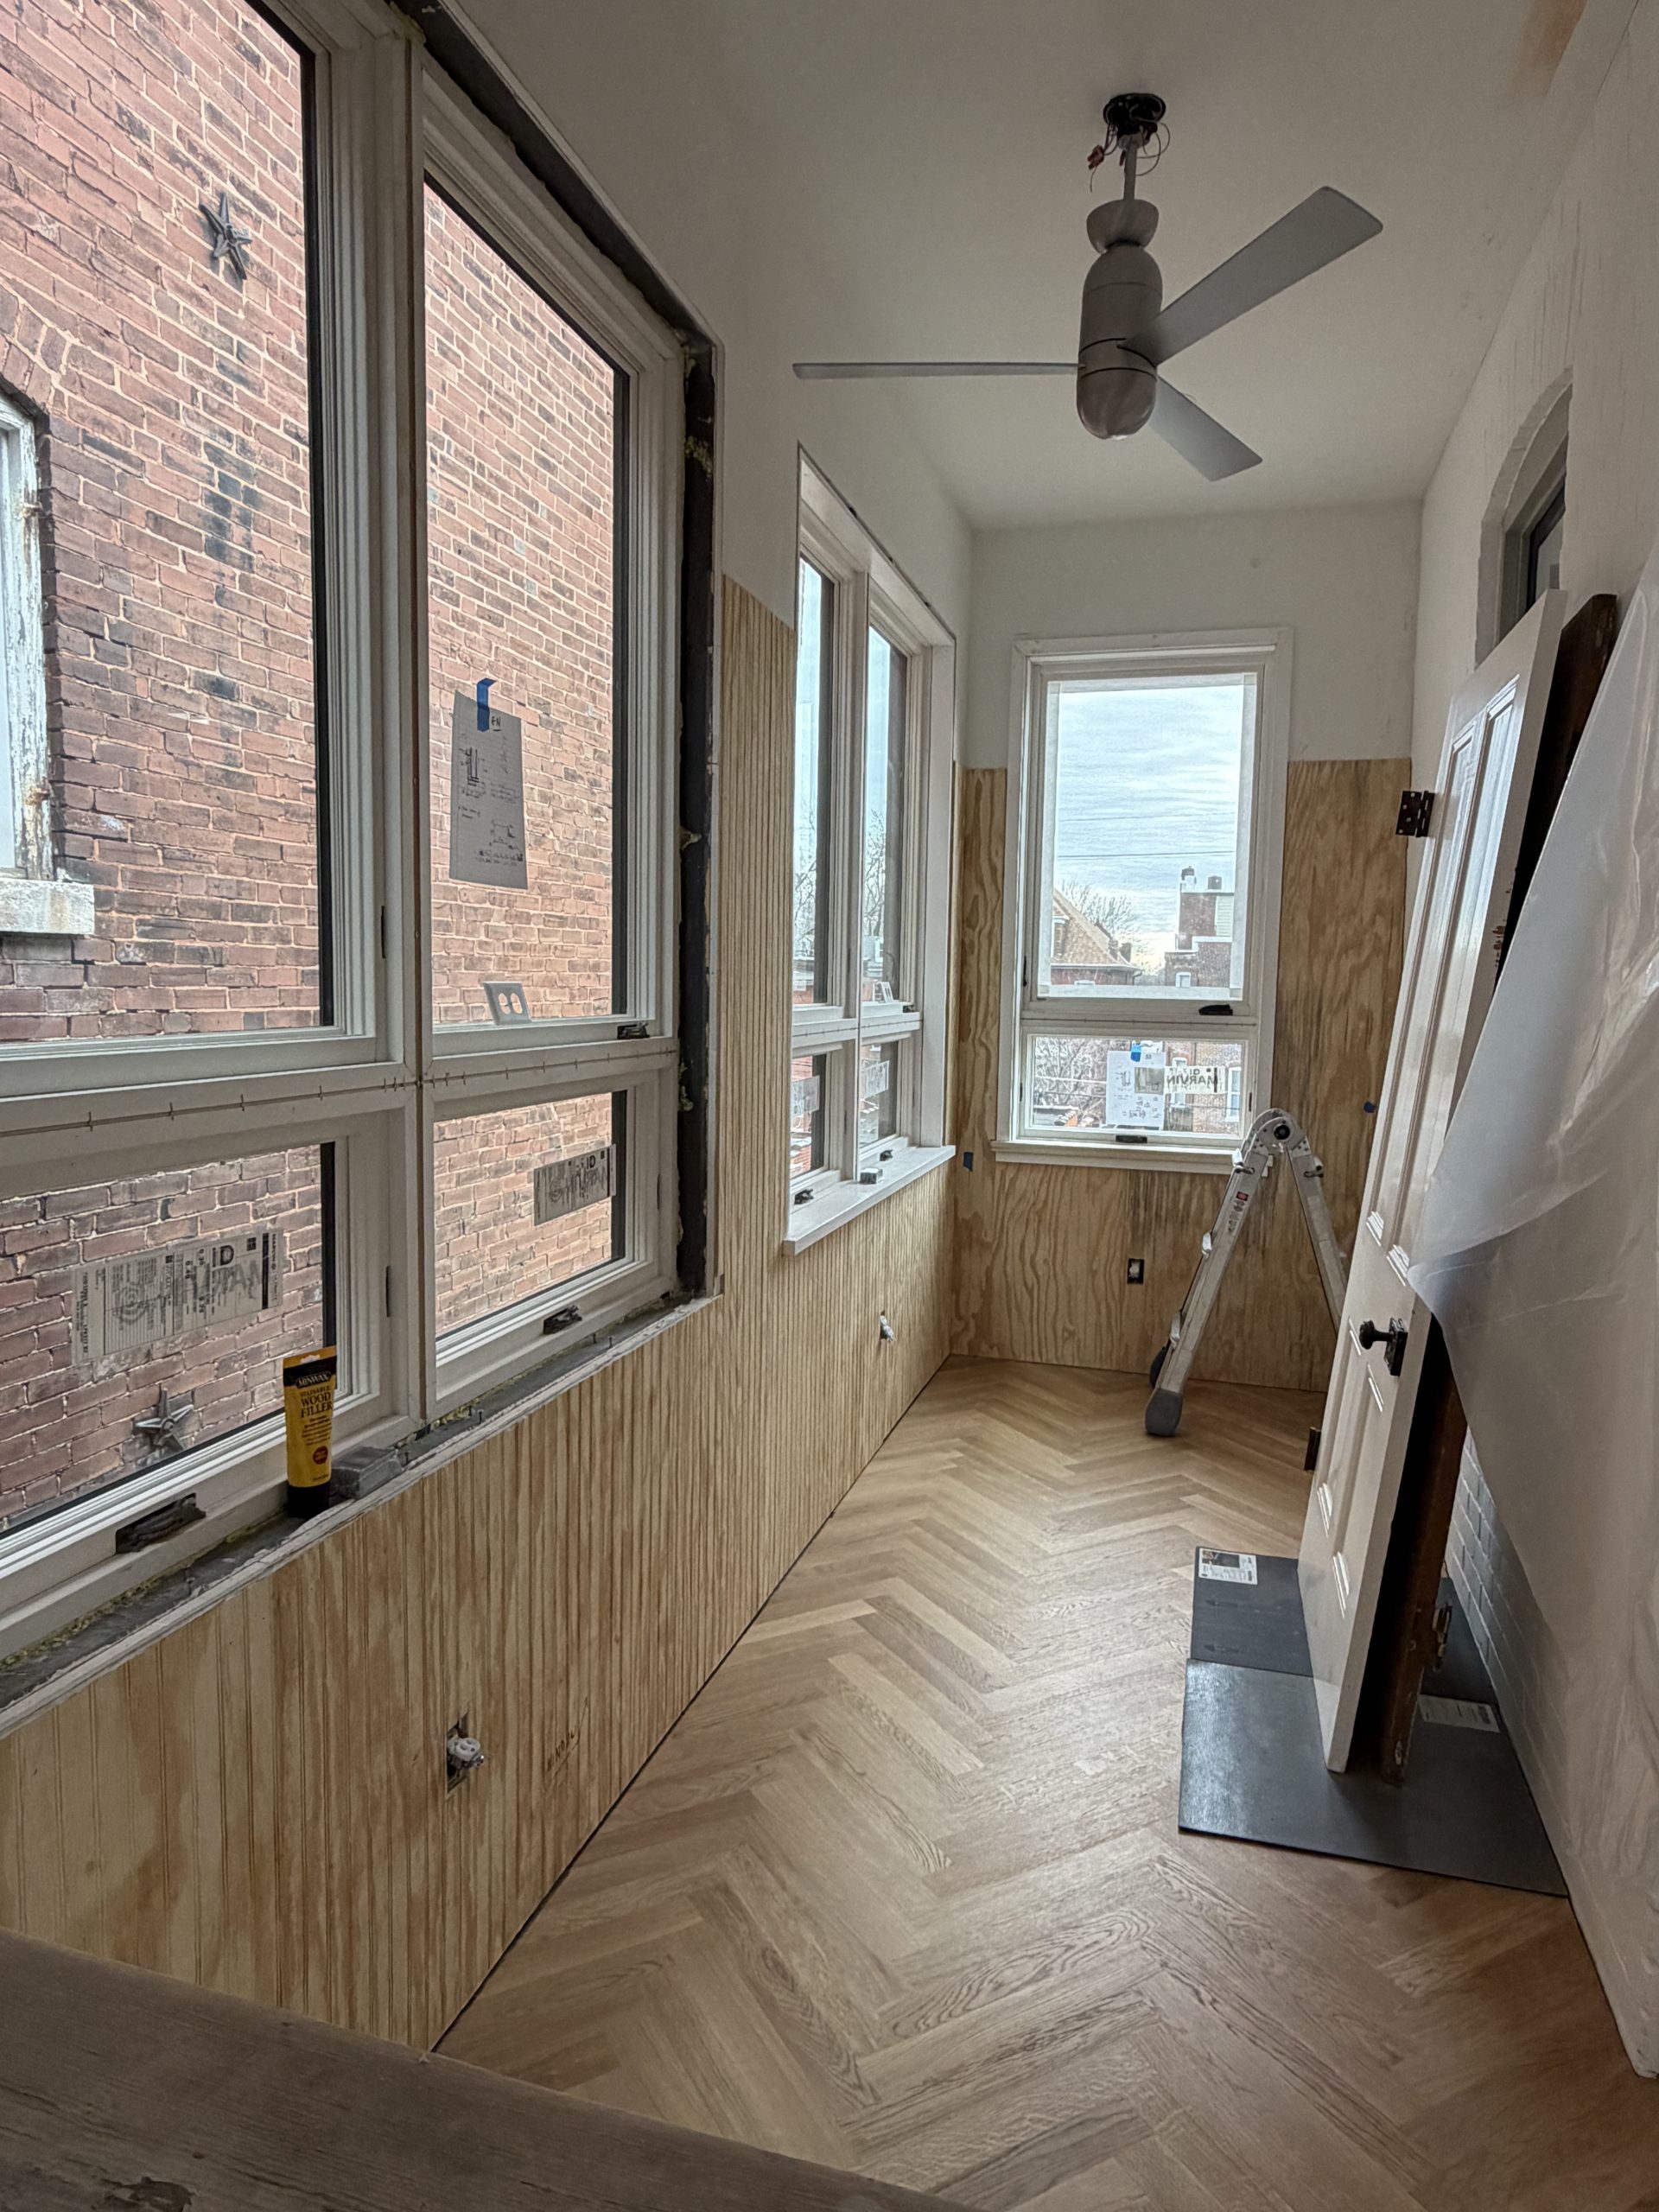
The second floor of the addition opens directly off our back room – it’s the fourth bedroom in our house but serves as our family den. We filled this room with operable windows with screens that will make this room feel like a screened-in porch – something that I’ve always wanted on this house. I love being outside, and I use the front garden way more than I even thought I would. But we have some serious mosquitoes during some of the summer and early fall, so I’m looking forward to having a space to spend a few minutes in without feeling like I need to spray myself down to enjoy it. This room is a great shape for yoga, and I also plan to install a hammock in it.
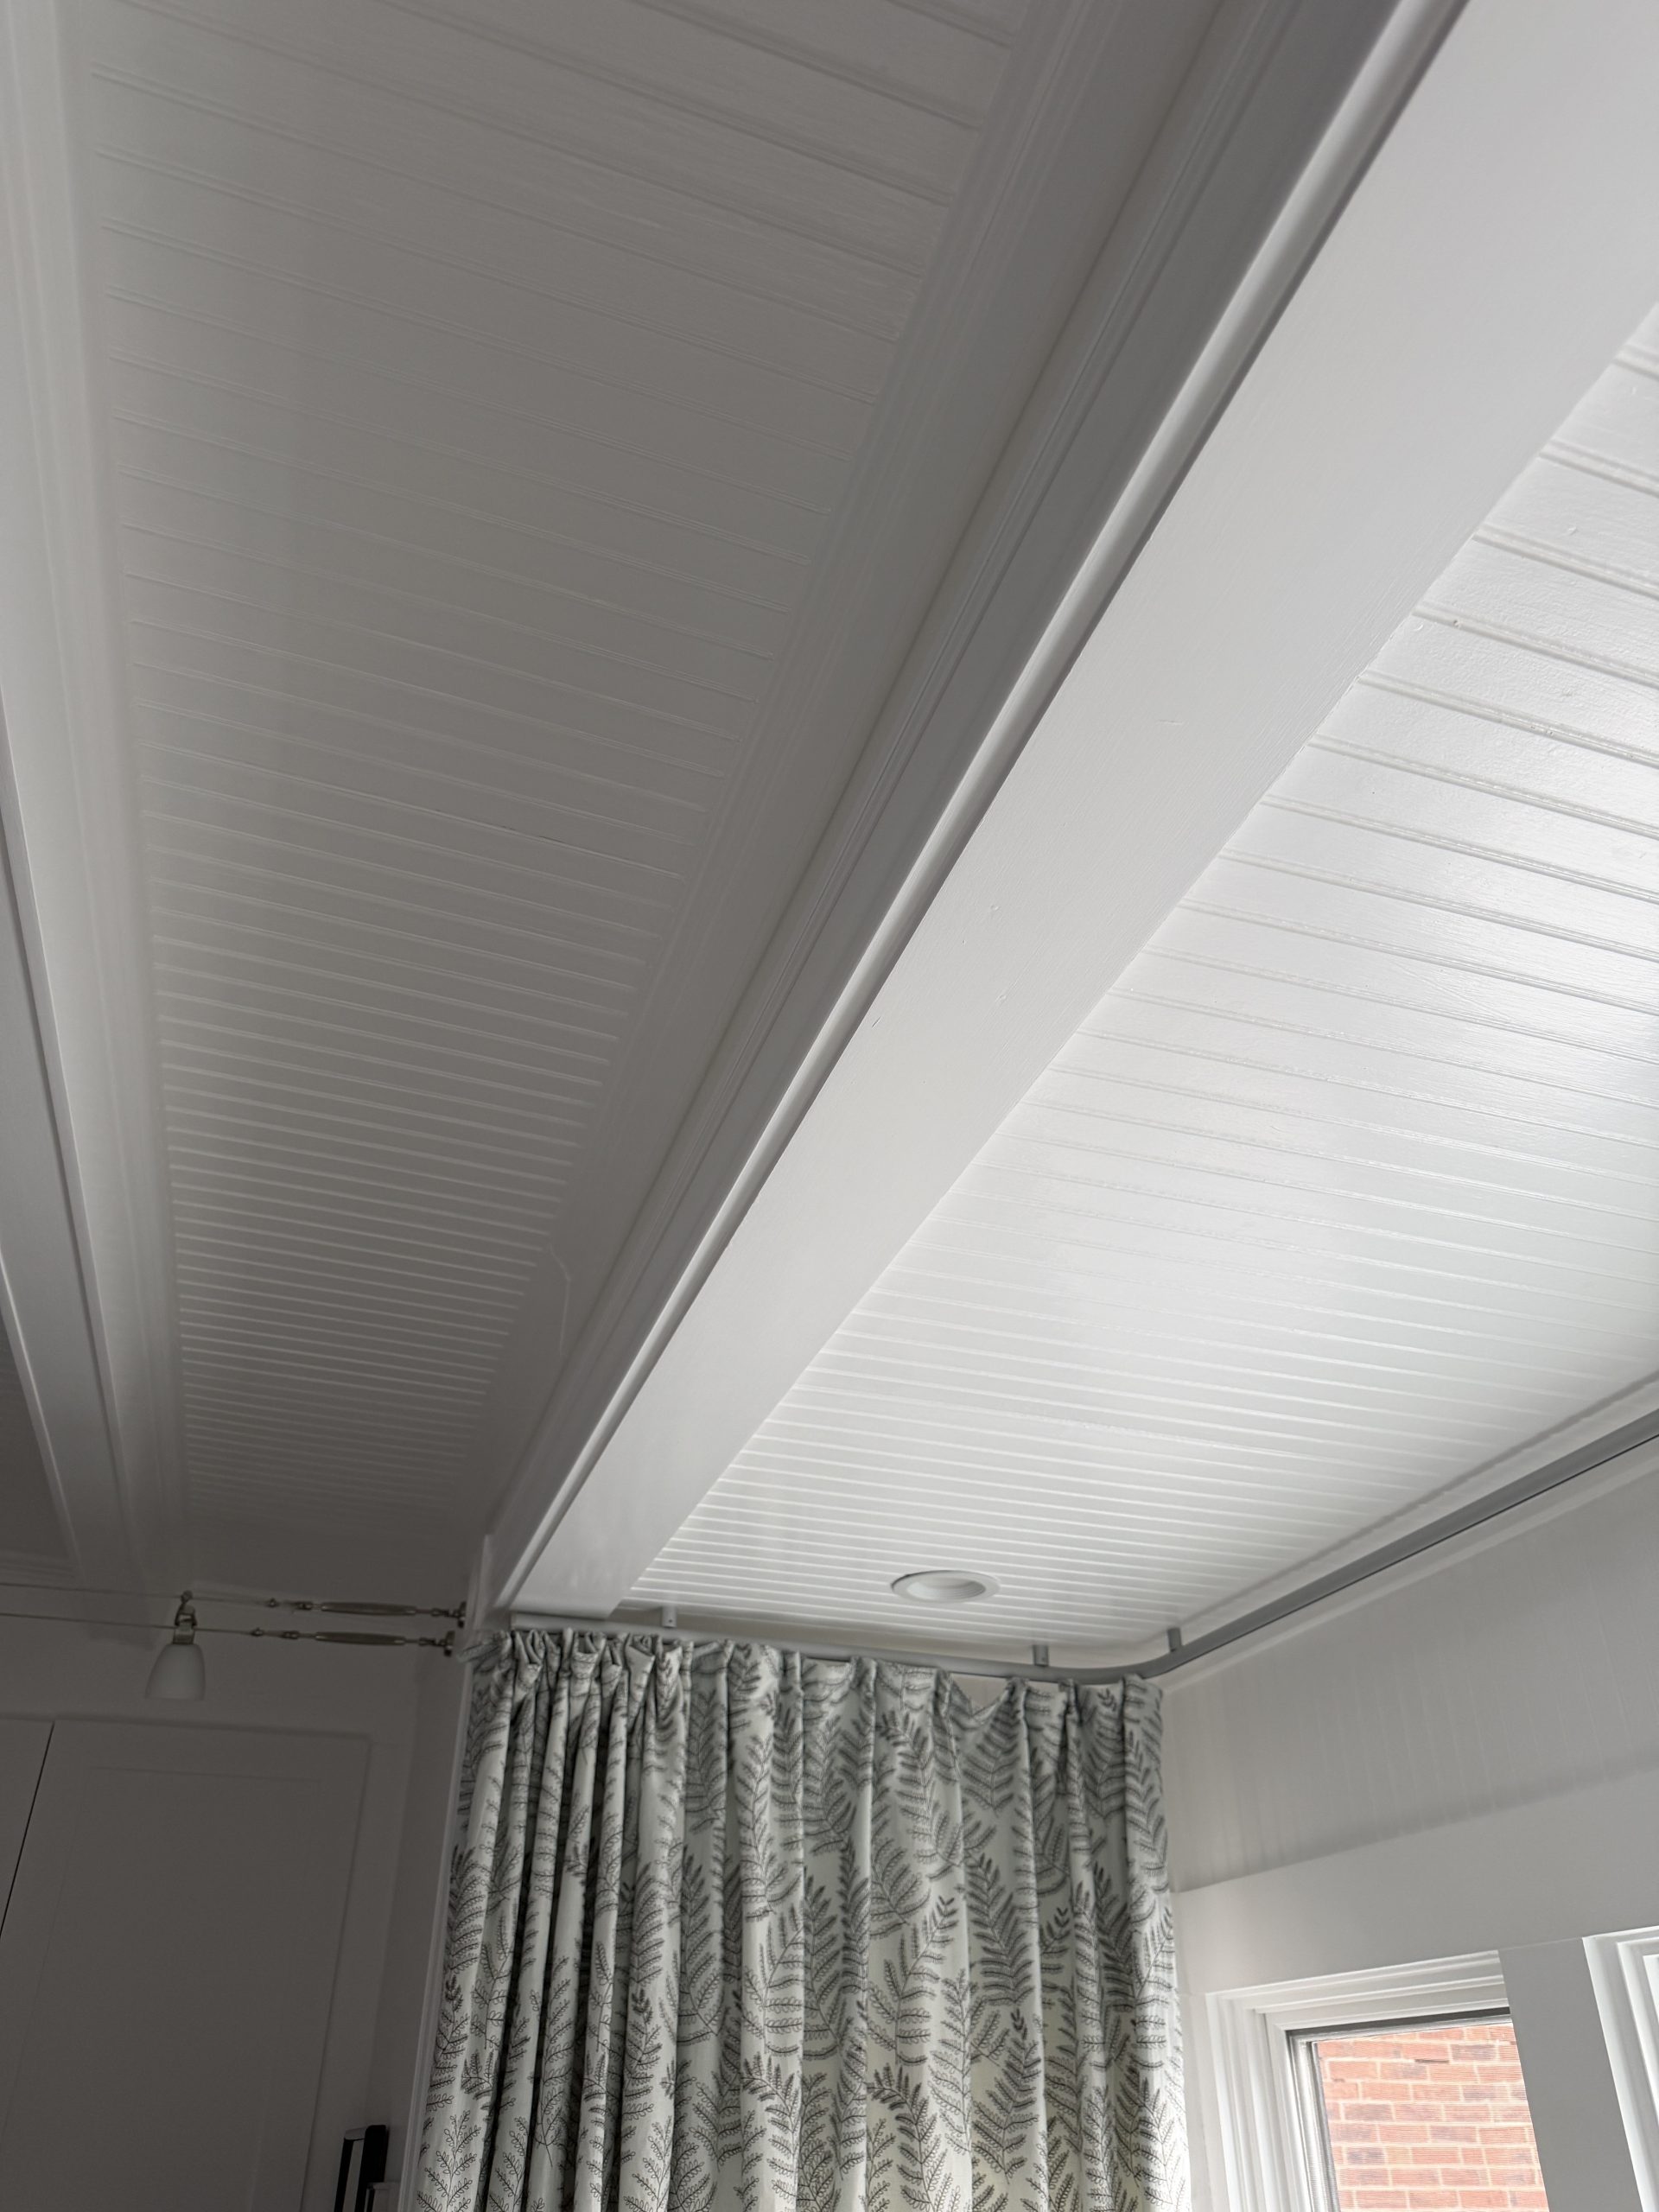
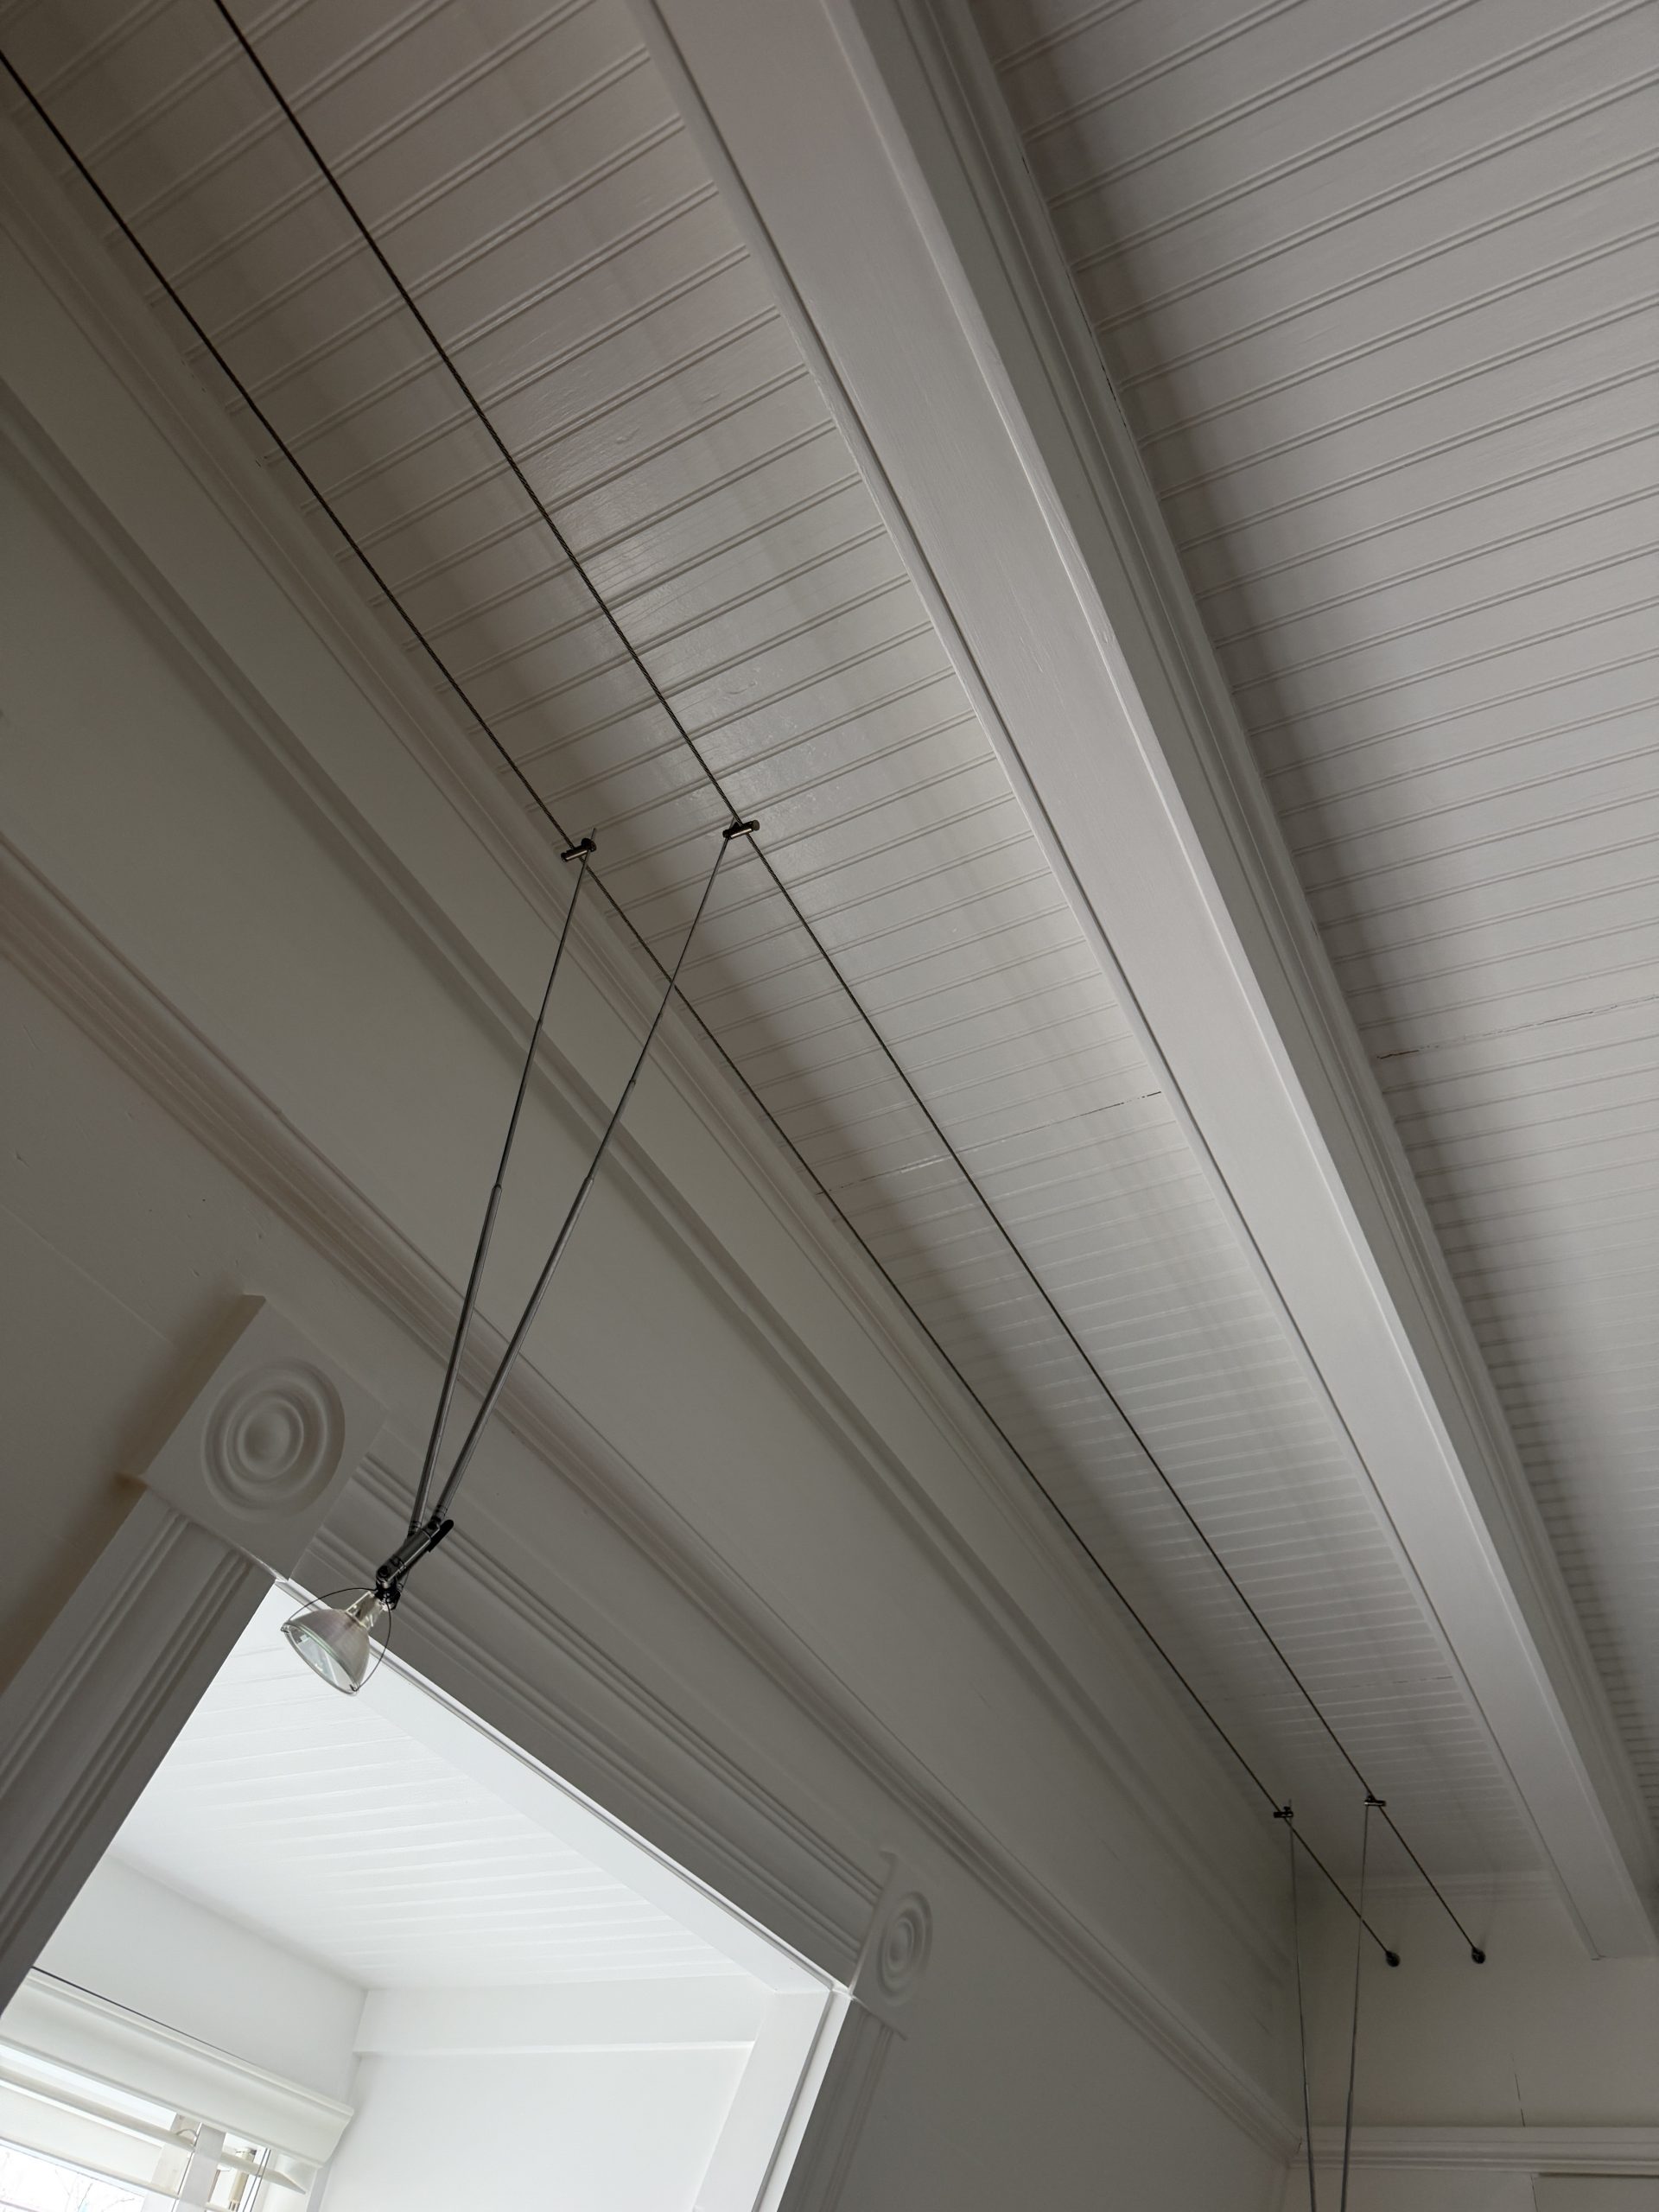
The original kitchens in both units had a tongue-and-groove wainscoting with a v-groove detail, and we’ve used wainscoting in most of the utility spaces within the house. The original two-story porch had beadboard detailing, and we’ve used it as wainscoting and ceiling details throughout. We decided to install a v-groove wainscoting in the pantry on the first floor, and beadboard wainscoting in this room on the second floor.
M marked out the locations of the wall studs to ensure that the joints all fell over studs so the panel edges could be secured to them to reduce the chance of having noticeable gaps at the joints. M worked on this room in between floor leveling or herringbone adhesive drying periods. Panels went up, window openings were cut, and now we’ve paused on this to move onto the kitchen cabinets. When we get another lull in the kitchen work, we’ll install a top cap and base shoe, sand, prime, and paint.
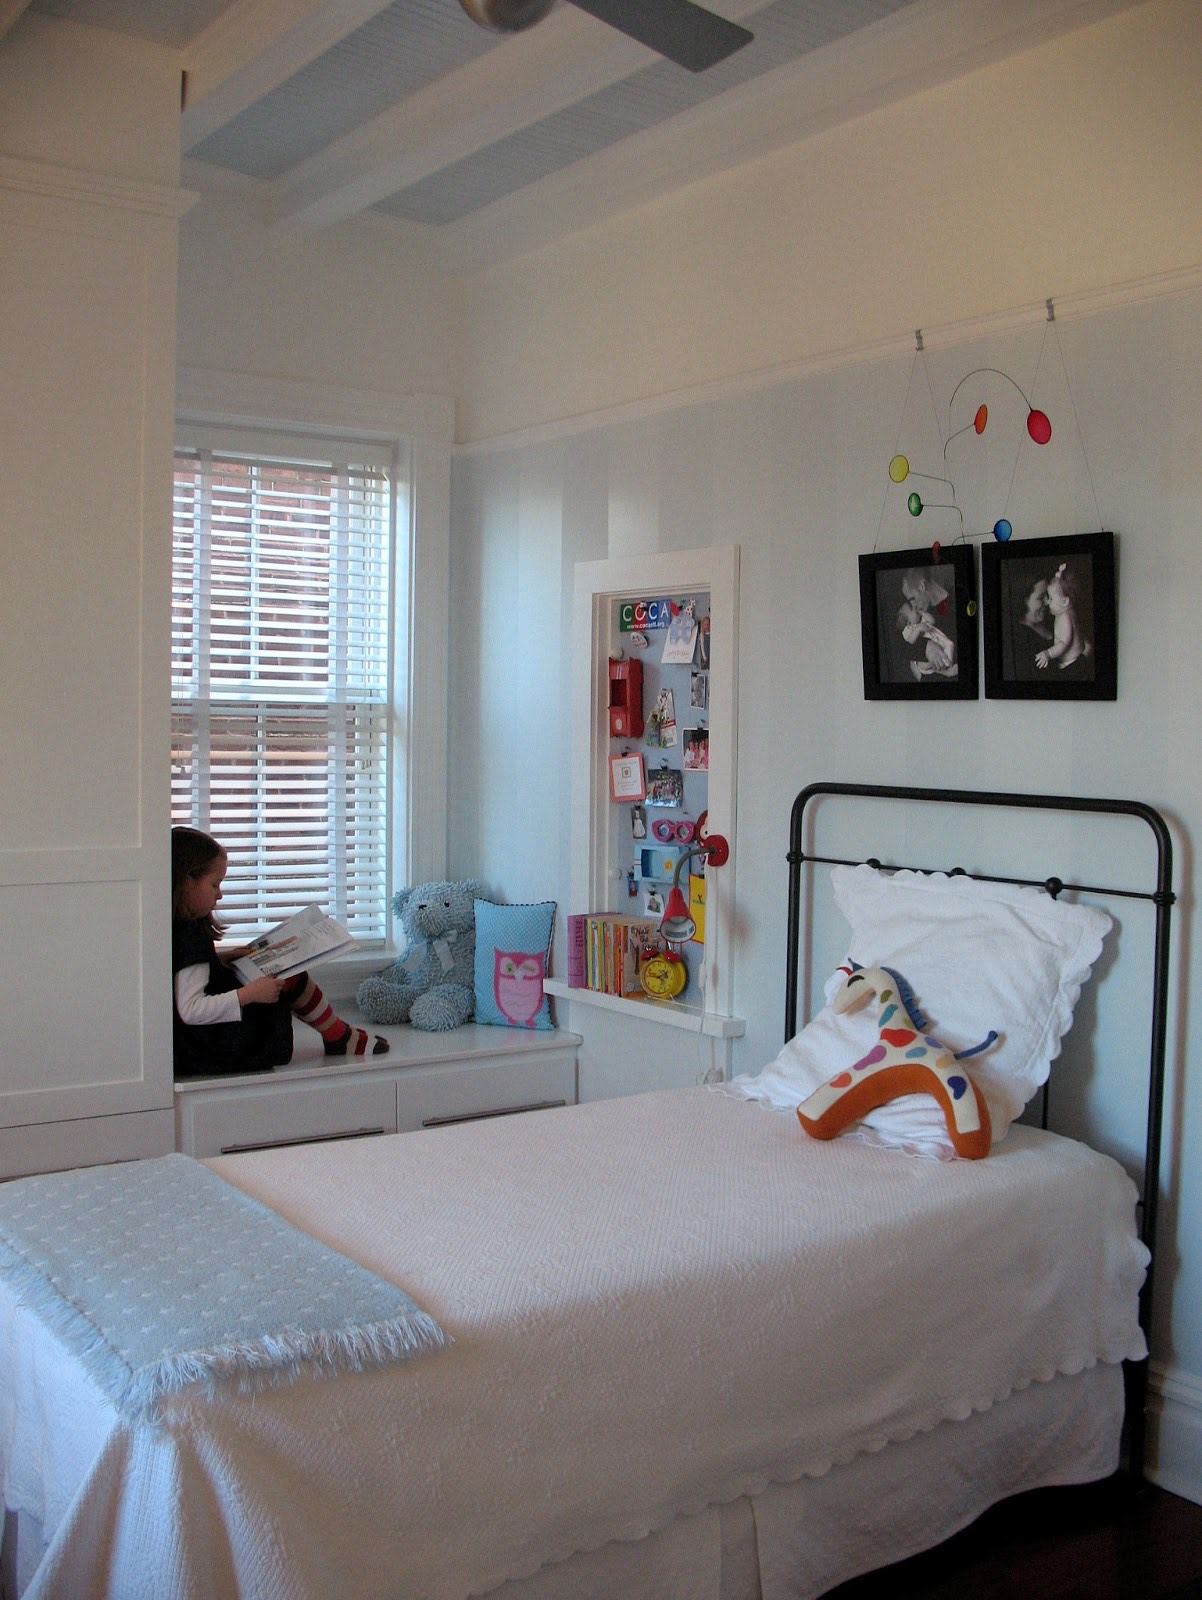
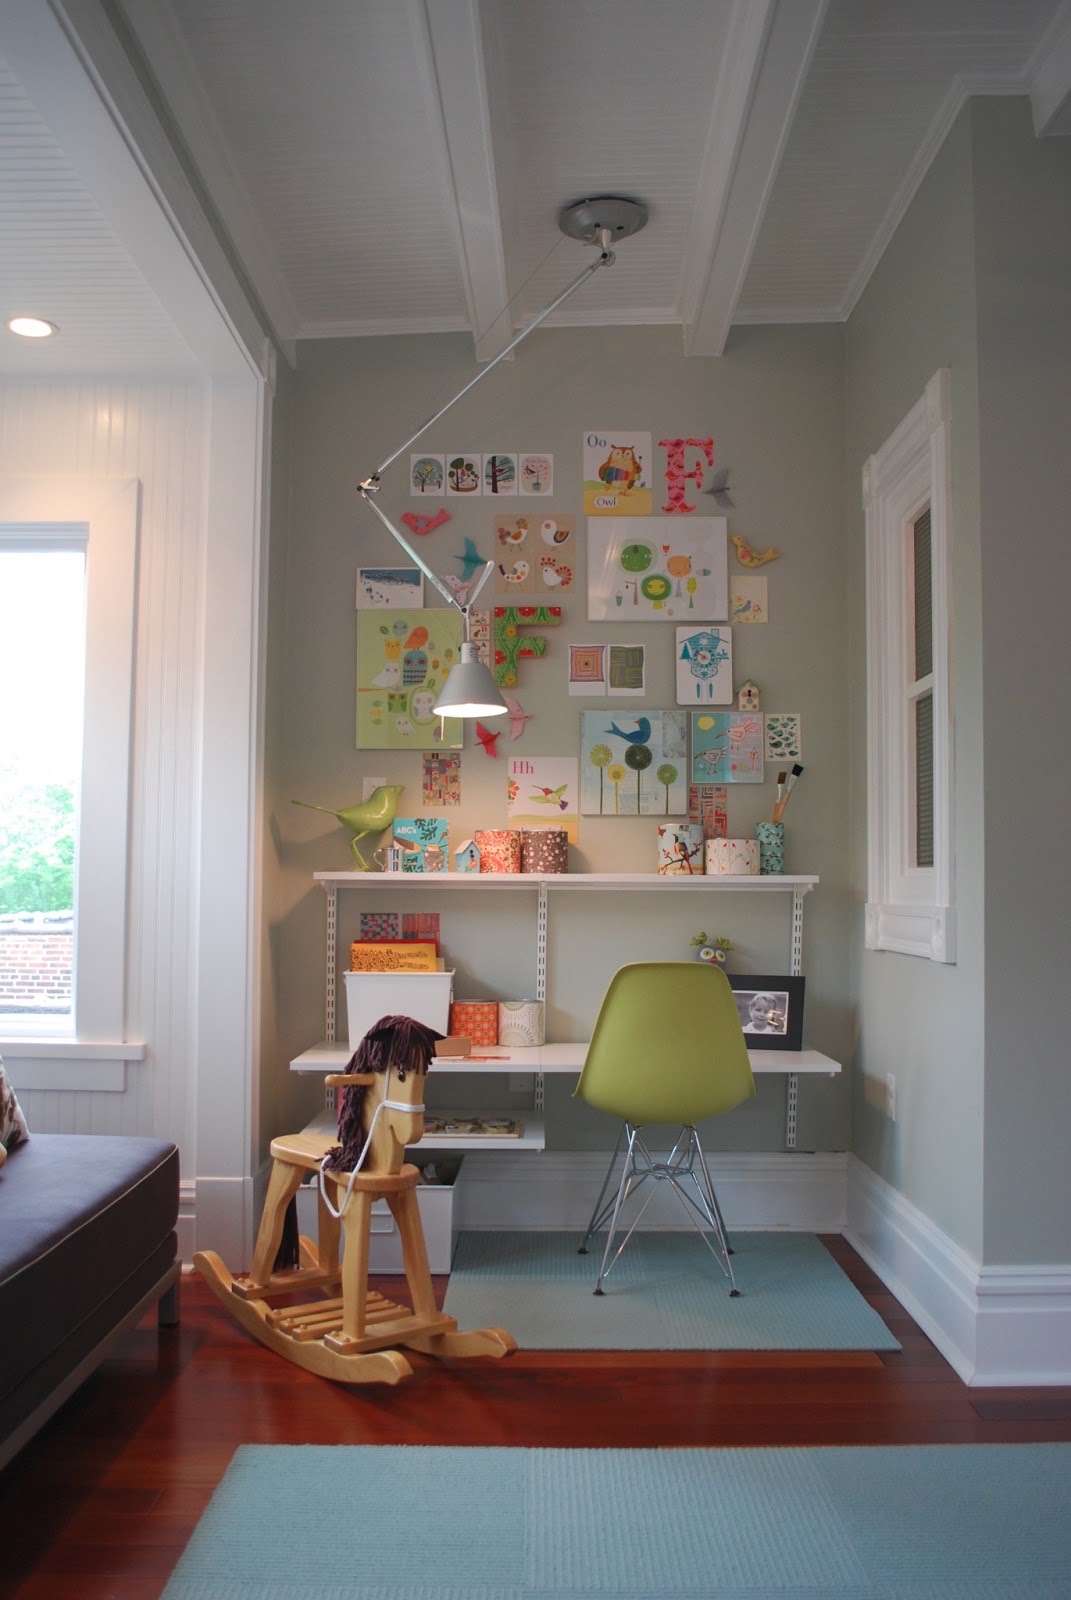
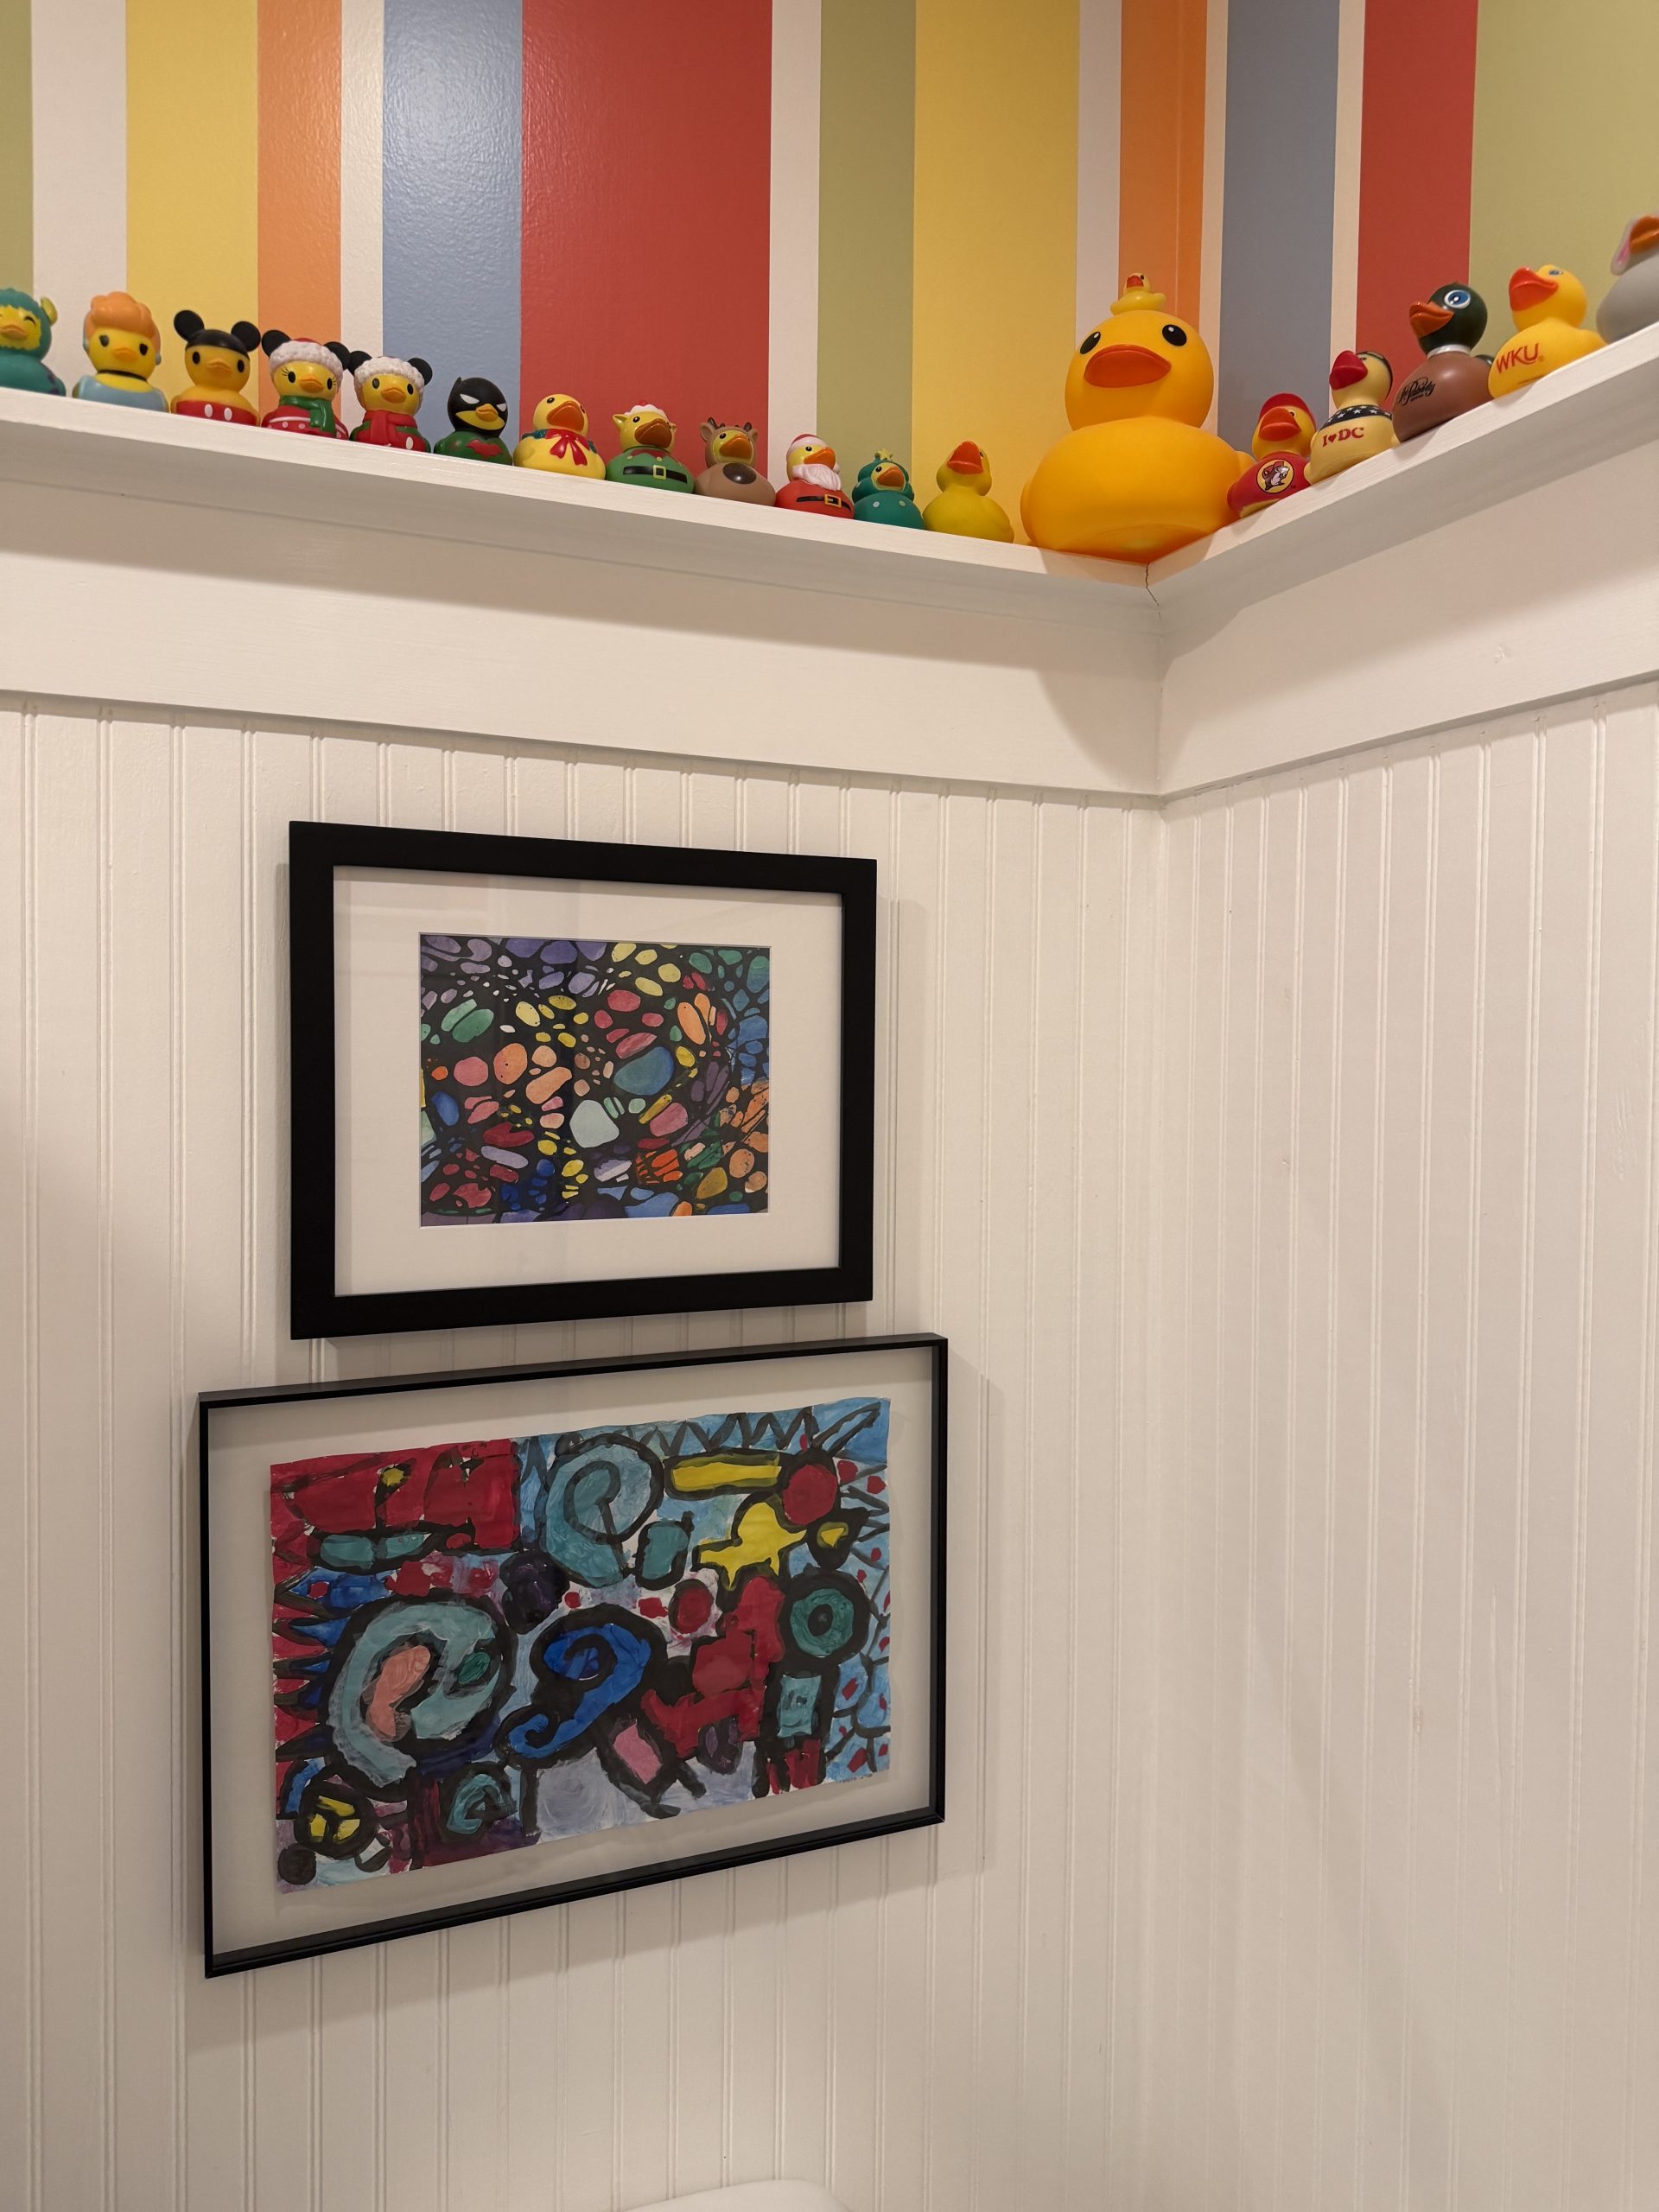
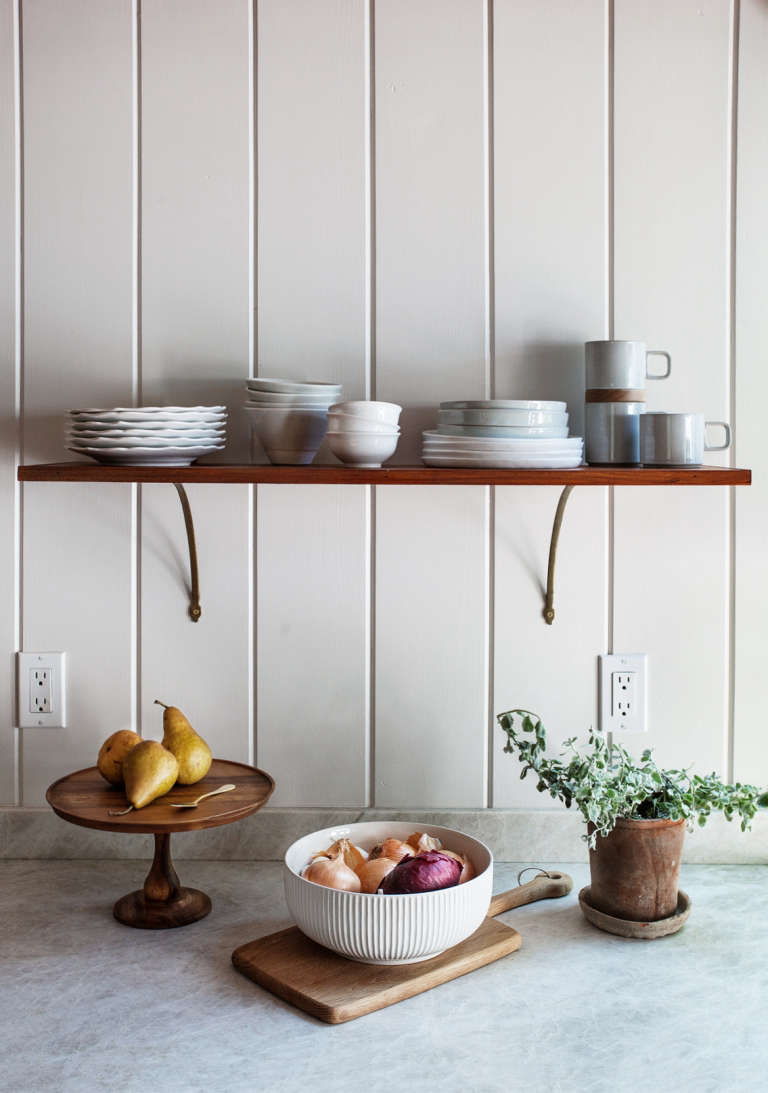
Here are other examples of beadboard in the house:
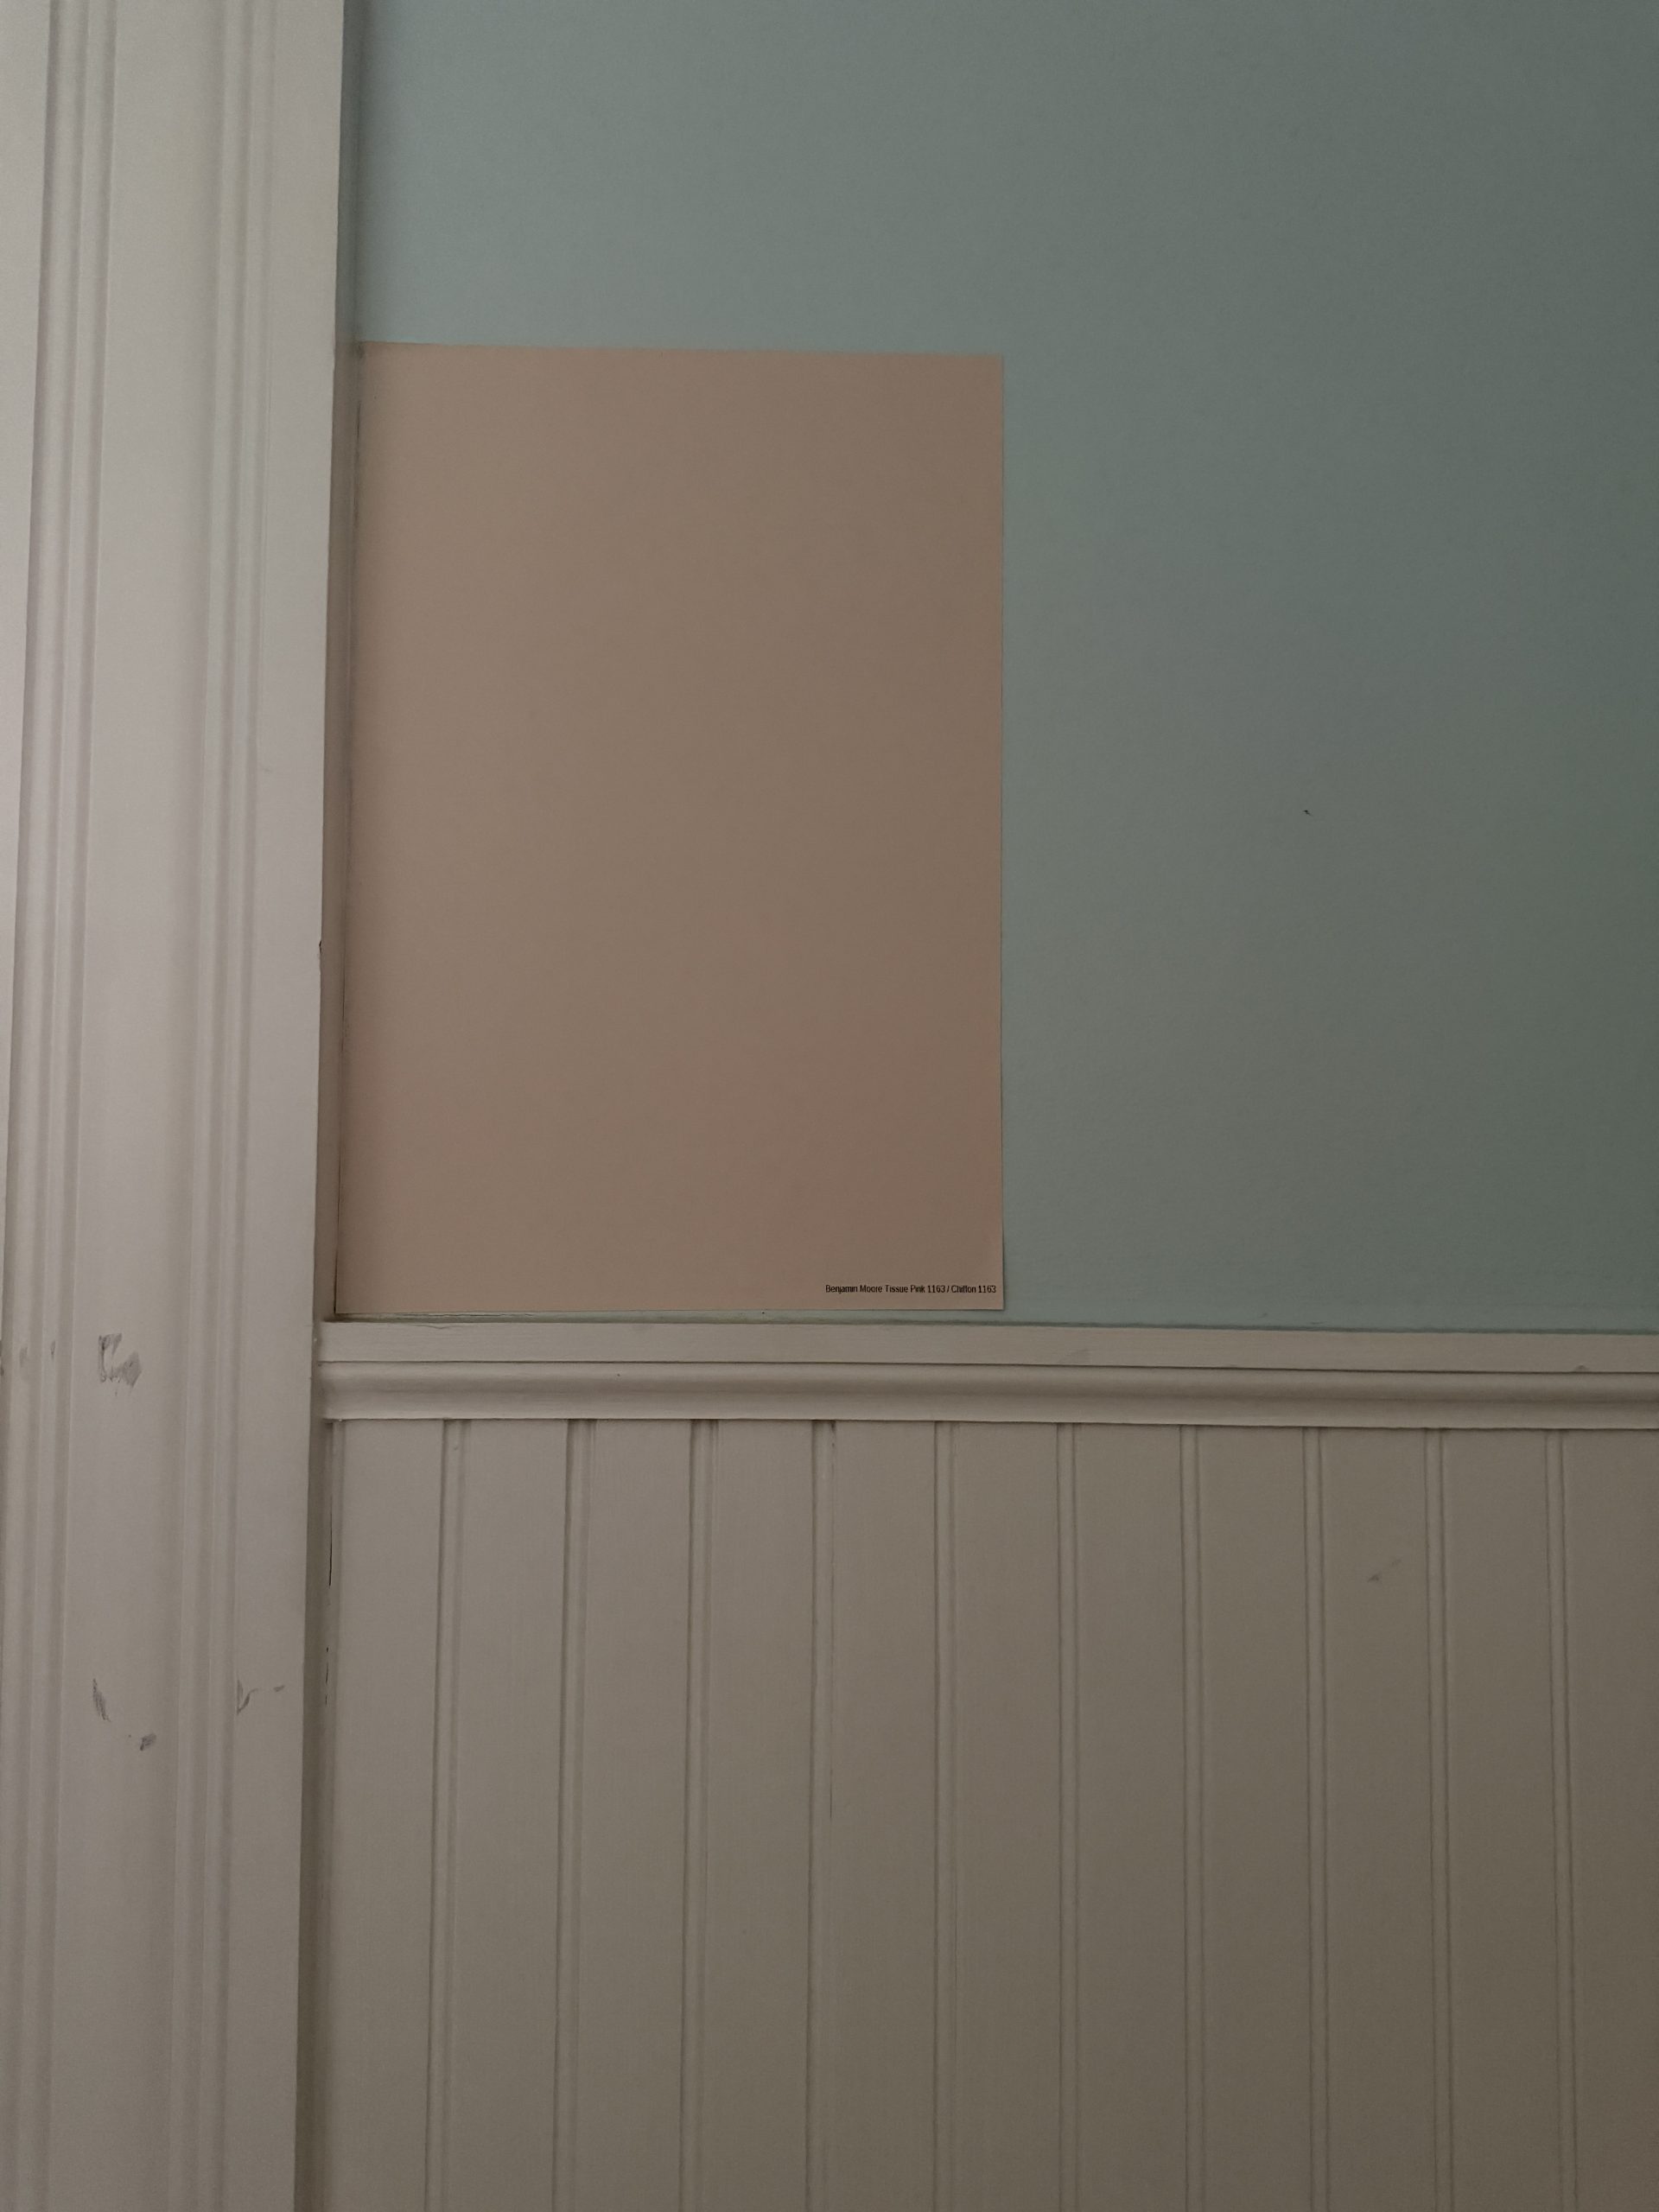
This was our inspiration photo for the v-groove paneling in the pantry. This has been fabricated and primed, and is ready for pickup.
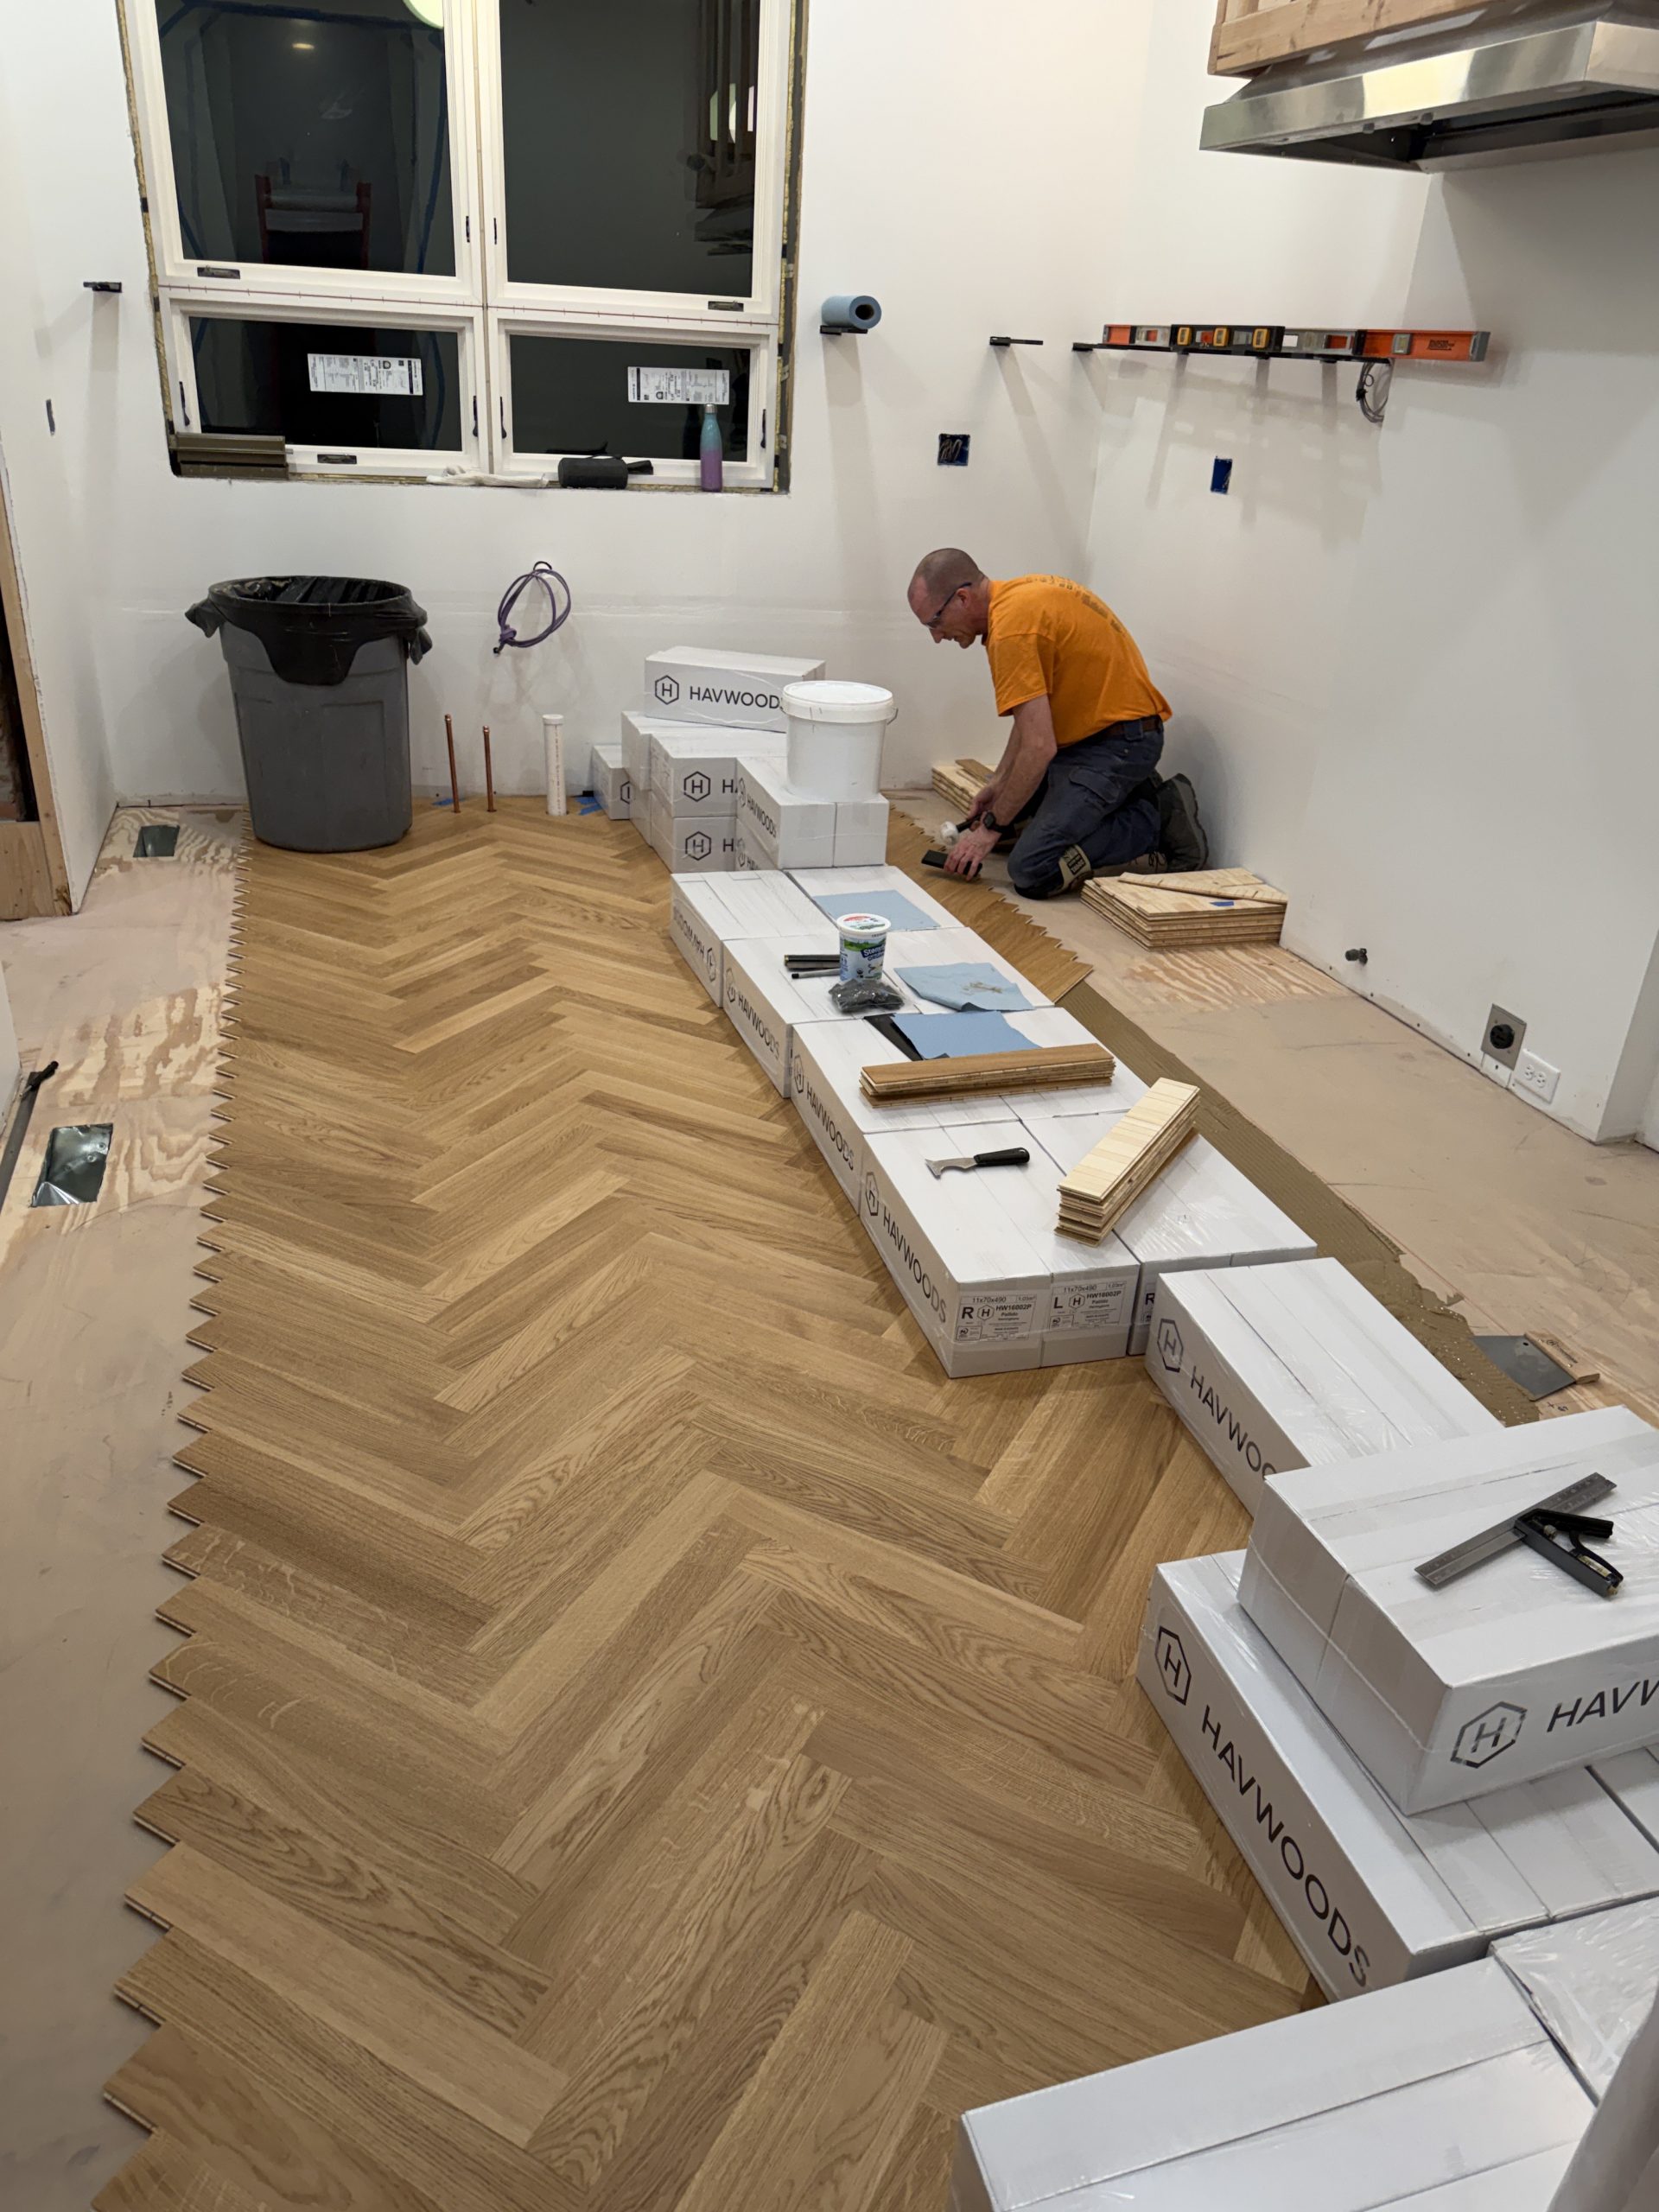
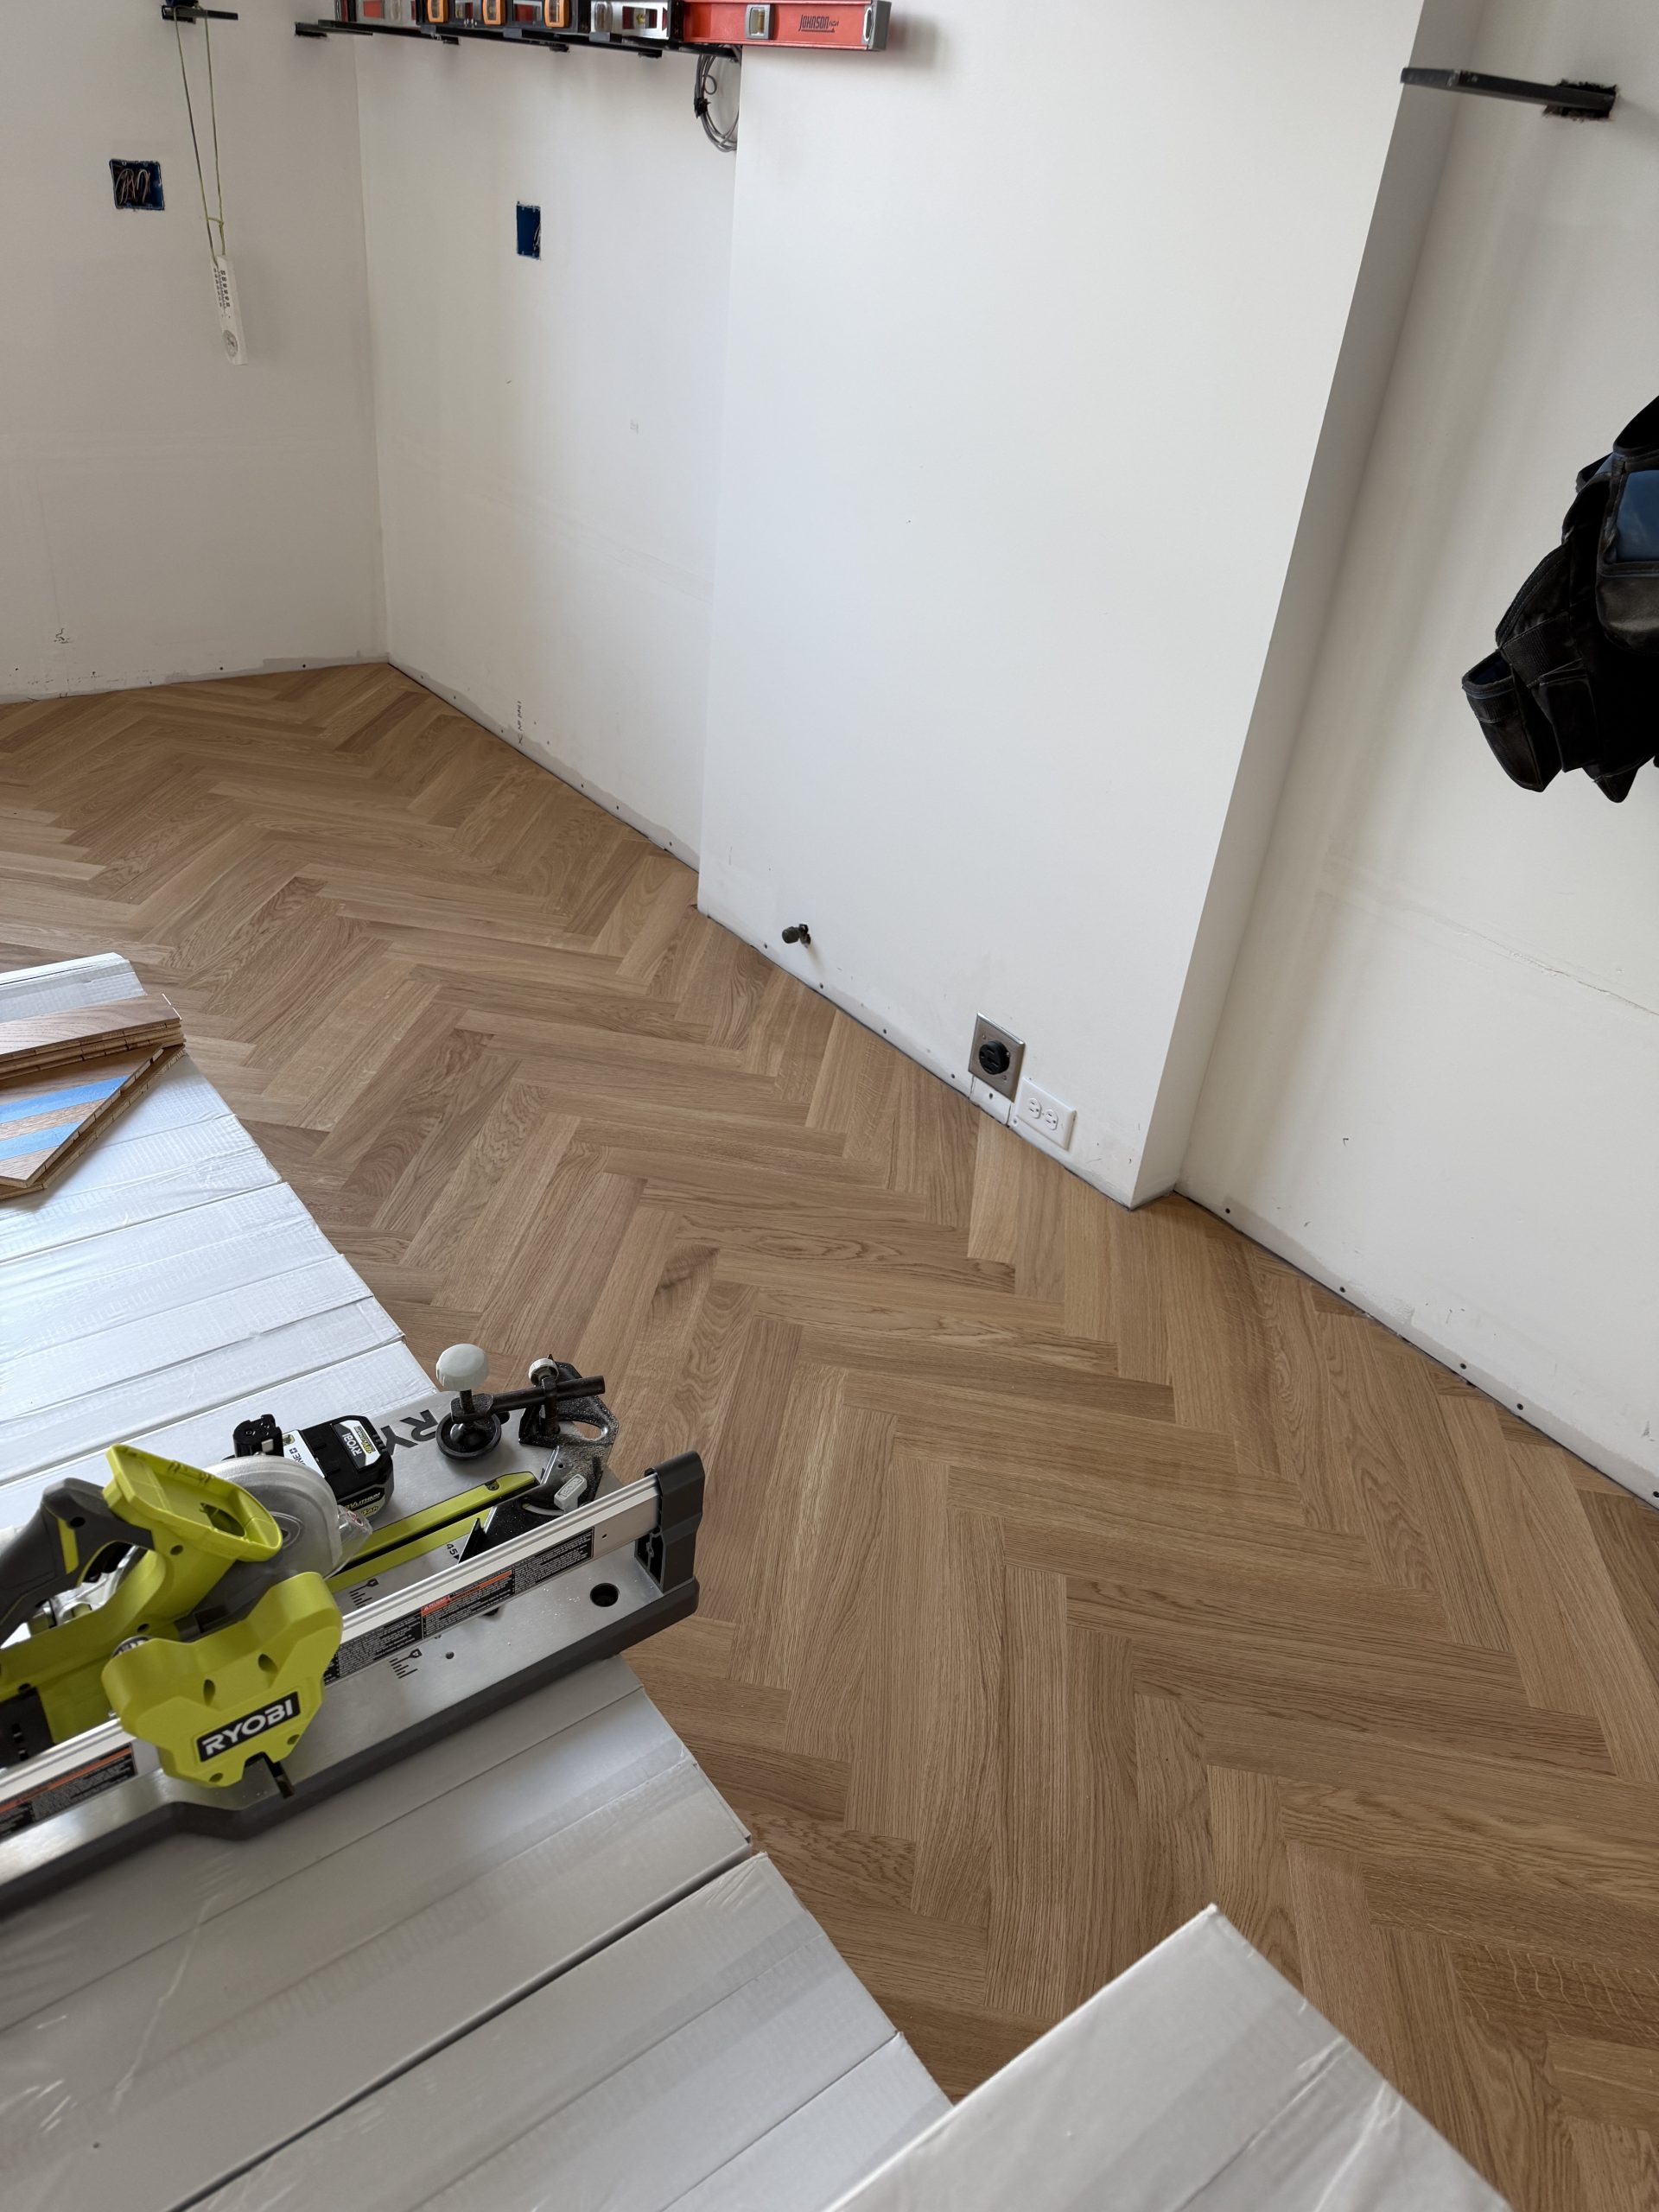
Set the layout for the first floor herringbone, started and completed the kitchen floor. This was a significant milestone on this project, and it was completed in record time!
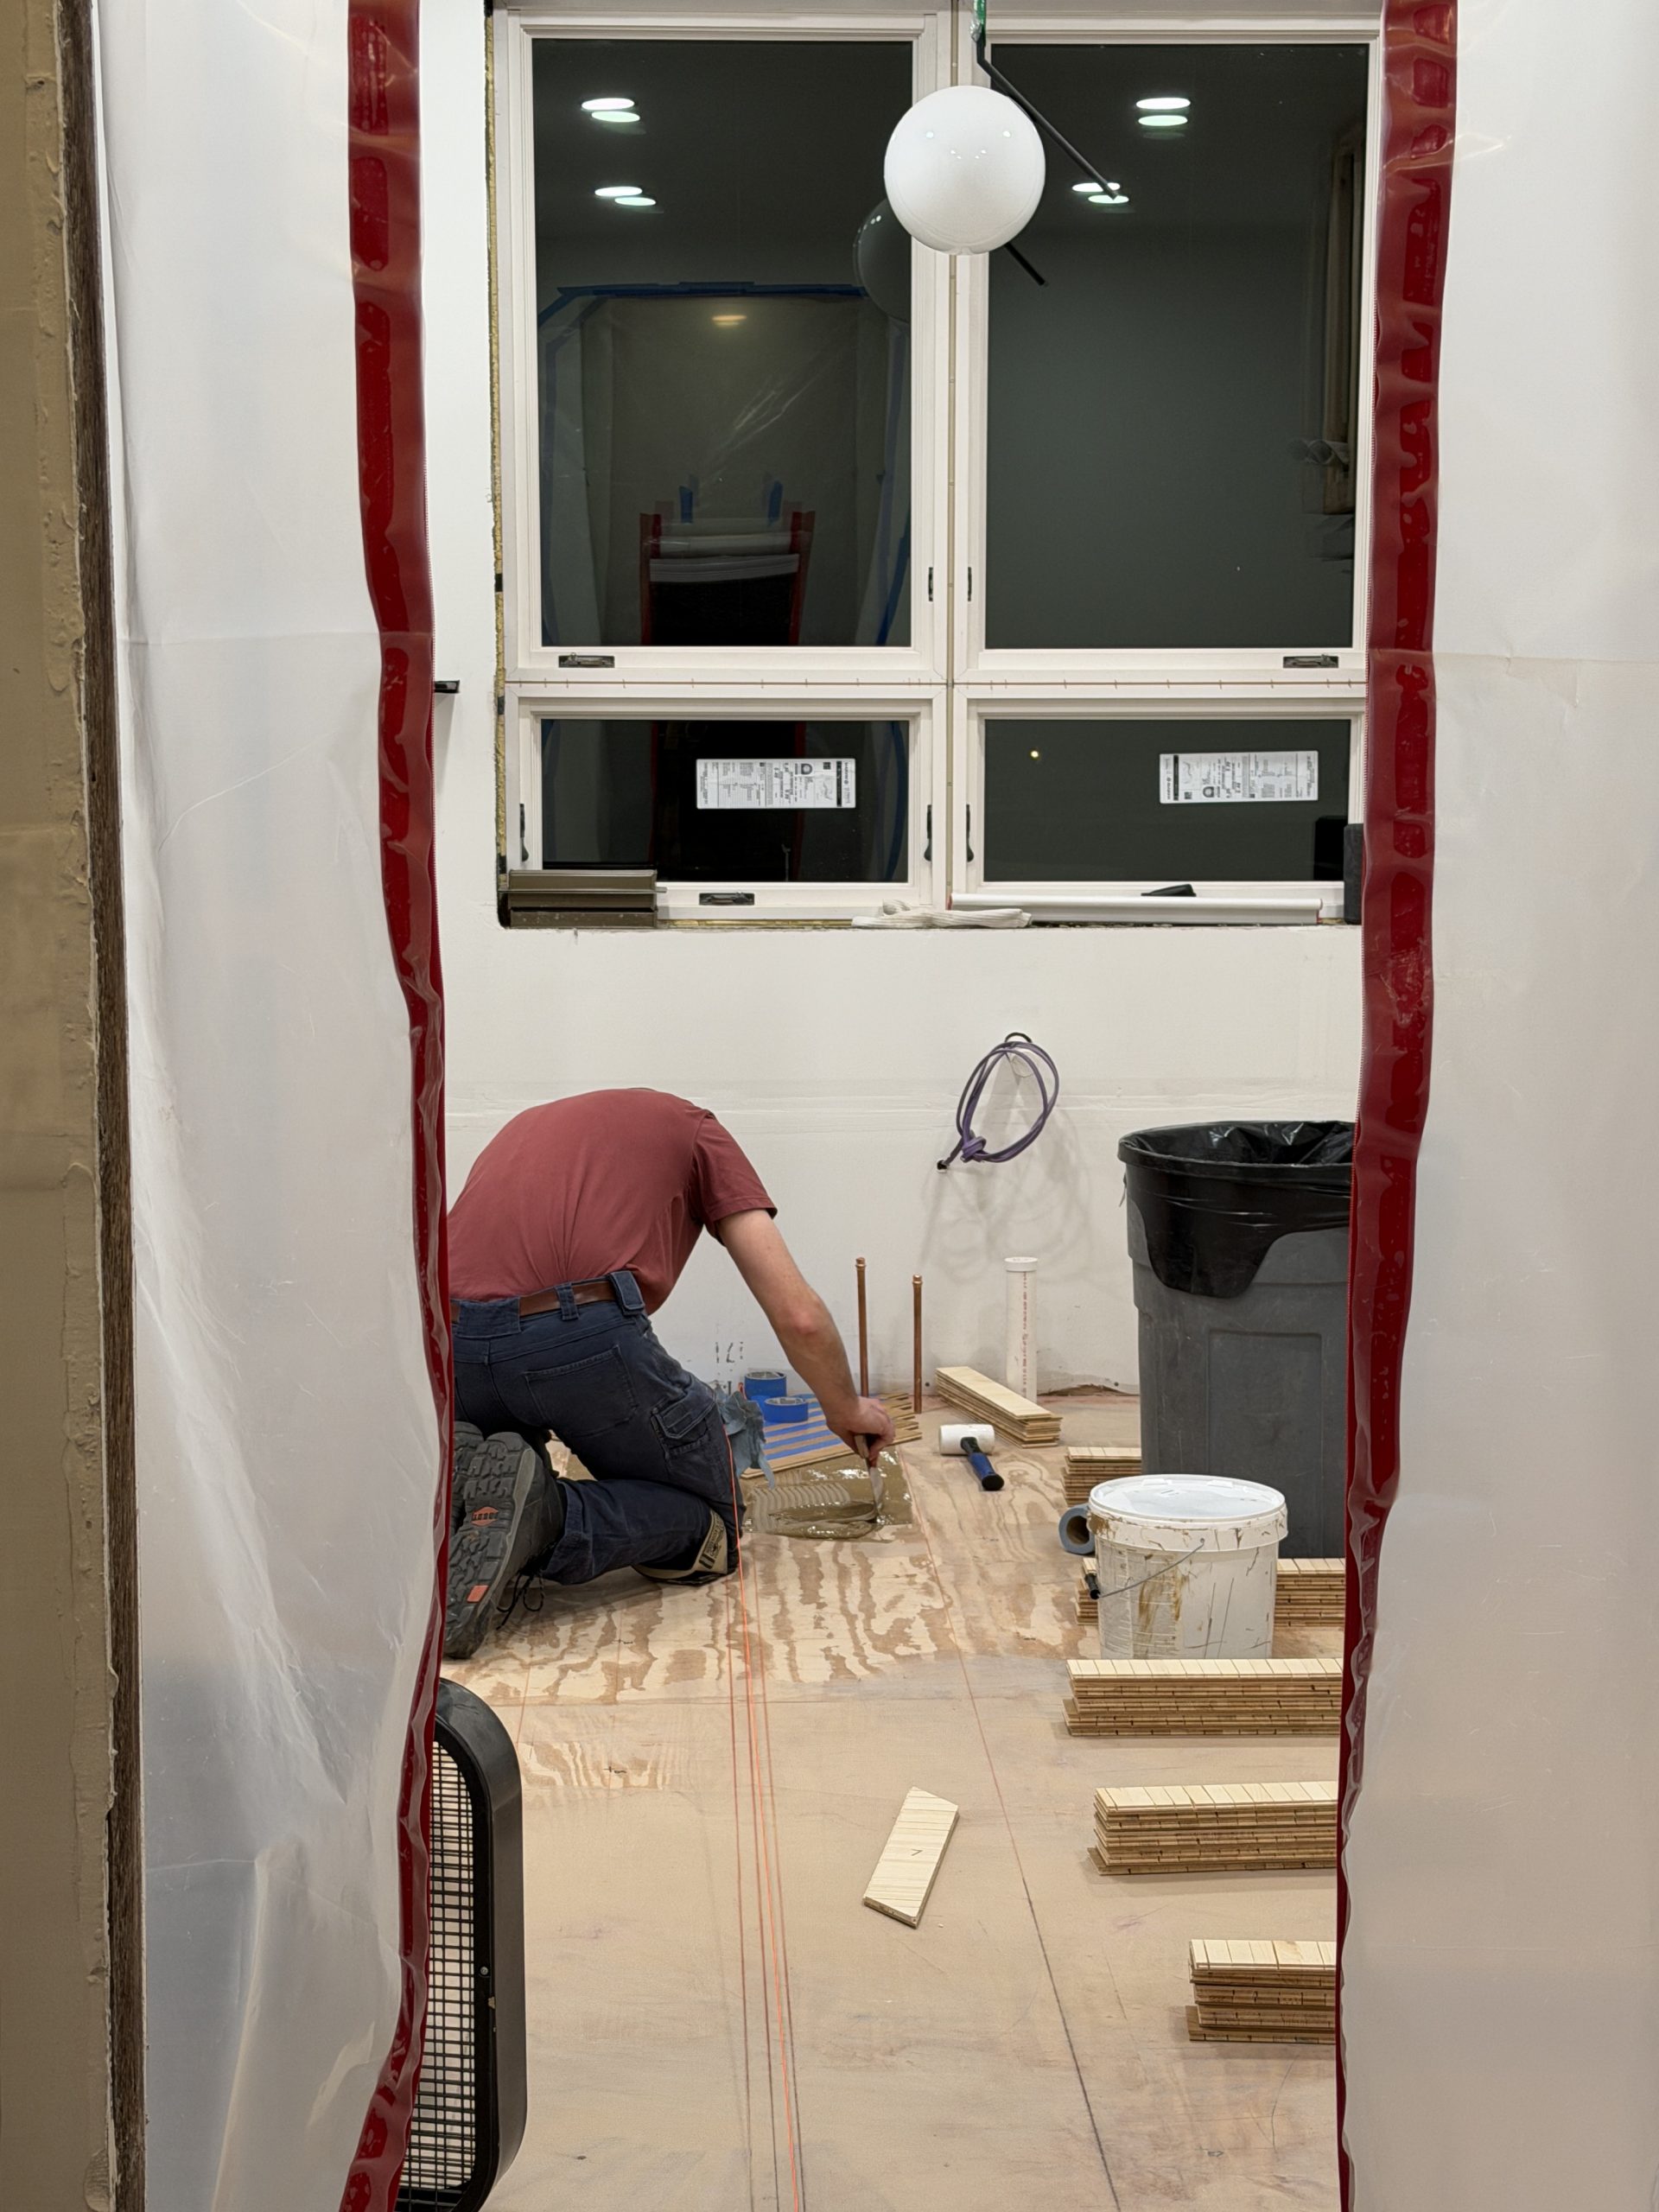
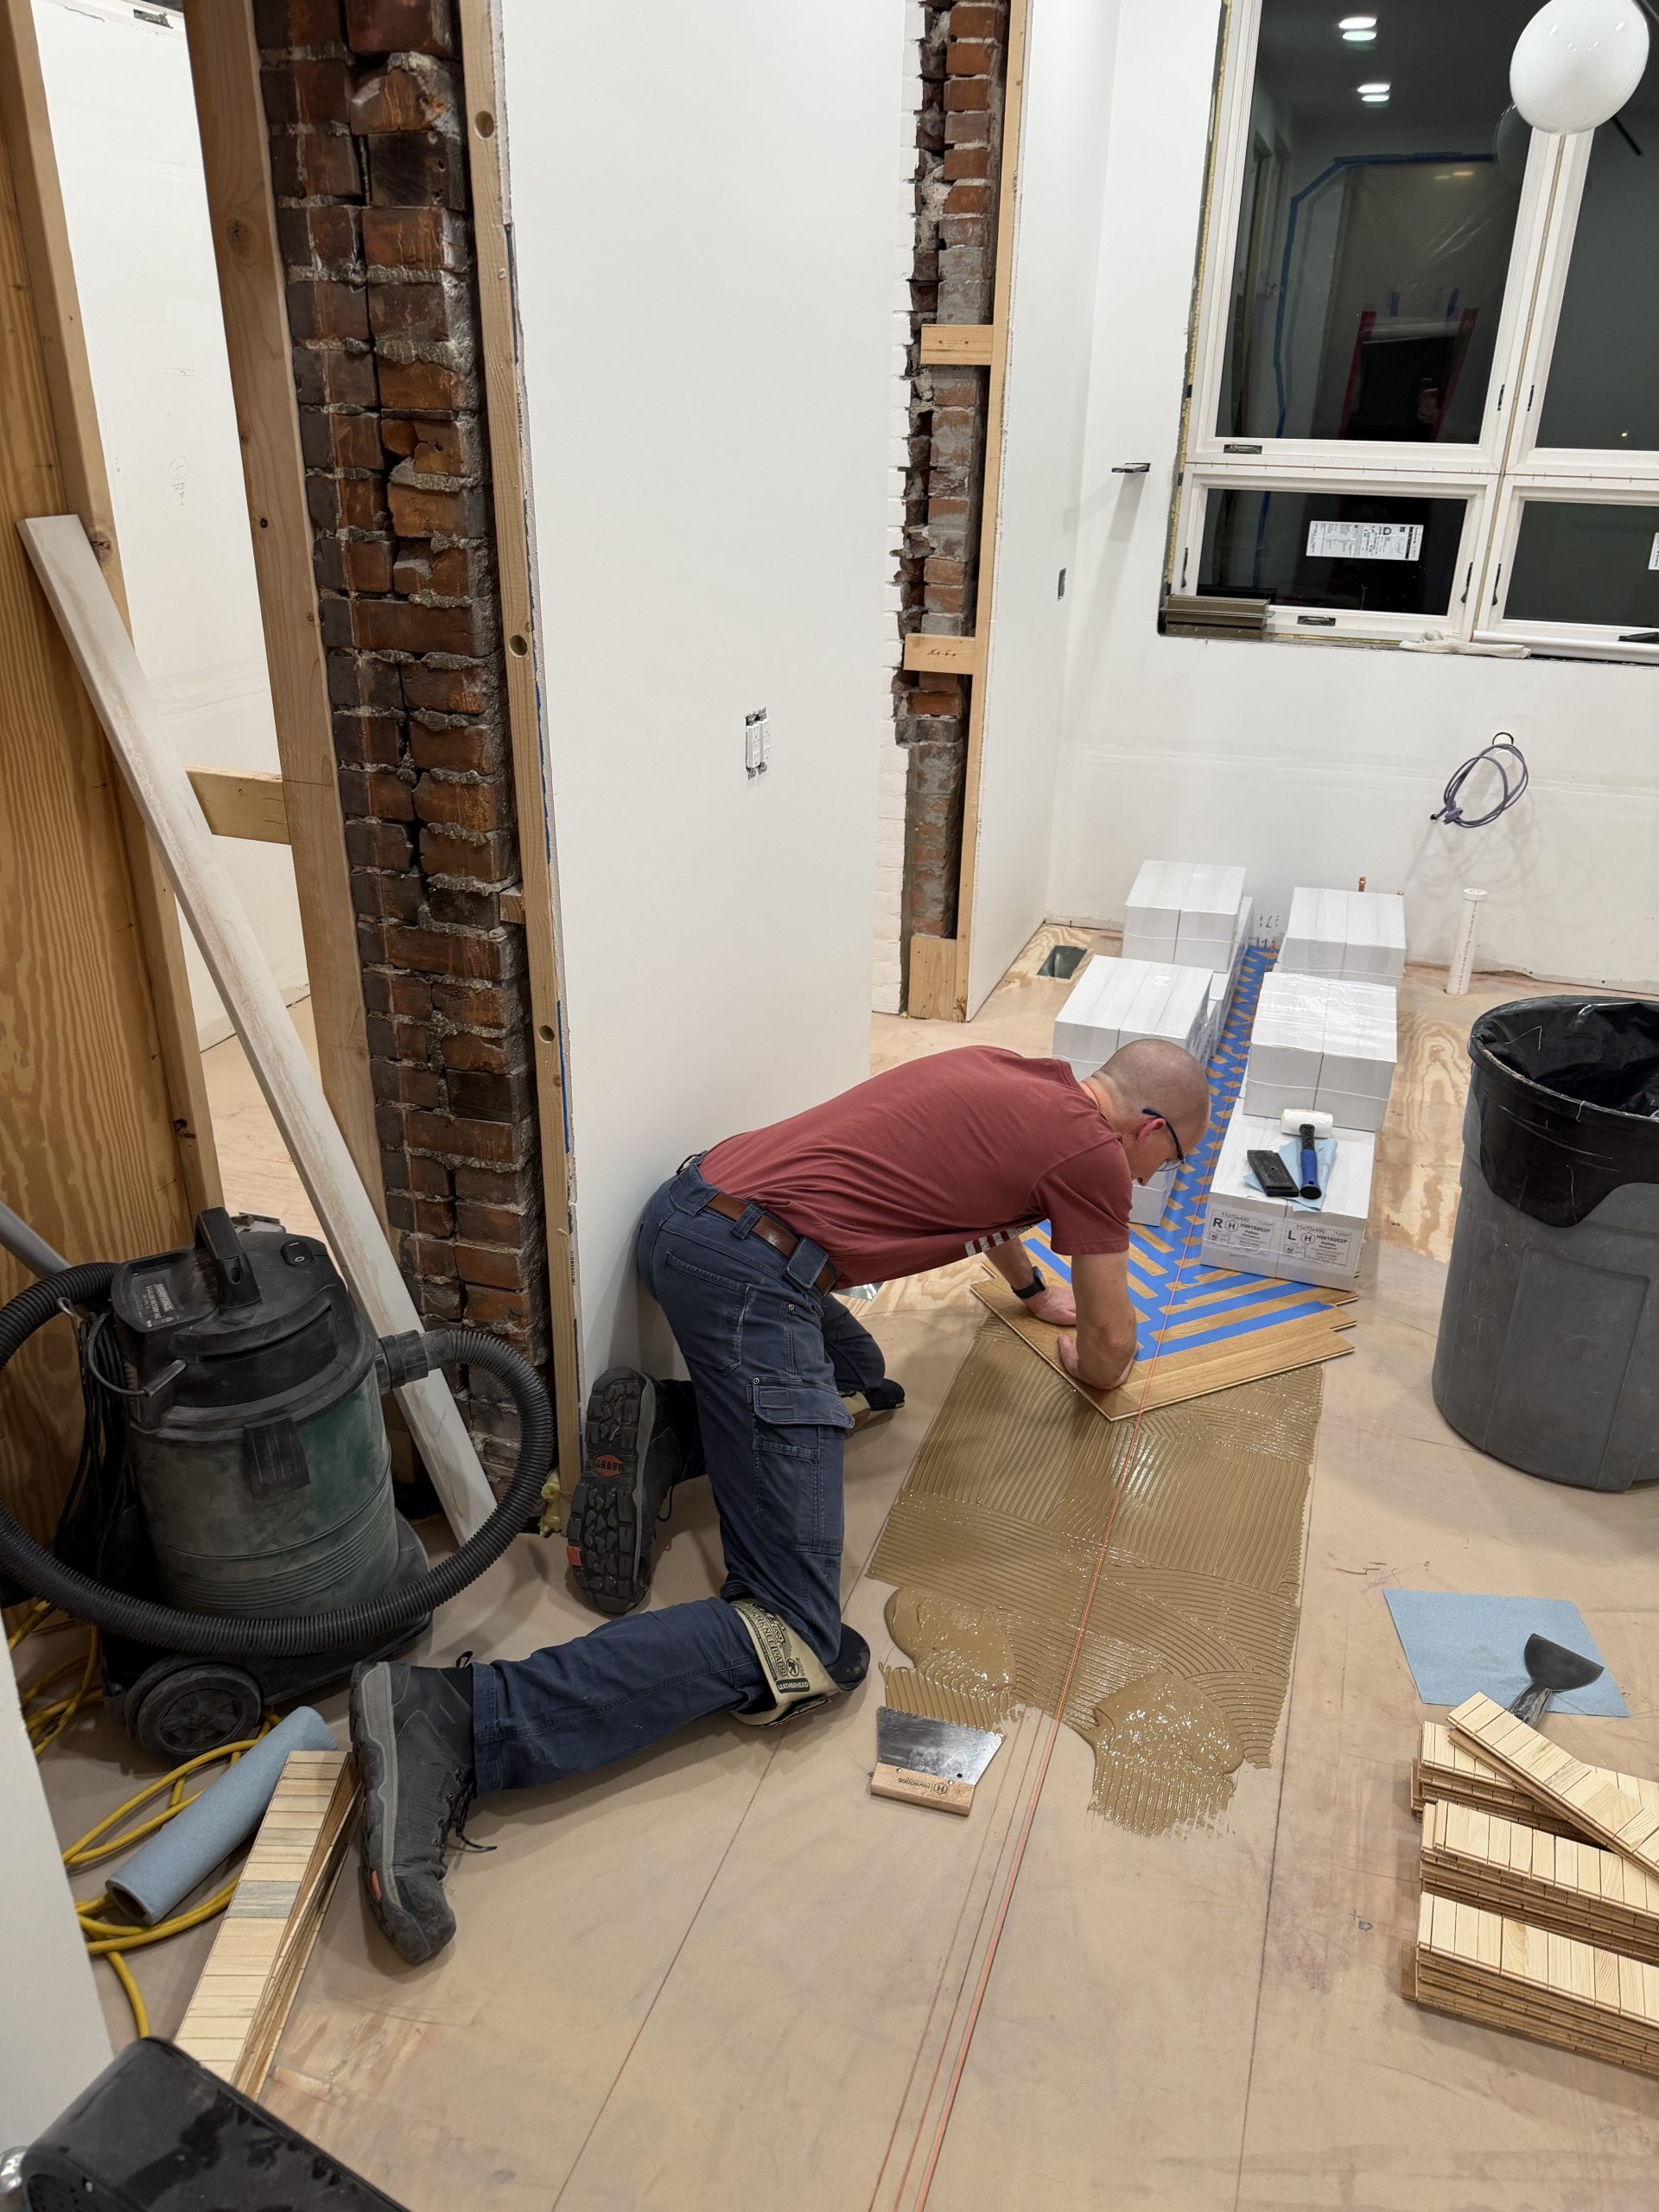
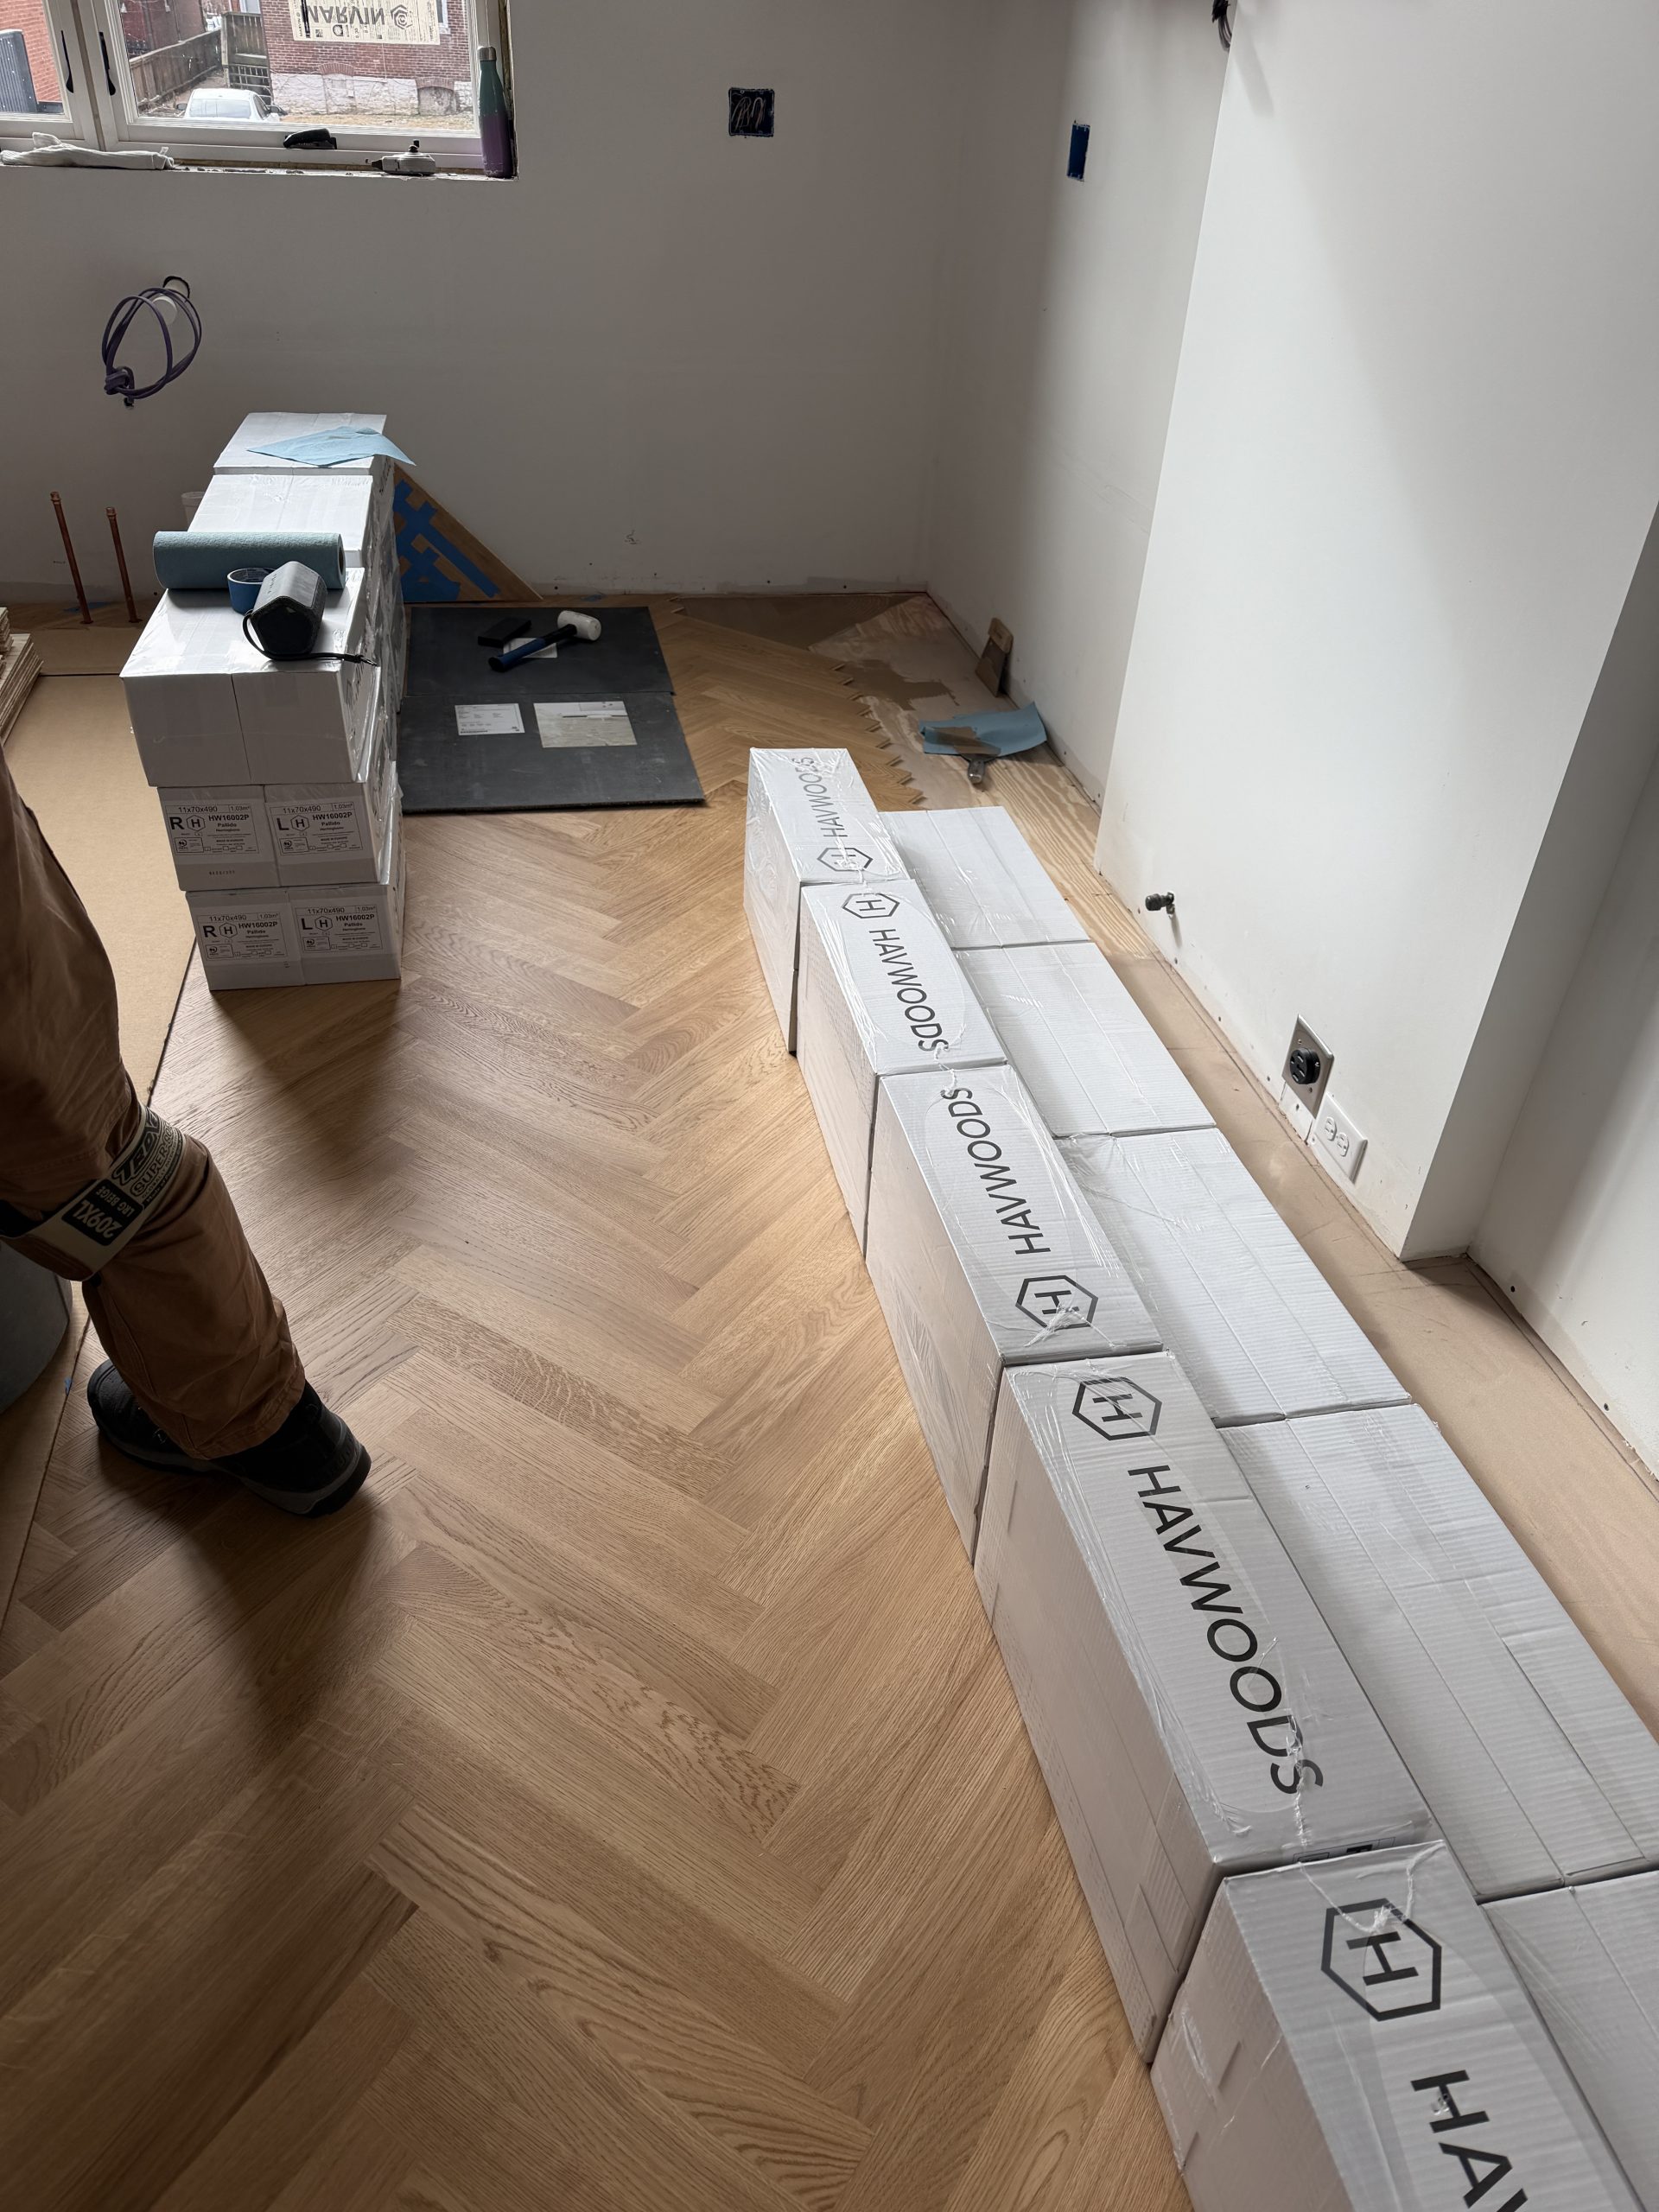
After doing an initial mockup on a sheet of plywood, we started the flooring replacement in the back room of the second floor. (I’ll share more about that task at another time.) This was an excellent idea. It was a great room to figure out the installation process and test out ways to deal with installing rows against a wall, rows against brick, jogs around bump outs, thresholds into other rooms, how much drying time was required between rows, how many boxes to pull from to have a consistent mix of planks, how to stage left and right planks, how to pre-cut and test fit everything in a row, how to label it for removal and then place it into adhesive, how to improve efficiency in making hundreds of cuts – so many things required to install a complicated floor like this.
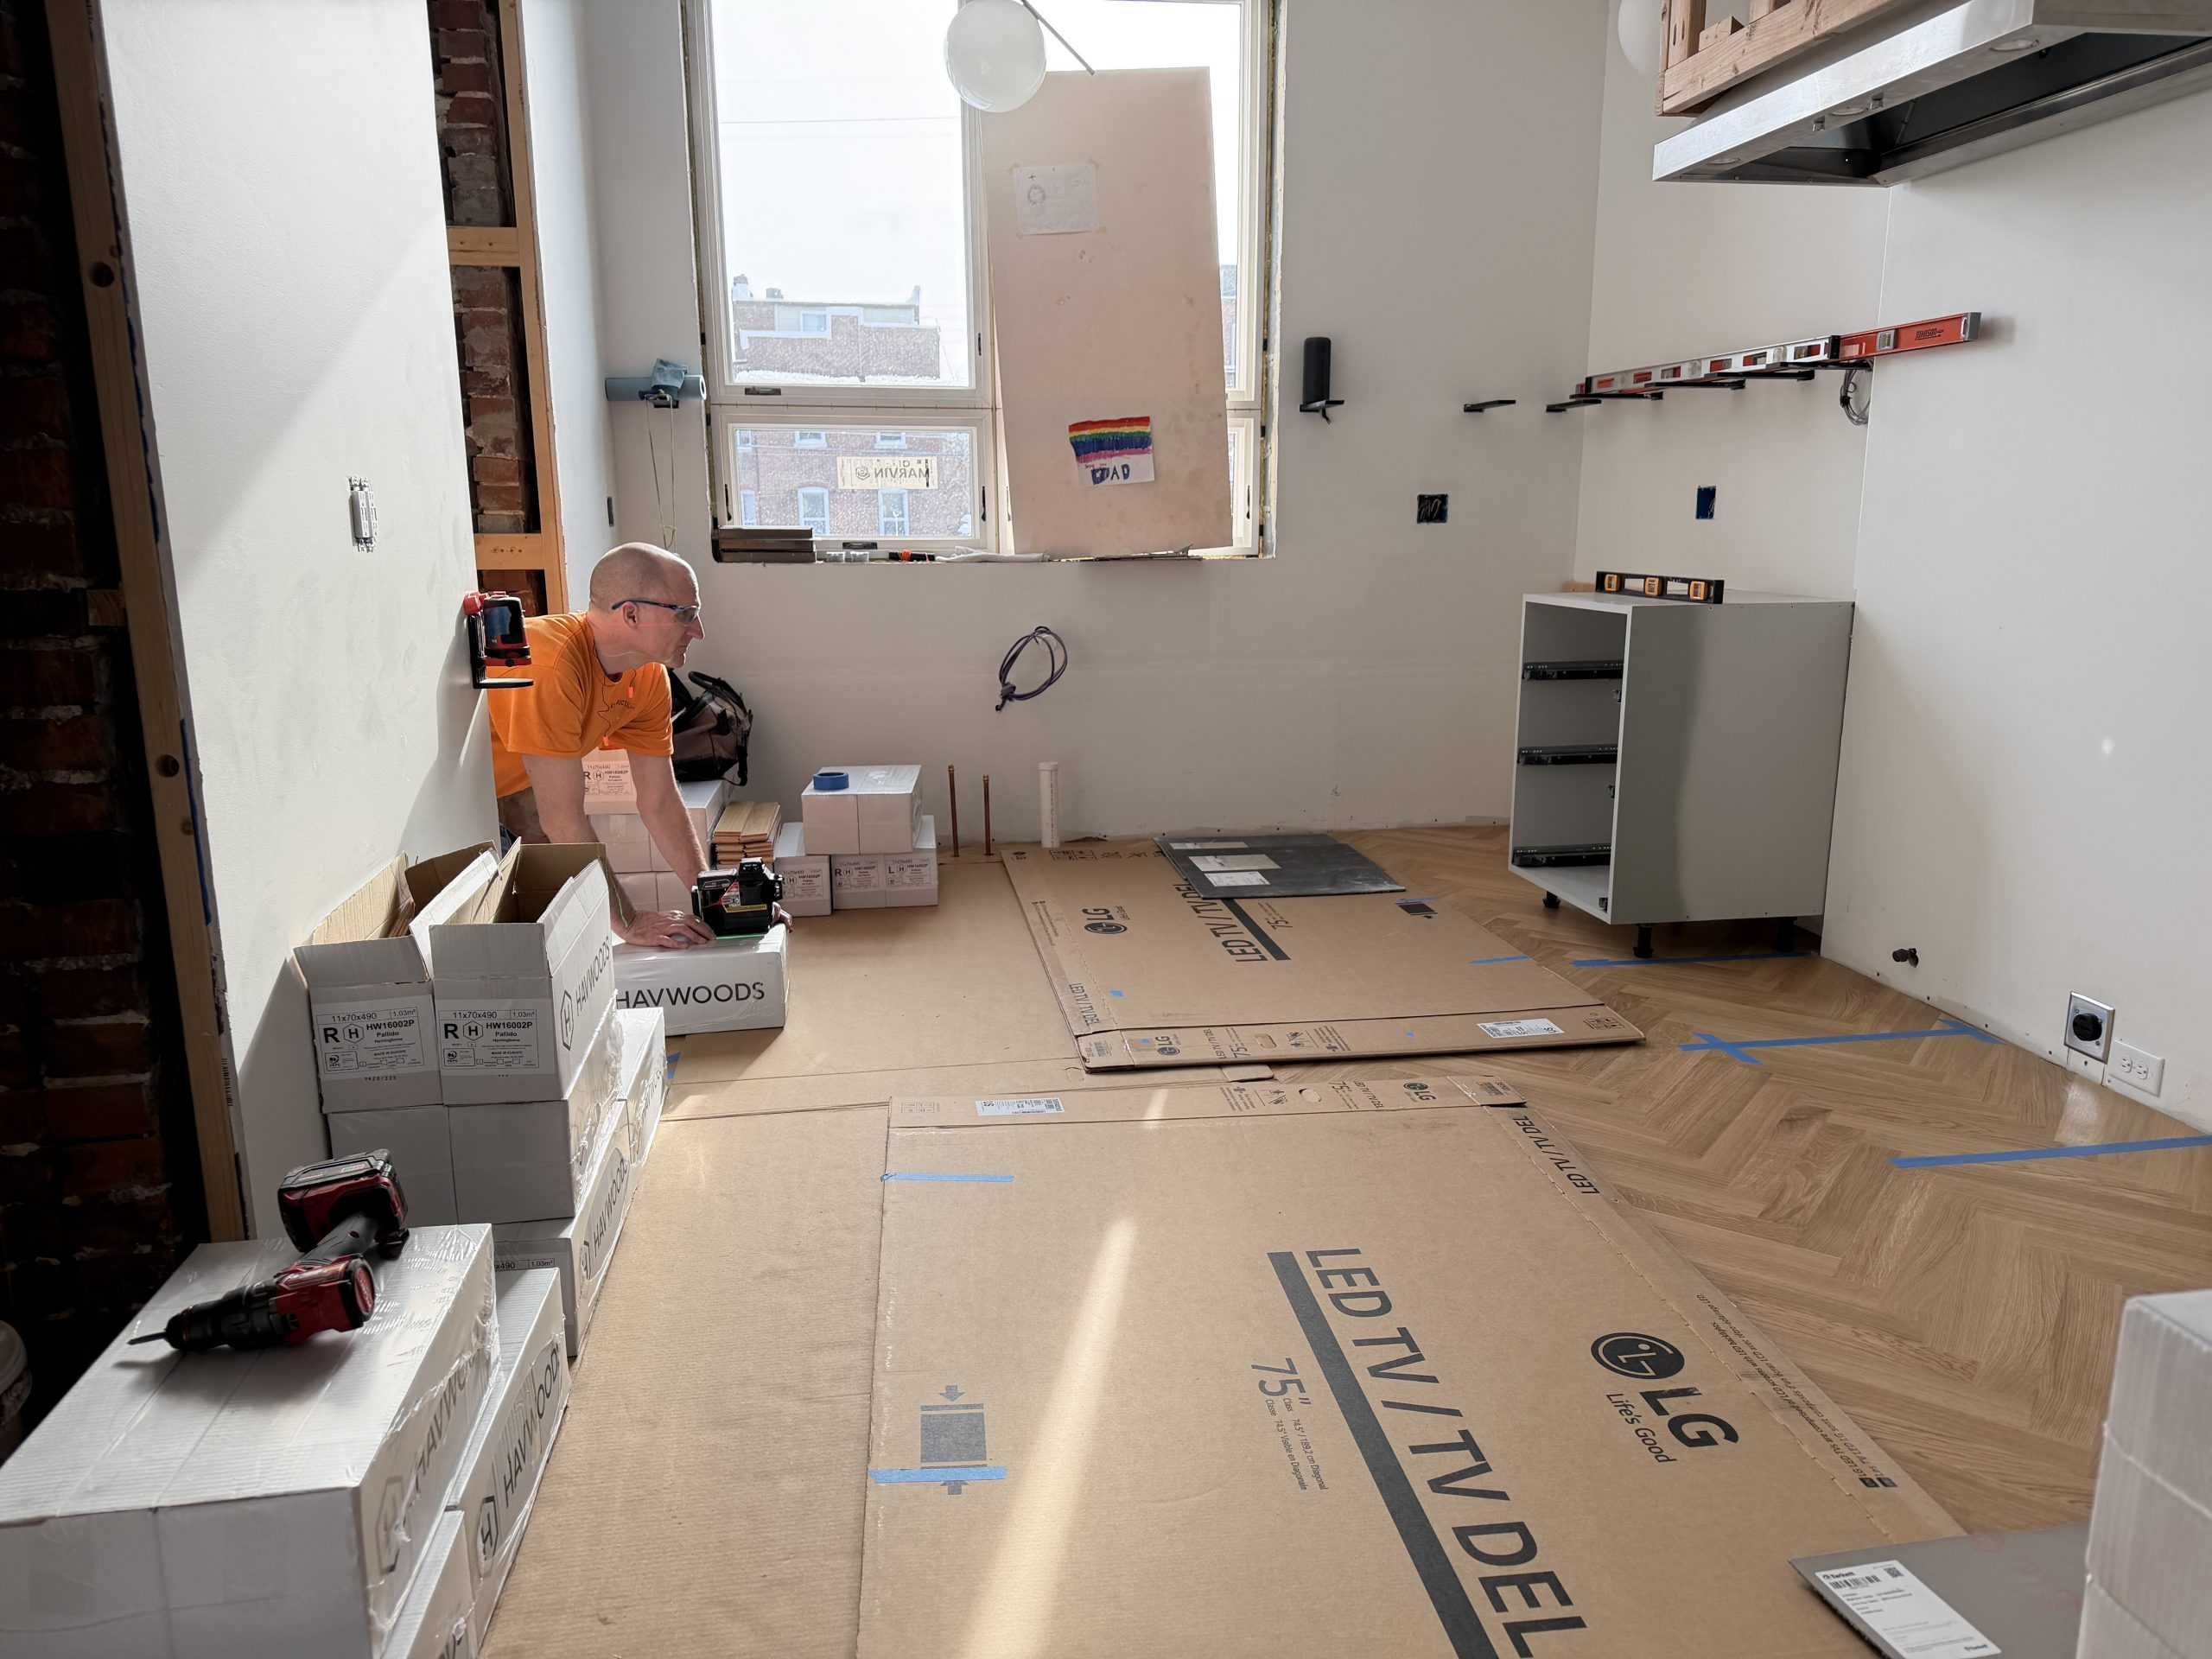
After finishing that room, M decided to purchase a small battery operated flooring saw that can sit right next to him as he works. This reduces the amount of times that he needs to walk up and down one or two flights of stairs to get to the table saw in the basement. We’ll use it for the remaining floors and then sell it when we are done. There are SO many cuts required for herringbone floors.
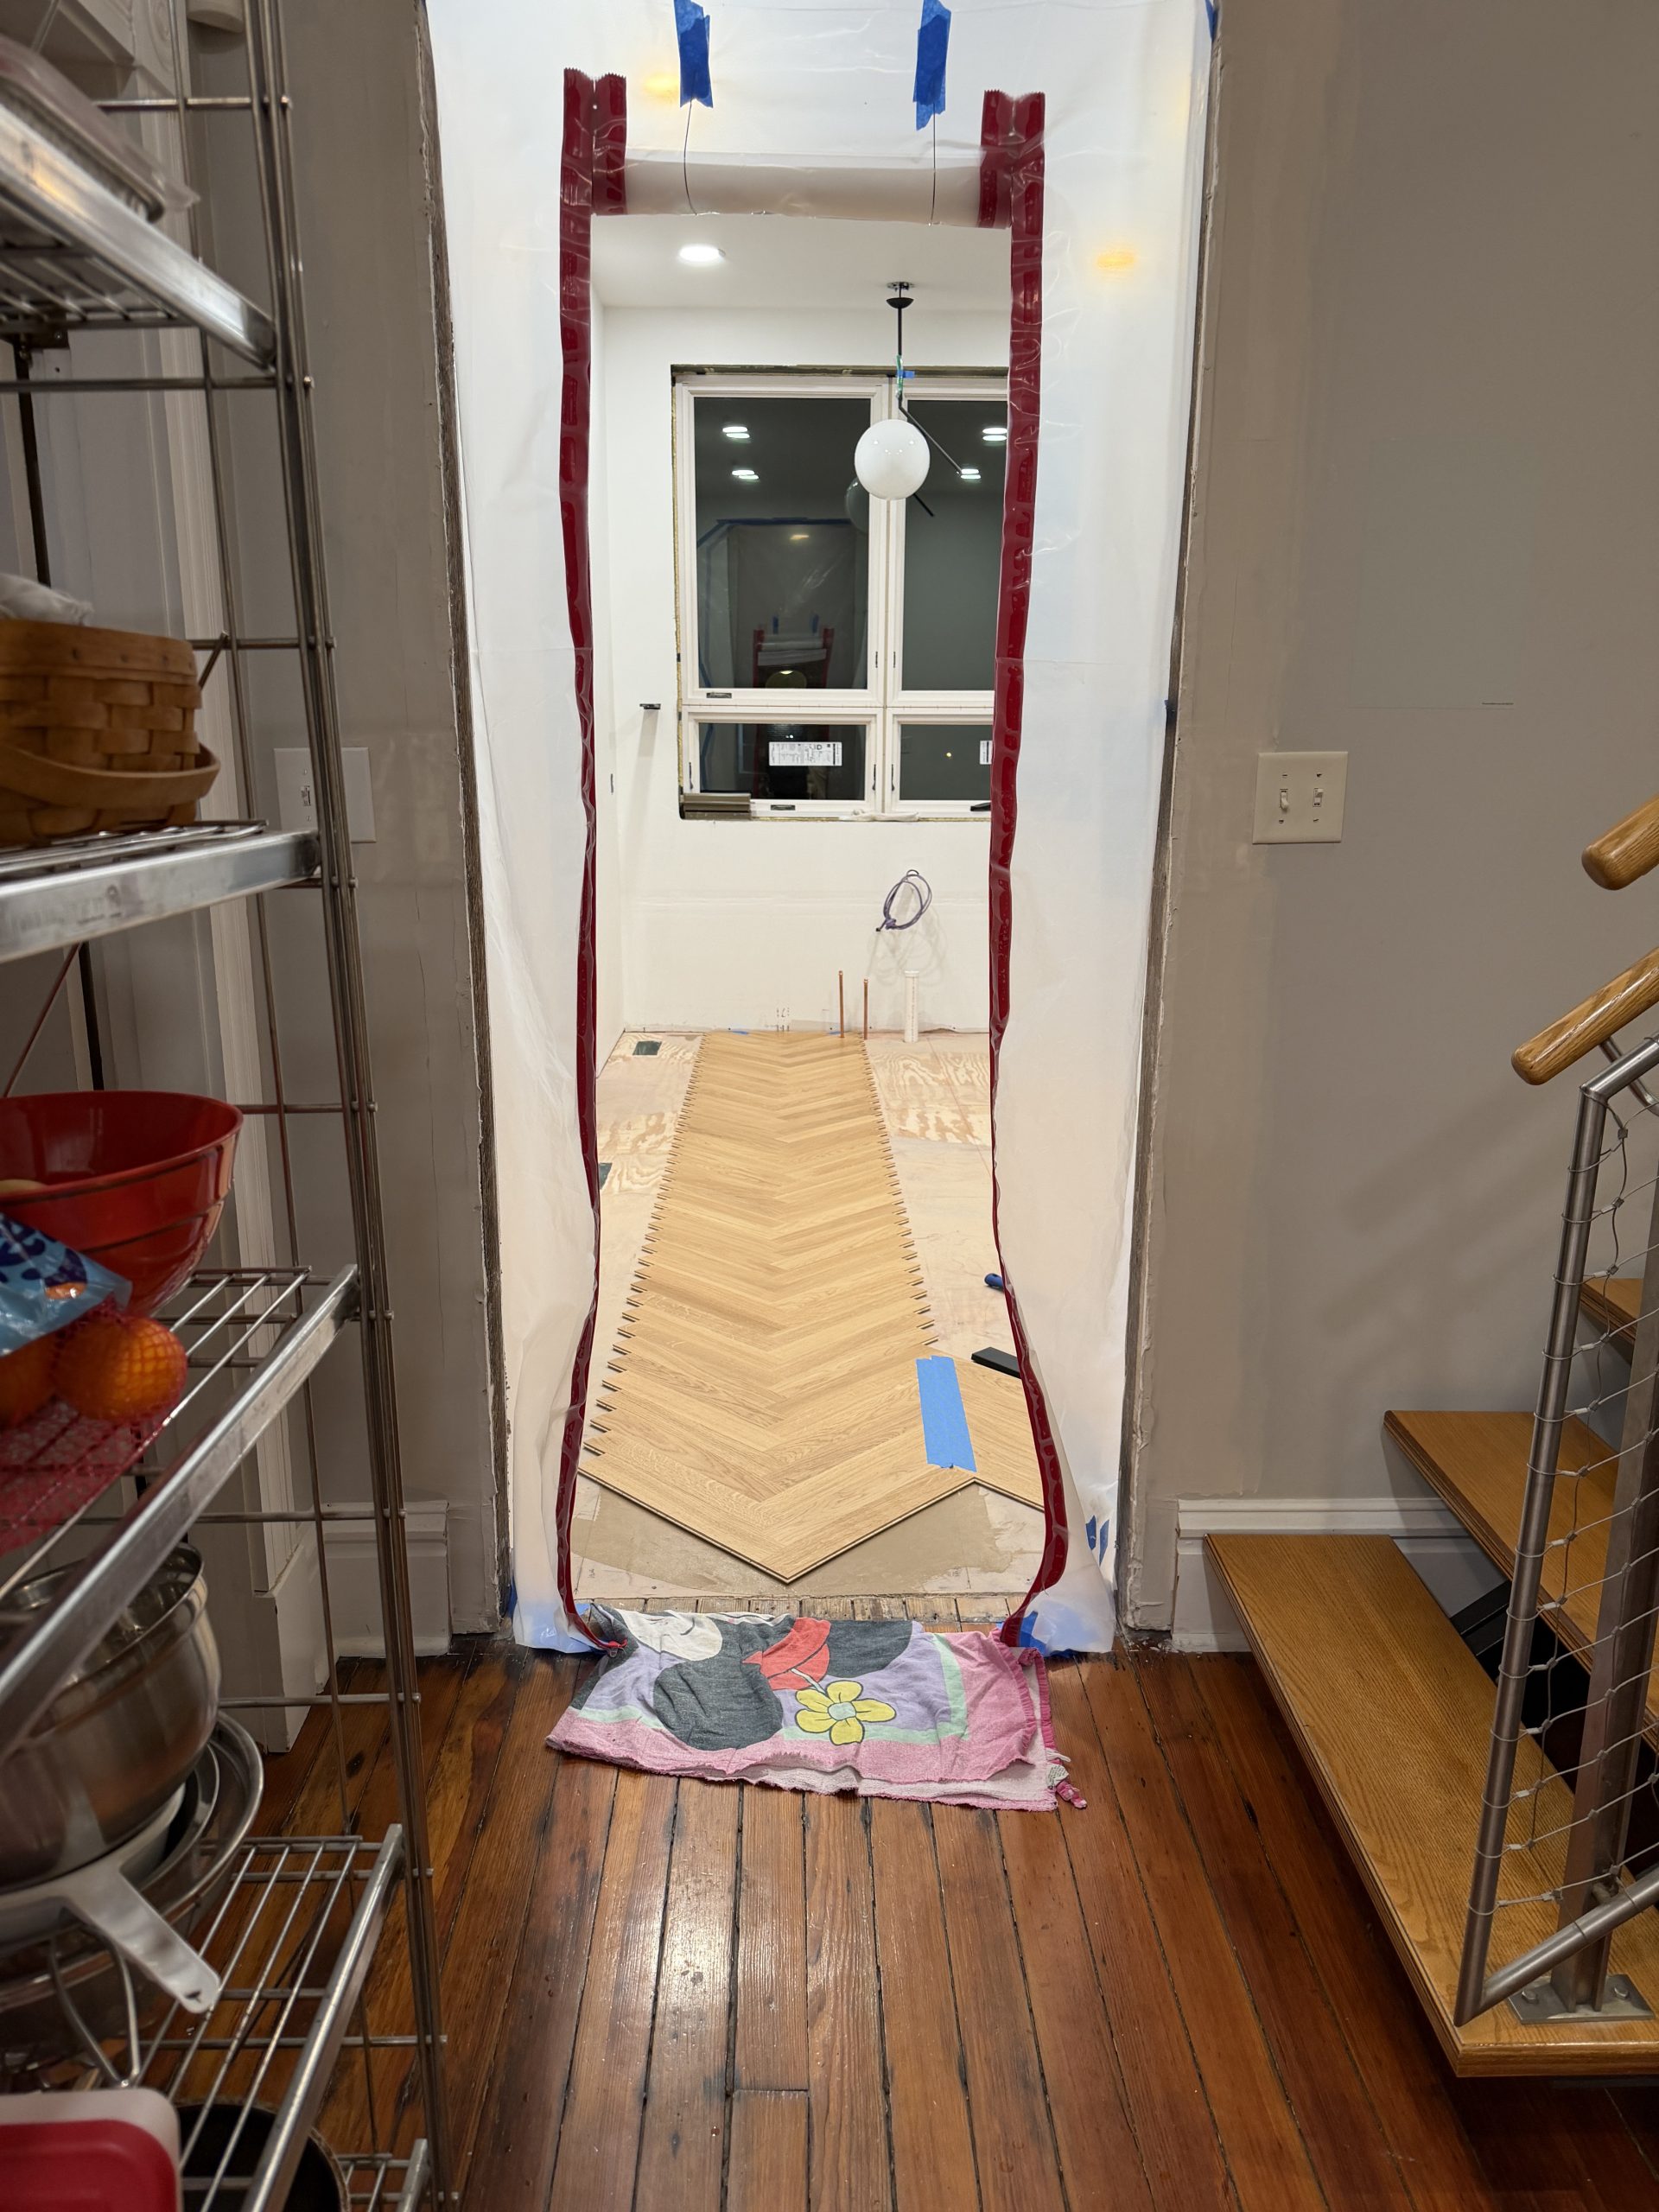
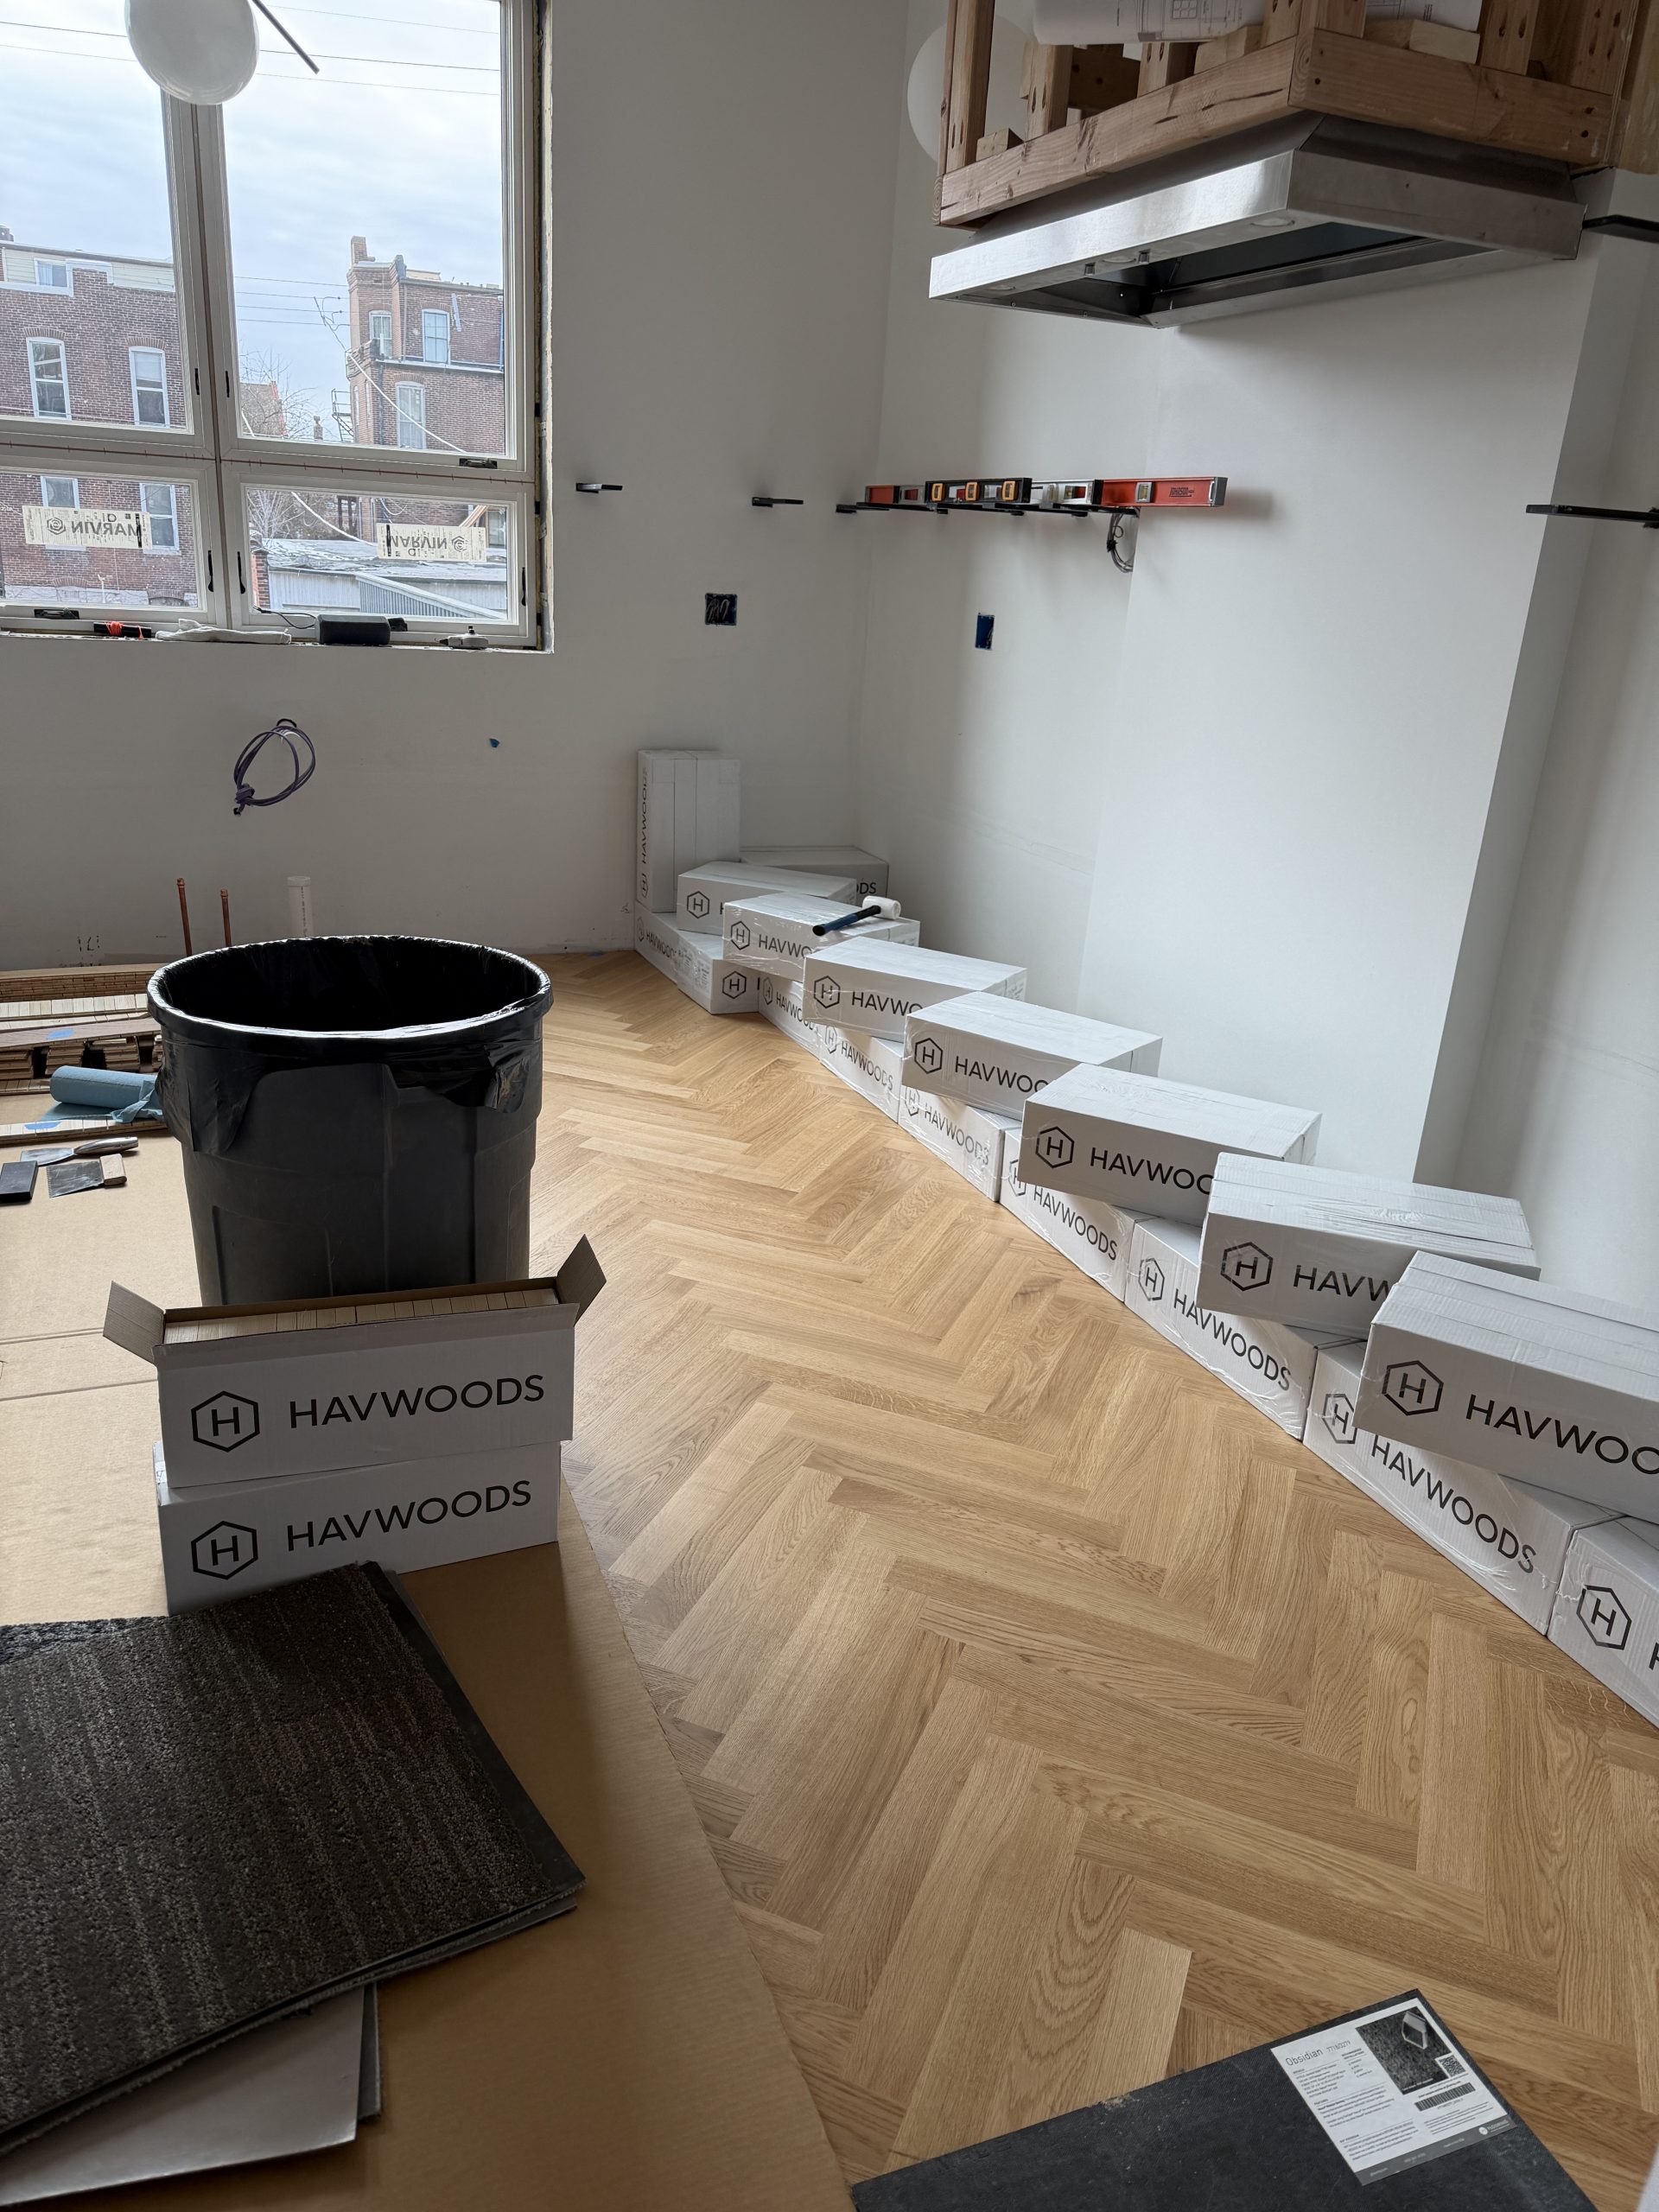
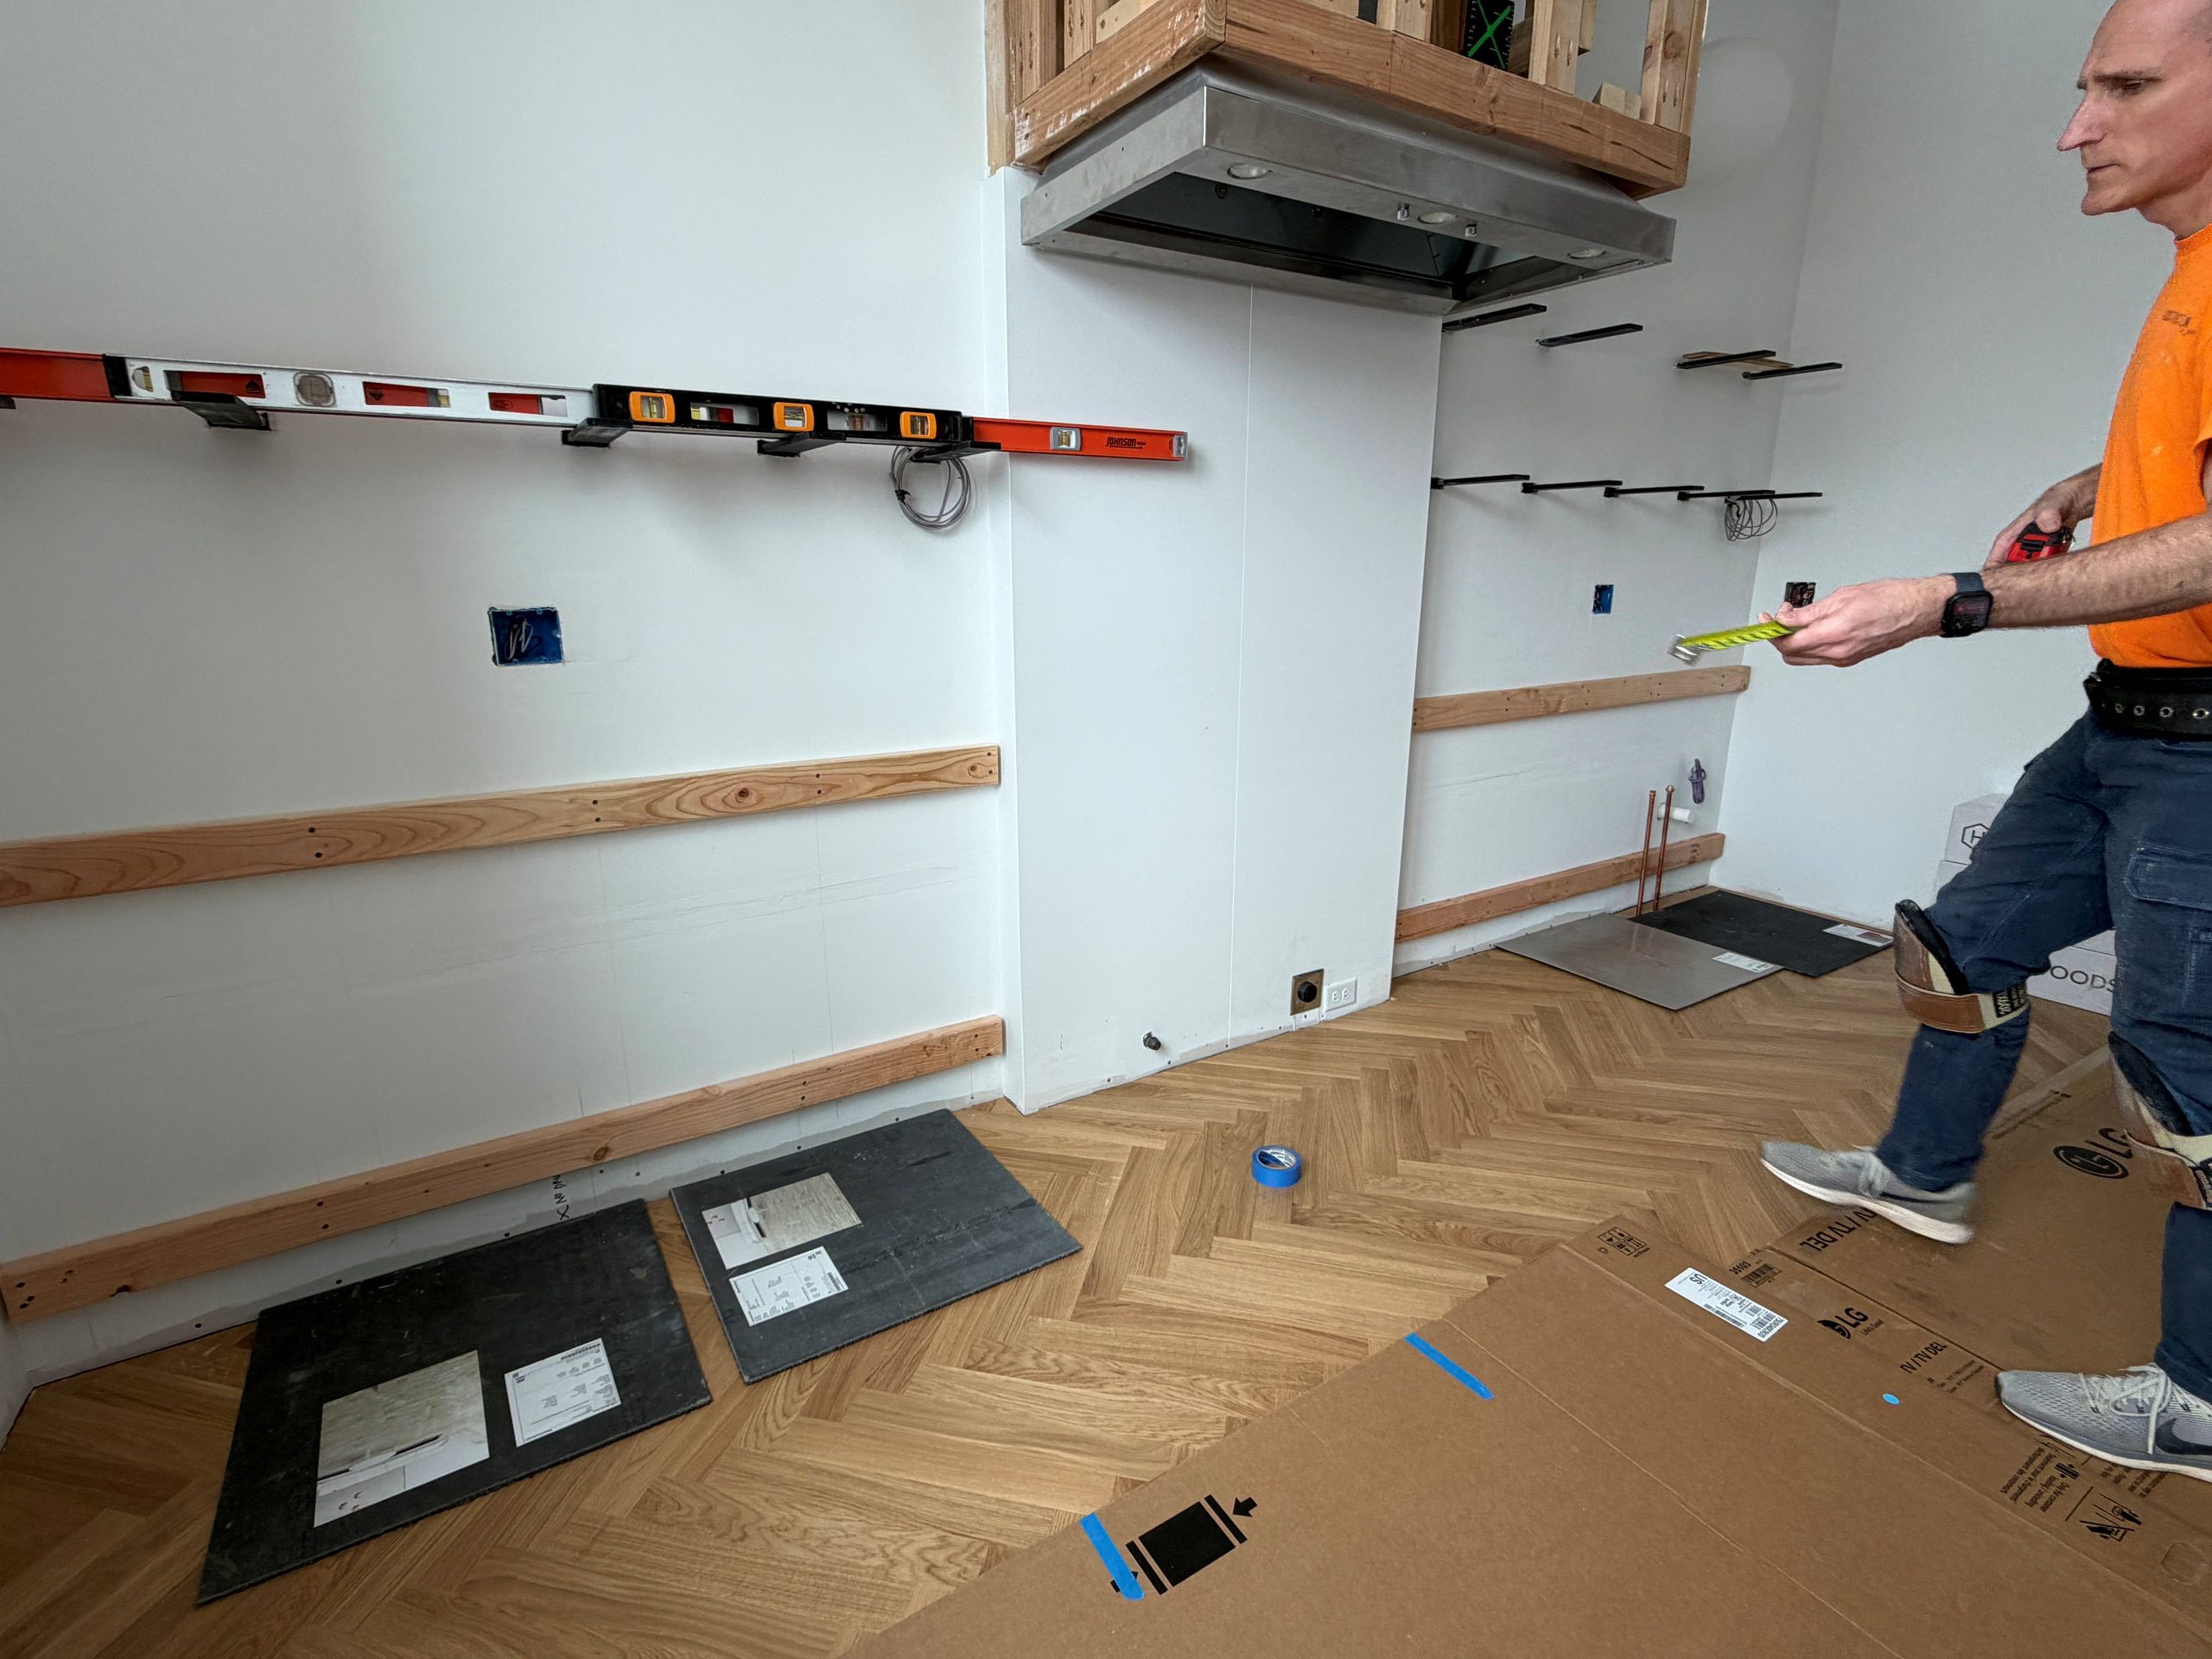
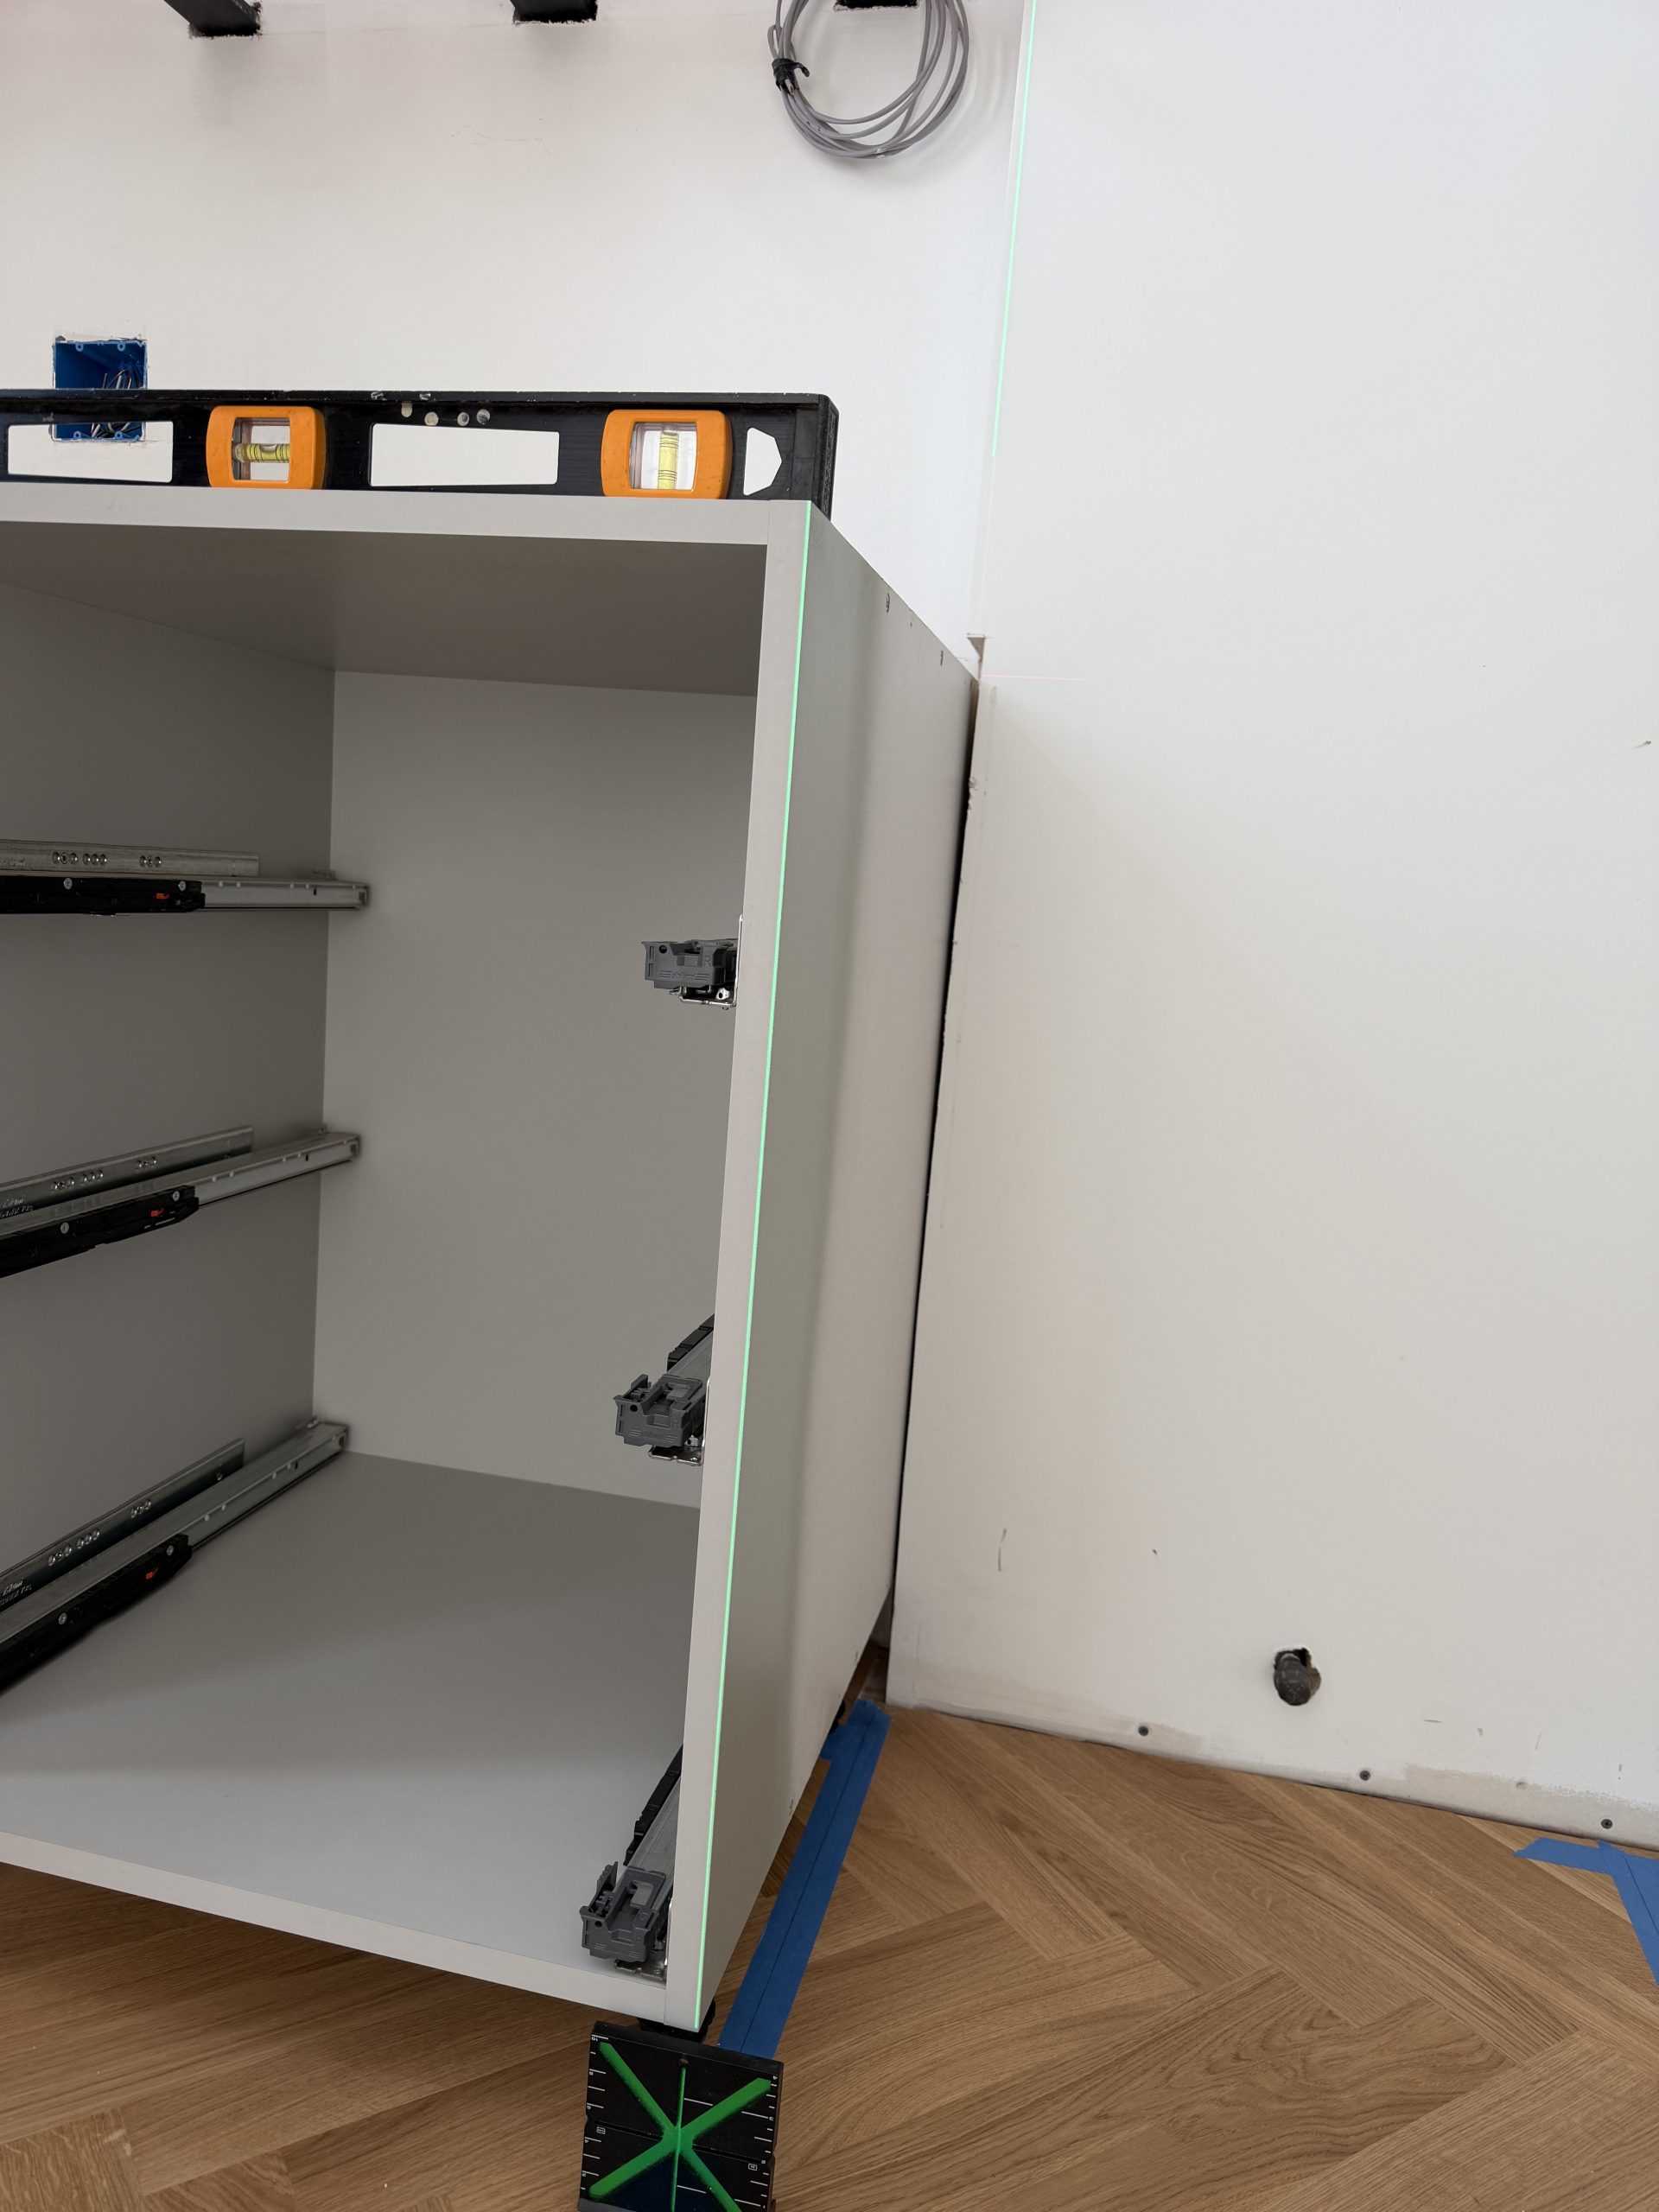
For the first floor, we found the center of the larger opening between the living room and the dining room and set a laser up there. We upgraded our laser to one that projects lines in three different directions so you can establish a straight line for the flooring layout that is also squared up to the walls in the house. Most walls in old houses aren’t super square, but we spent quite a bit of time squaring up the furring walls in our kitchen so it’s pretty accurate in that room. We wanted to ensure that our pattern was straight through the house because you will be able to see it continue from the front to the back of the house. And we wanted to make sure it was square with the cabinets because that will be very visible in the kitchen as well.
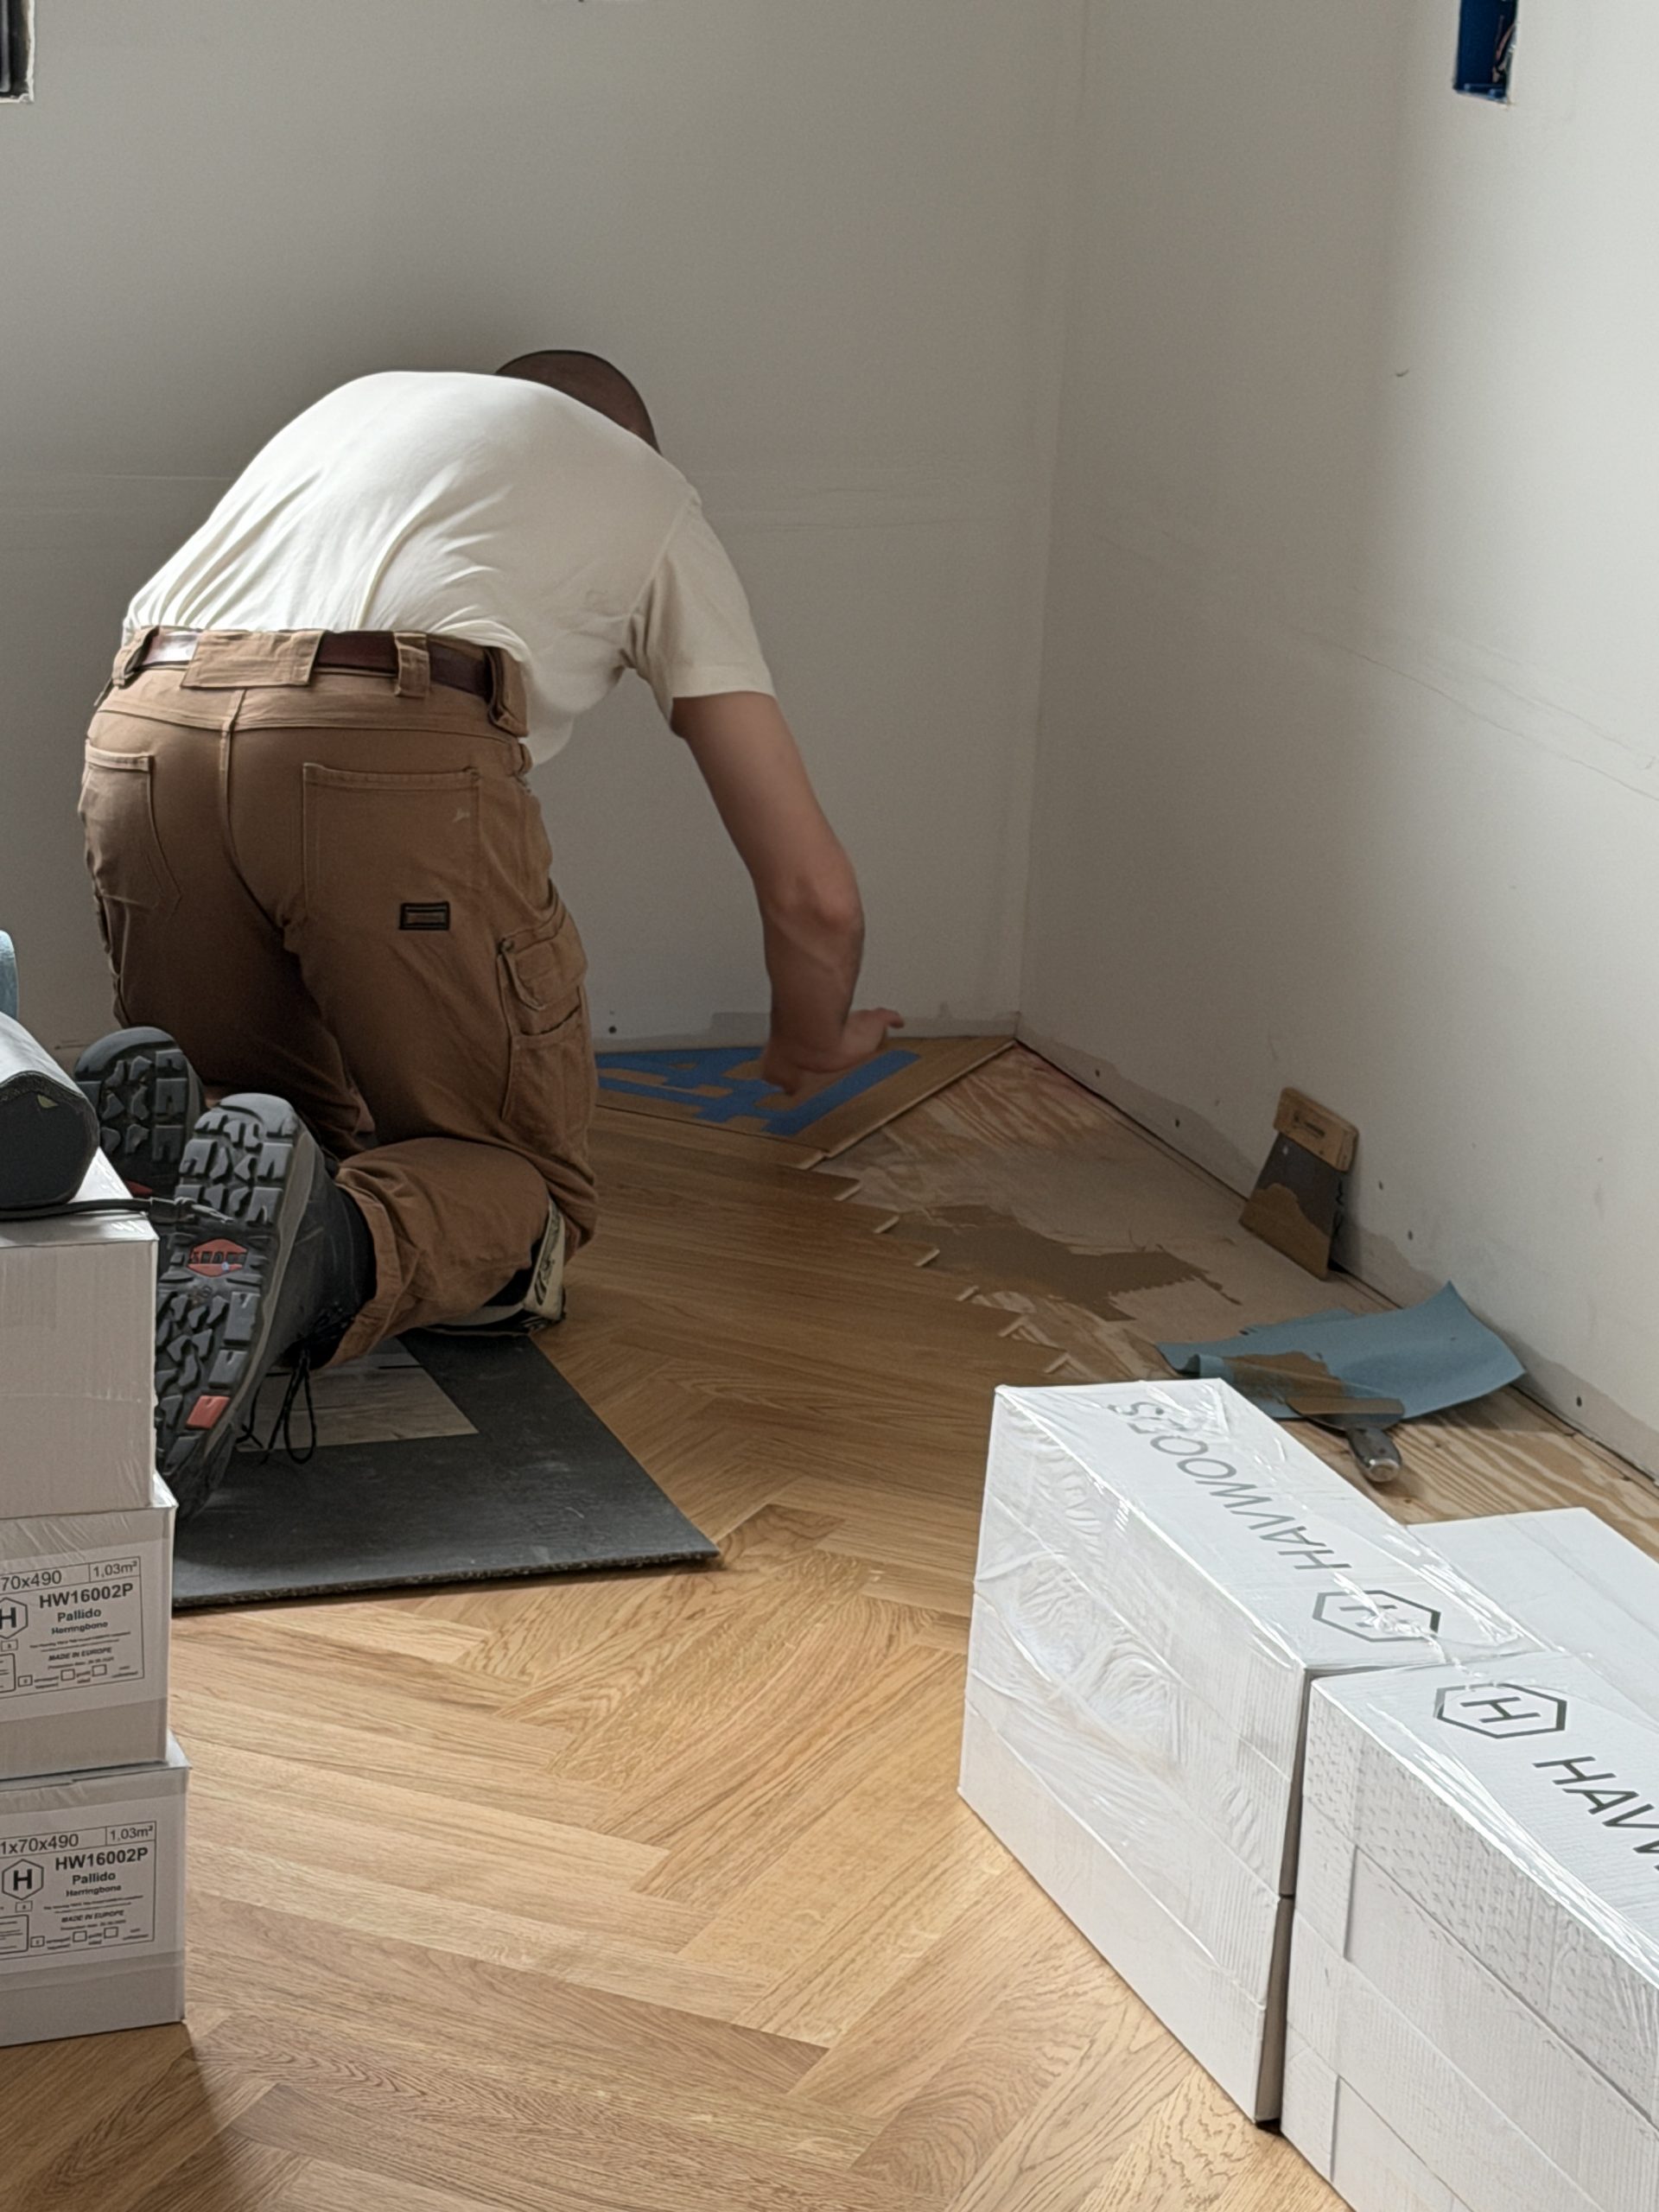
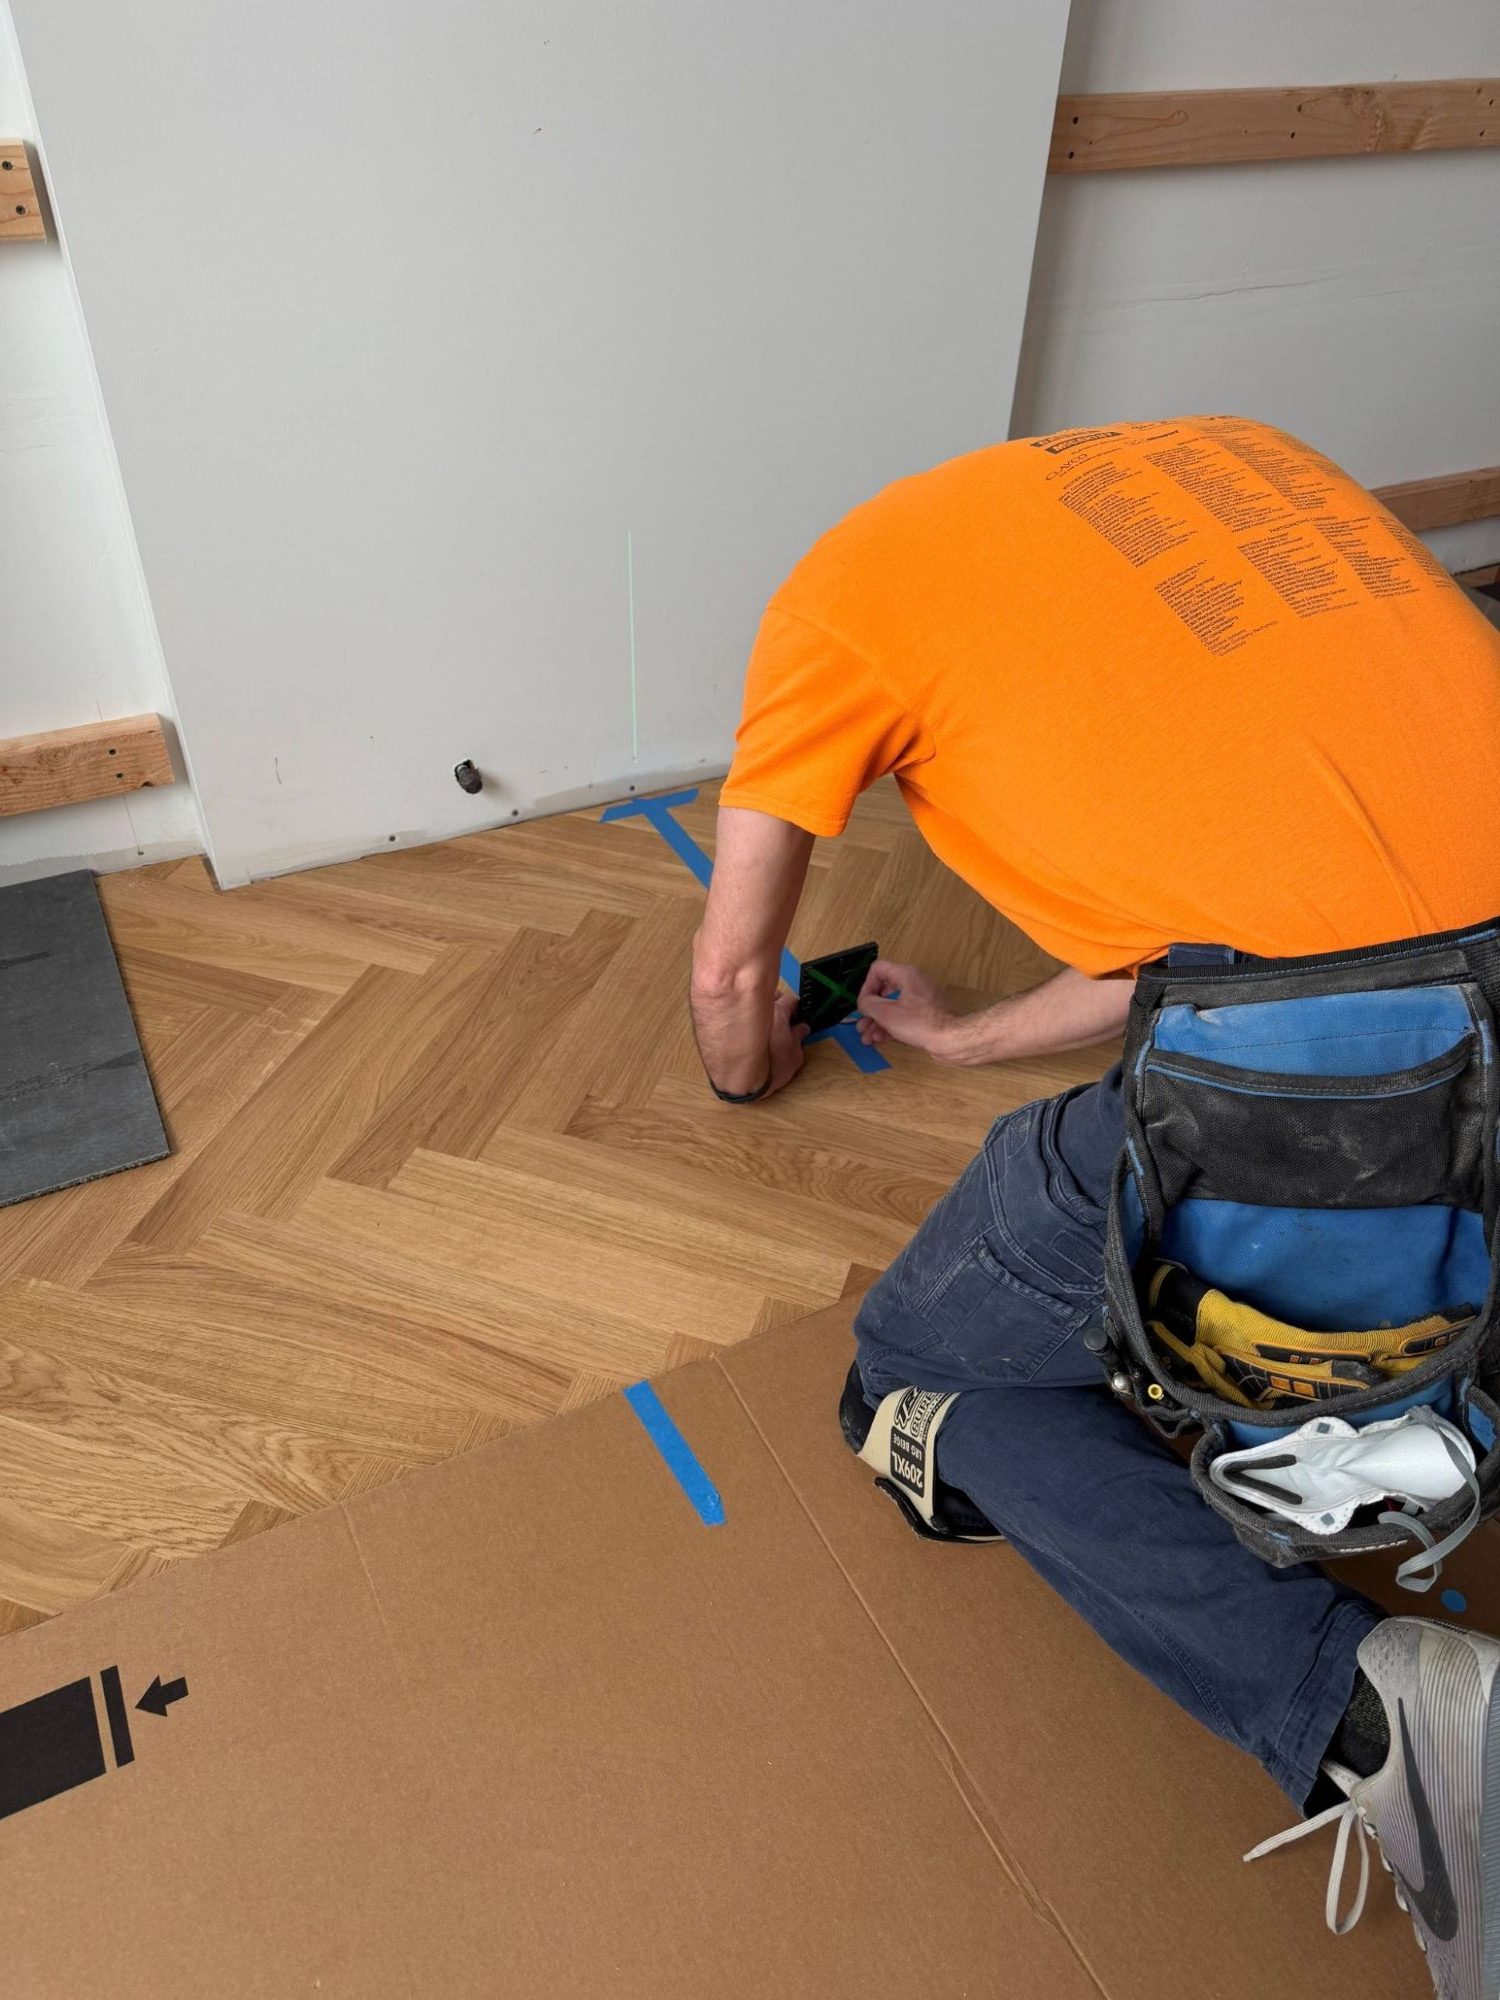
Once those lines were established, M set a string line above the floor. This was an important takeaway from upstairs because once you apply adhesive to the subfloor you lose the lines you’ve chalked on them. It’s a pain to work around for those first two rows, but if you get a perfect starting ‘V’ then the rest of the rows just fall into place, no guidelines needed.
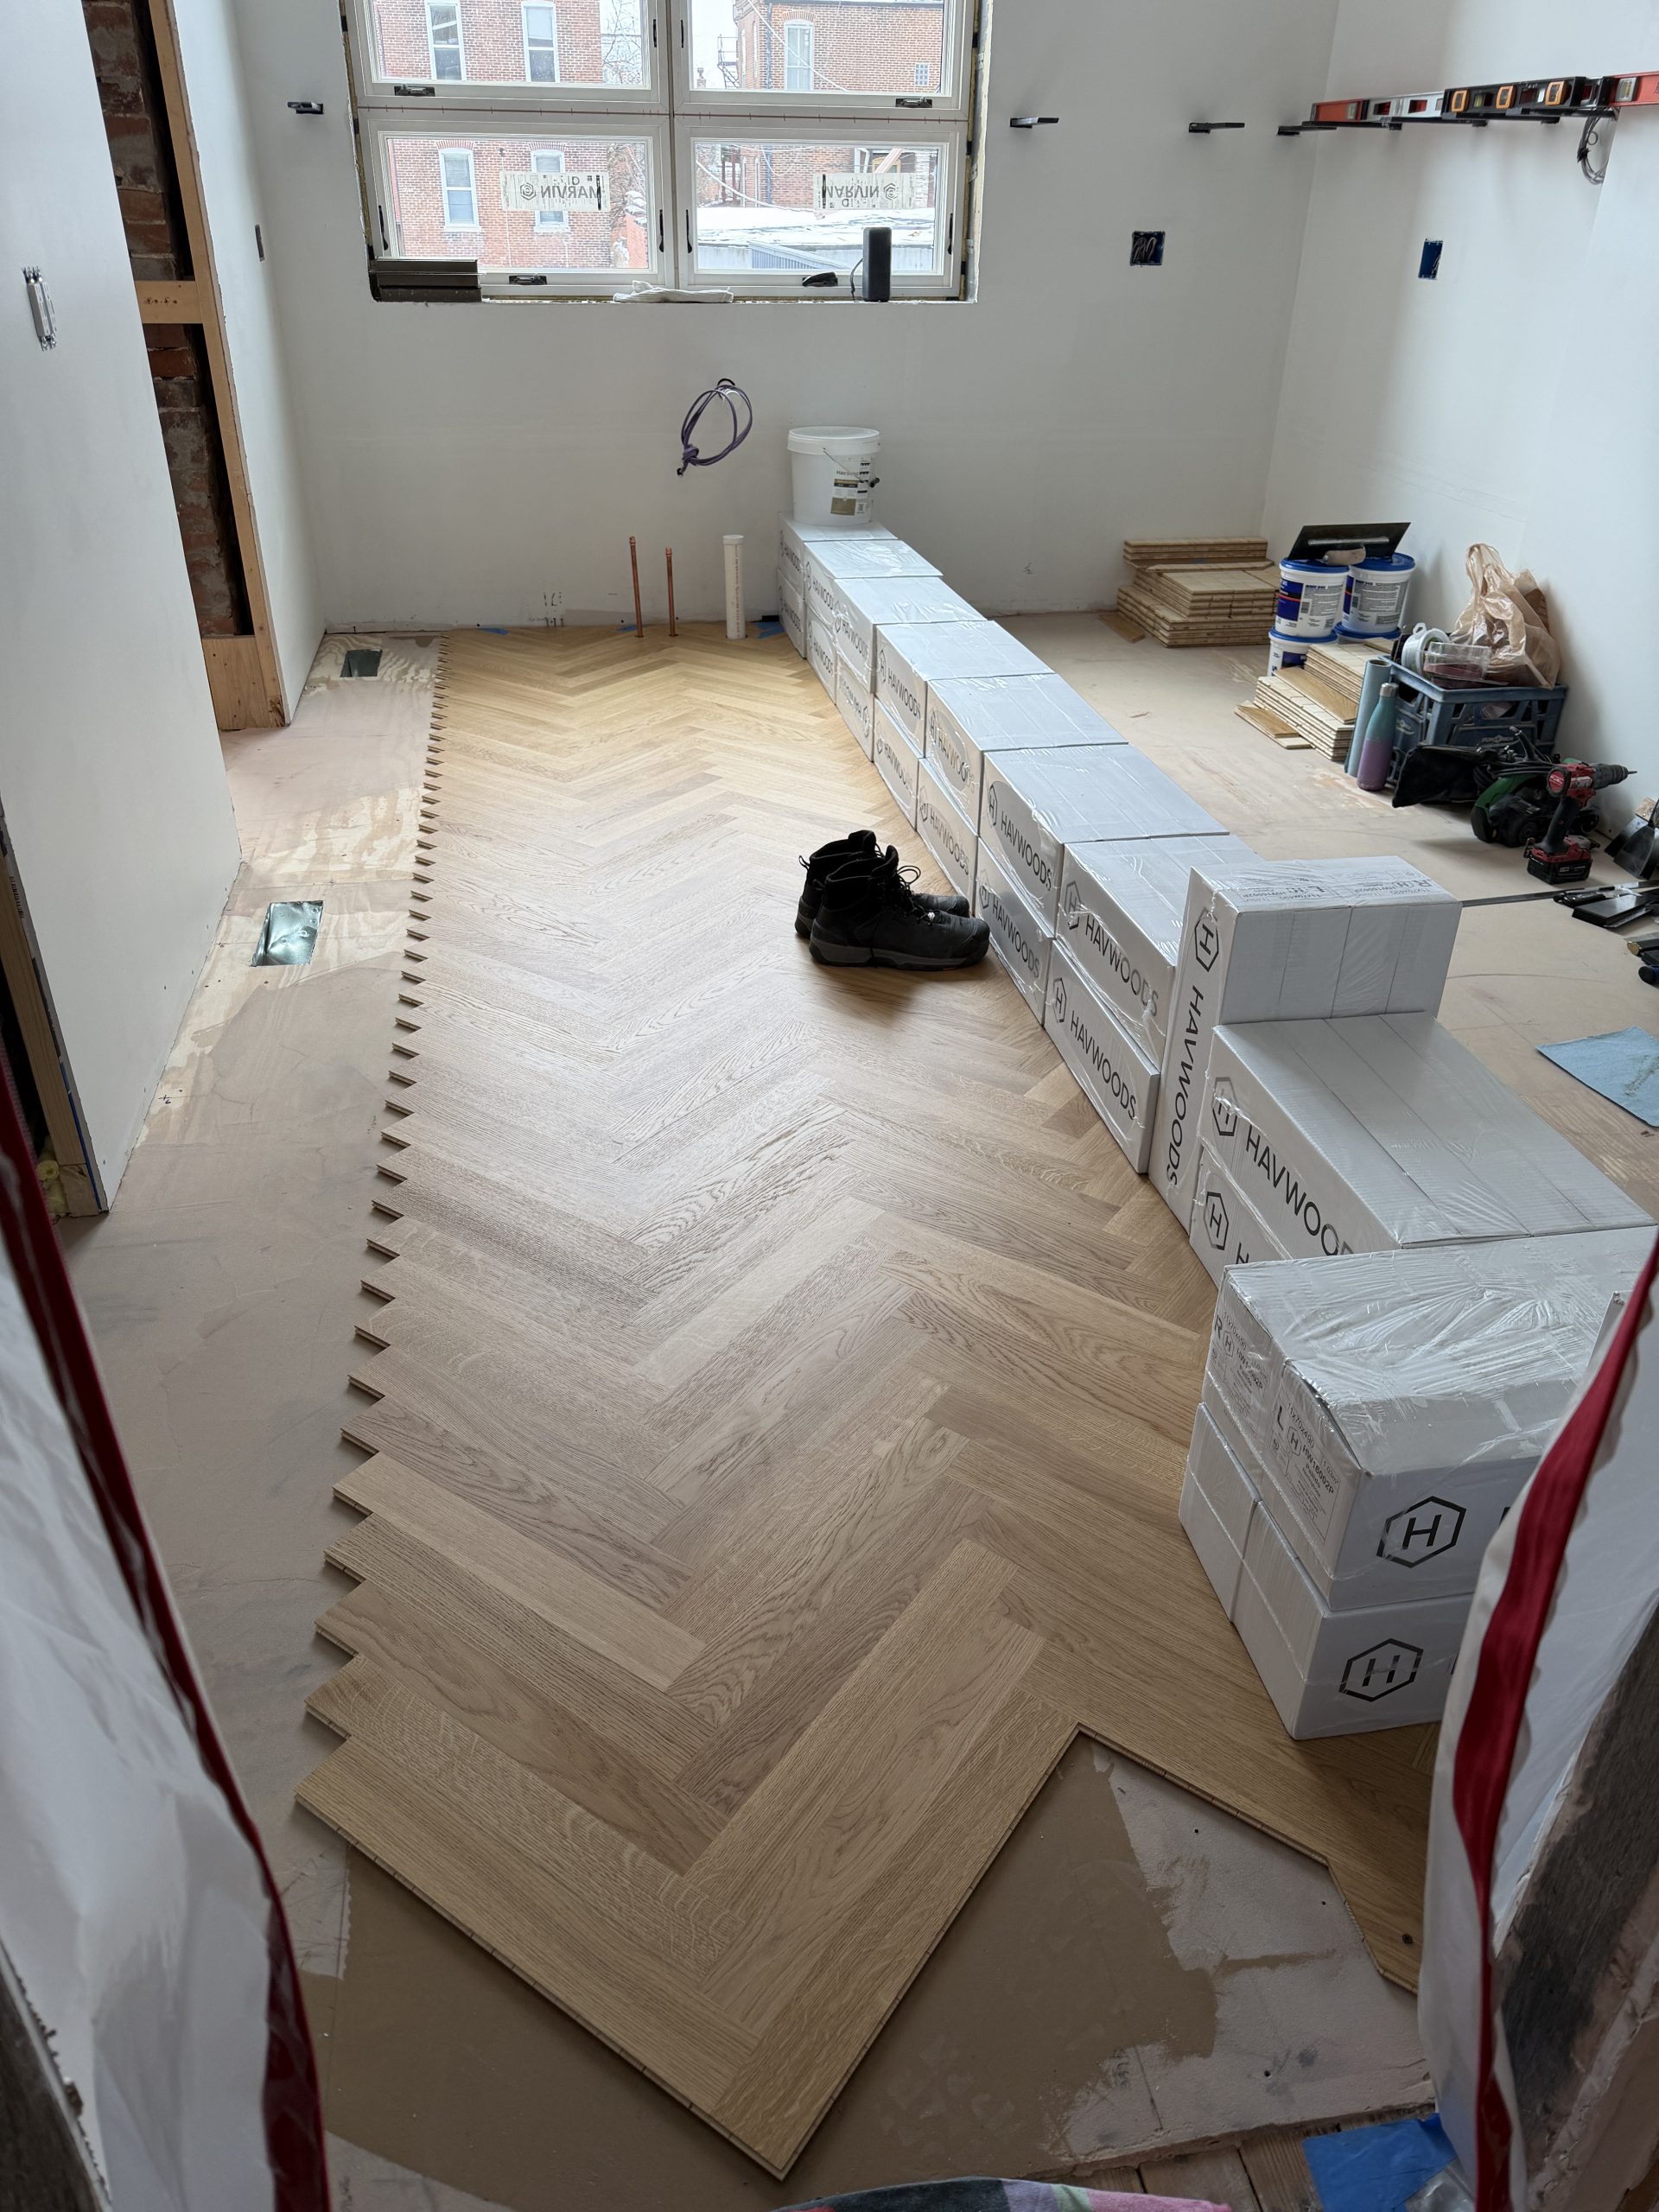
First step is to assemble a starting triangle which is glued into place. Heavy flooring boxes are set on top of it, and it sets overnight. Second step is to glue two rows forming the first ‘V’ line. These are also weighted down and should set for an extended amount of time. All the remaining rows are tapped up against this starter row, so it’s essential that it doesn’t move.
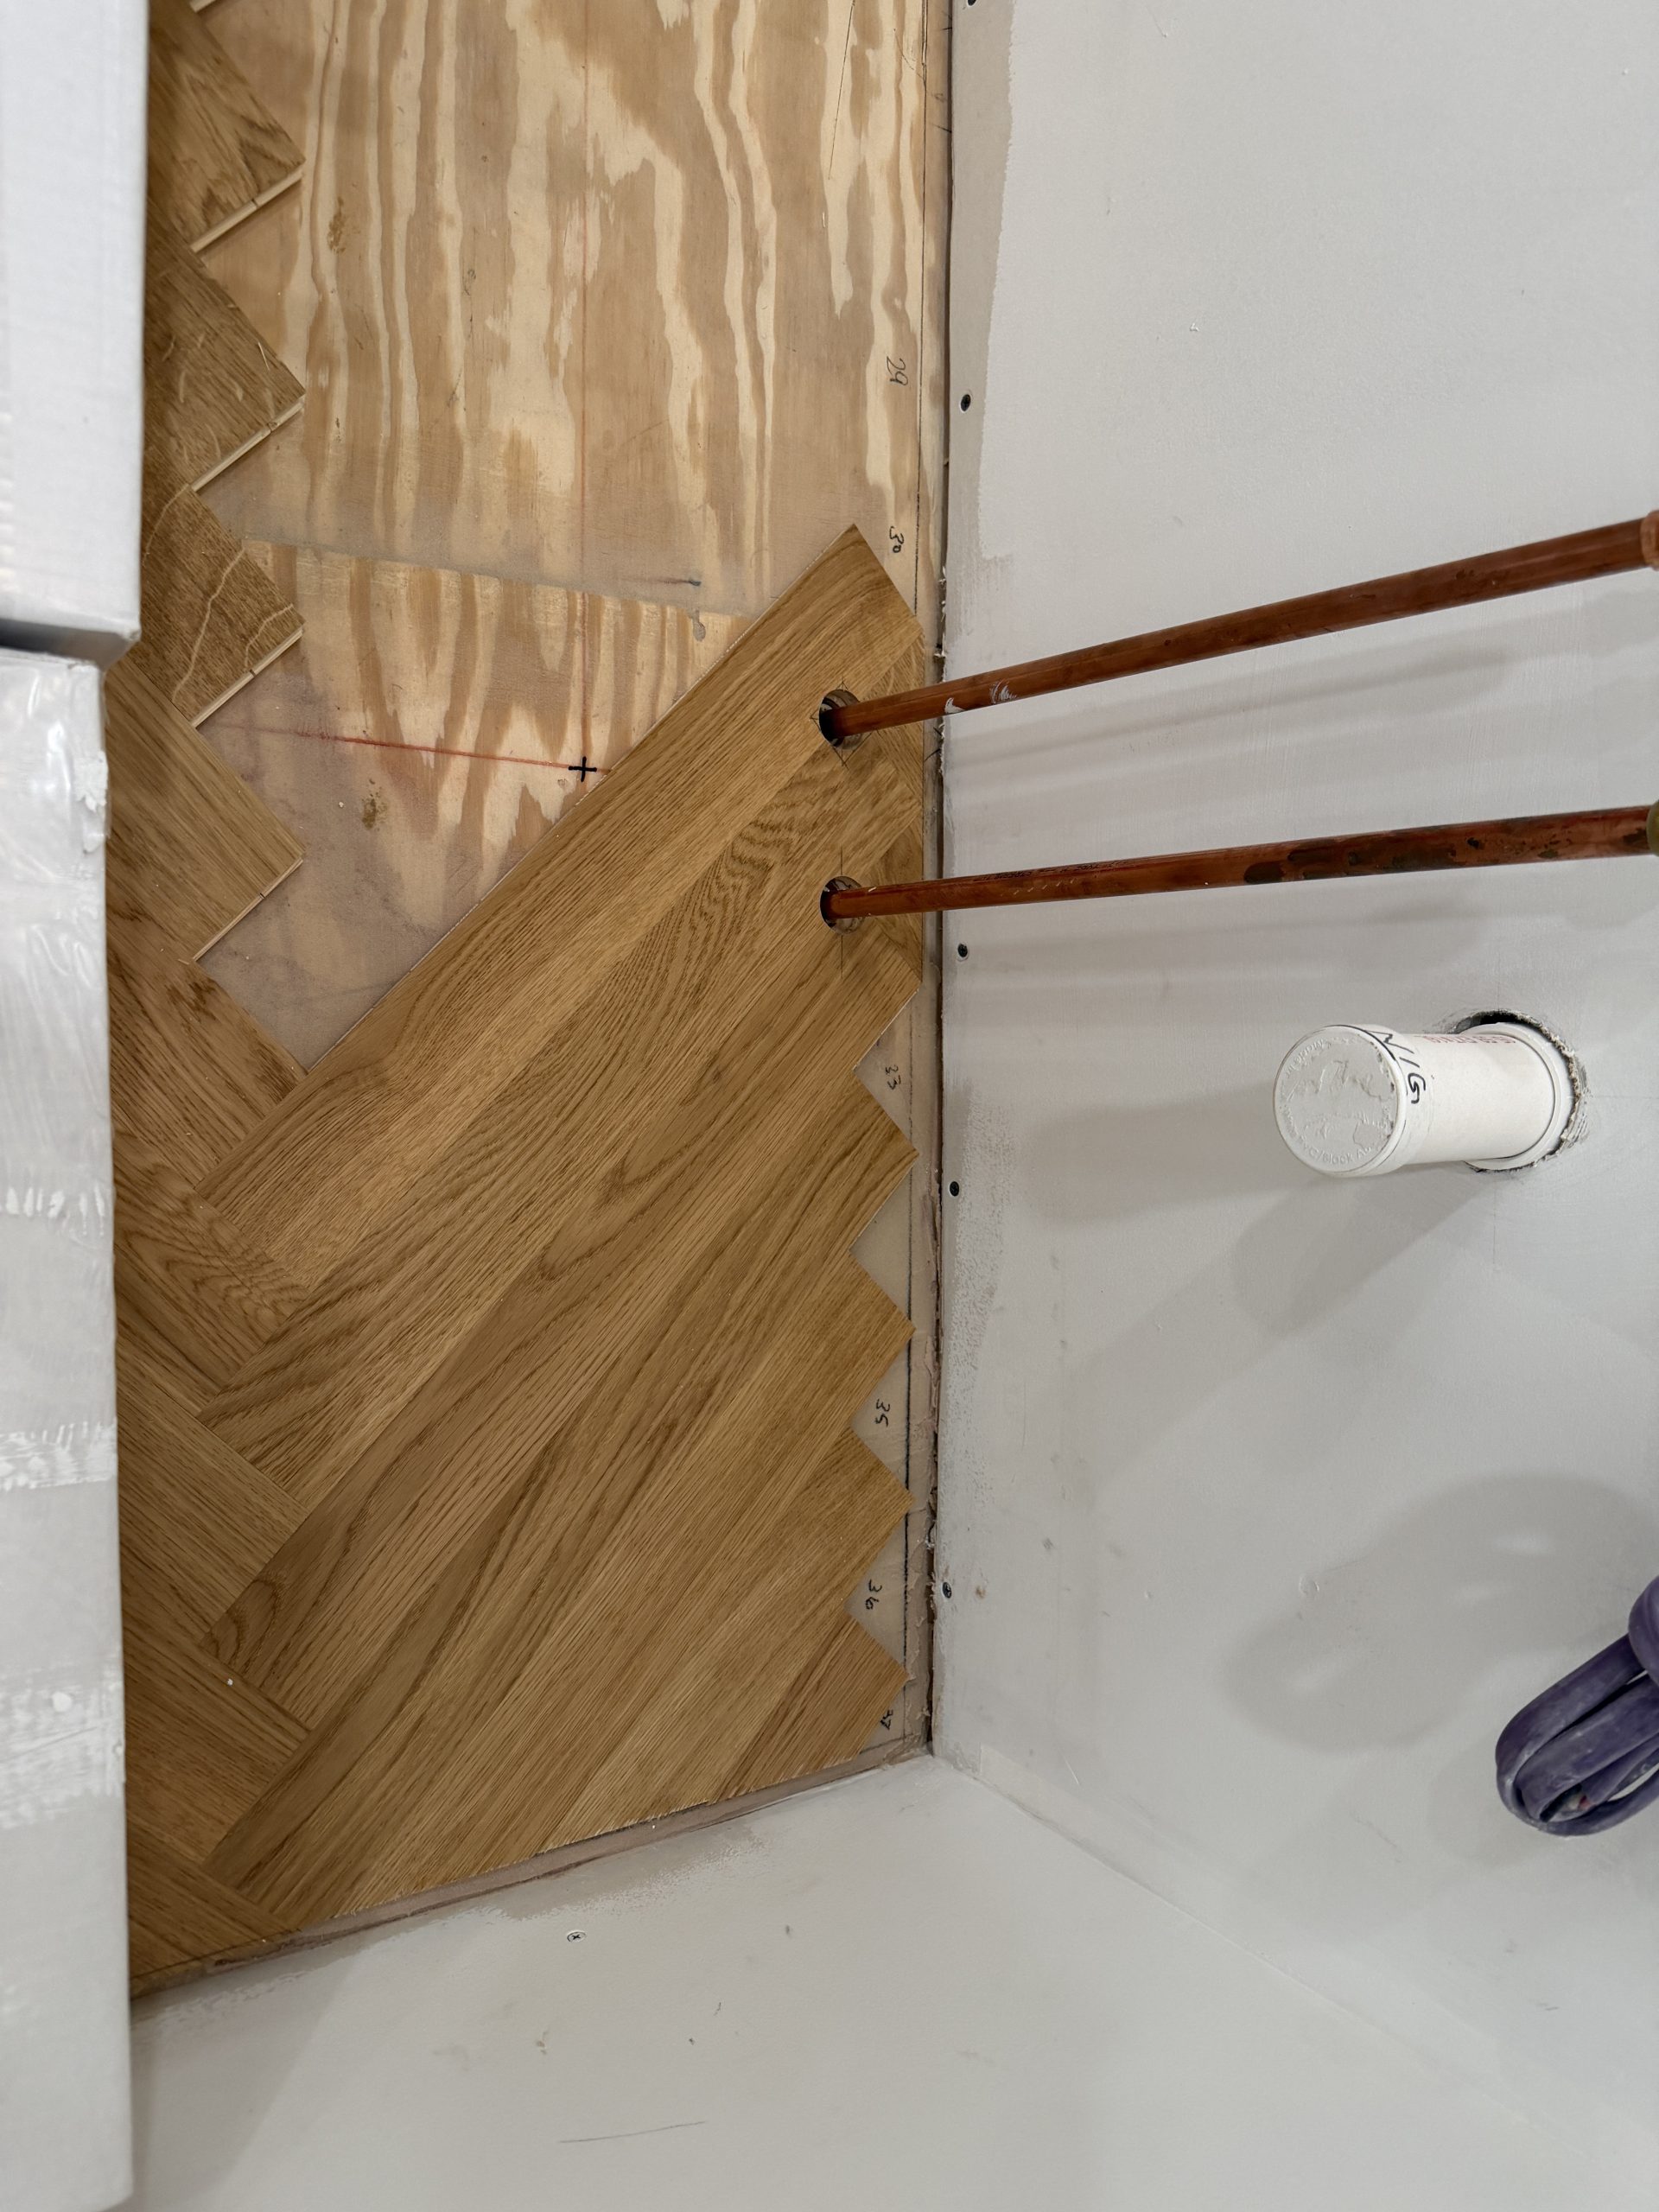
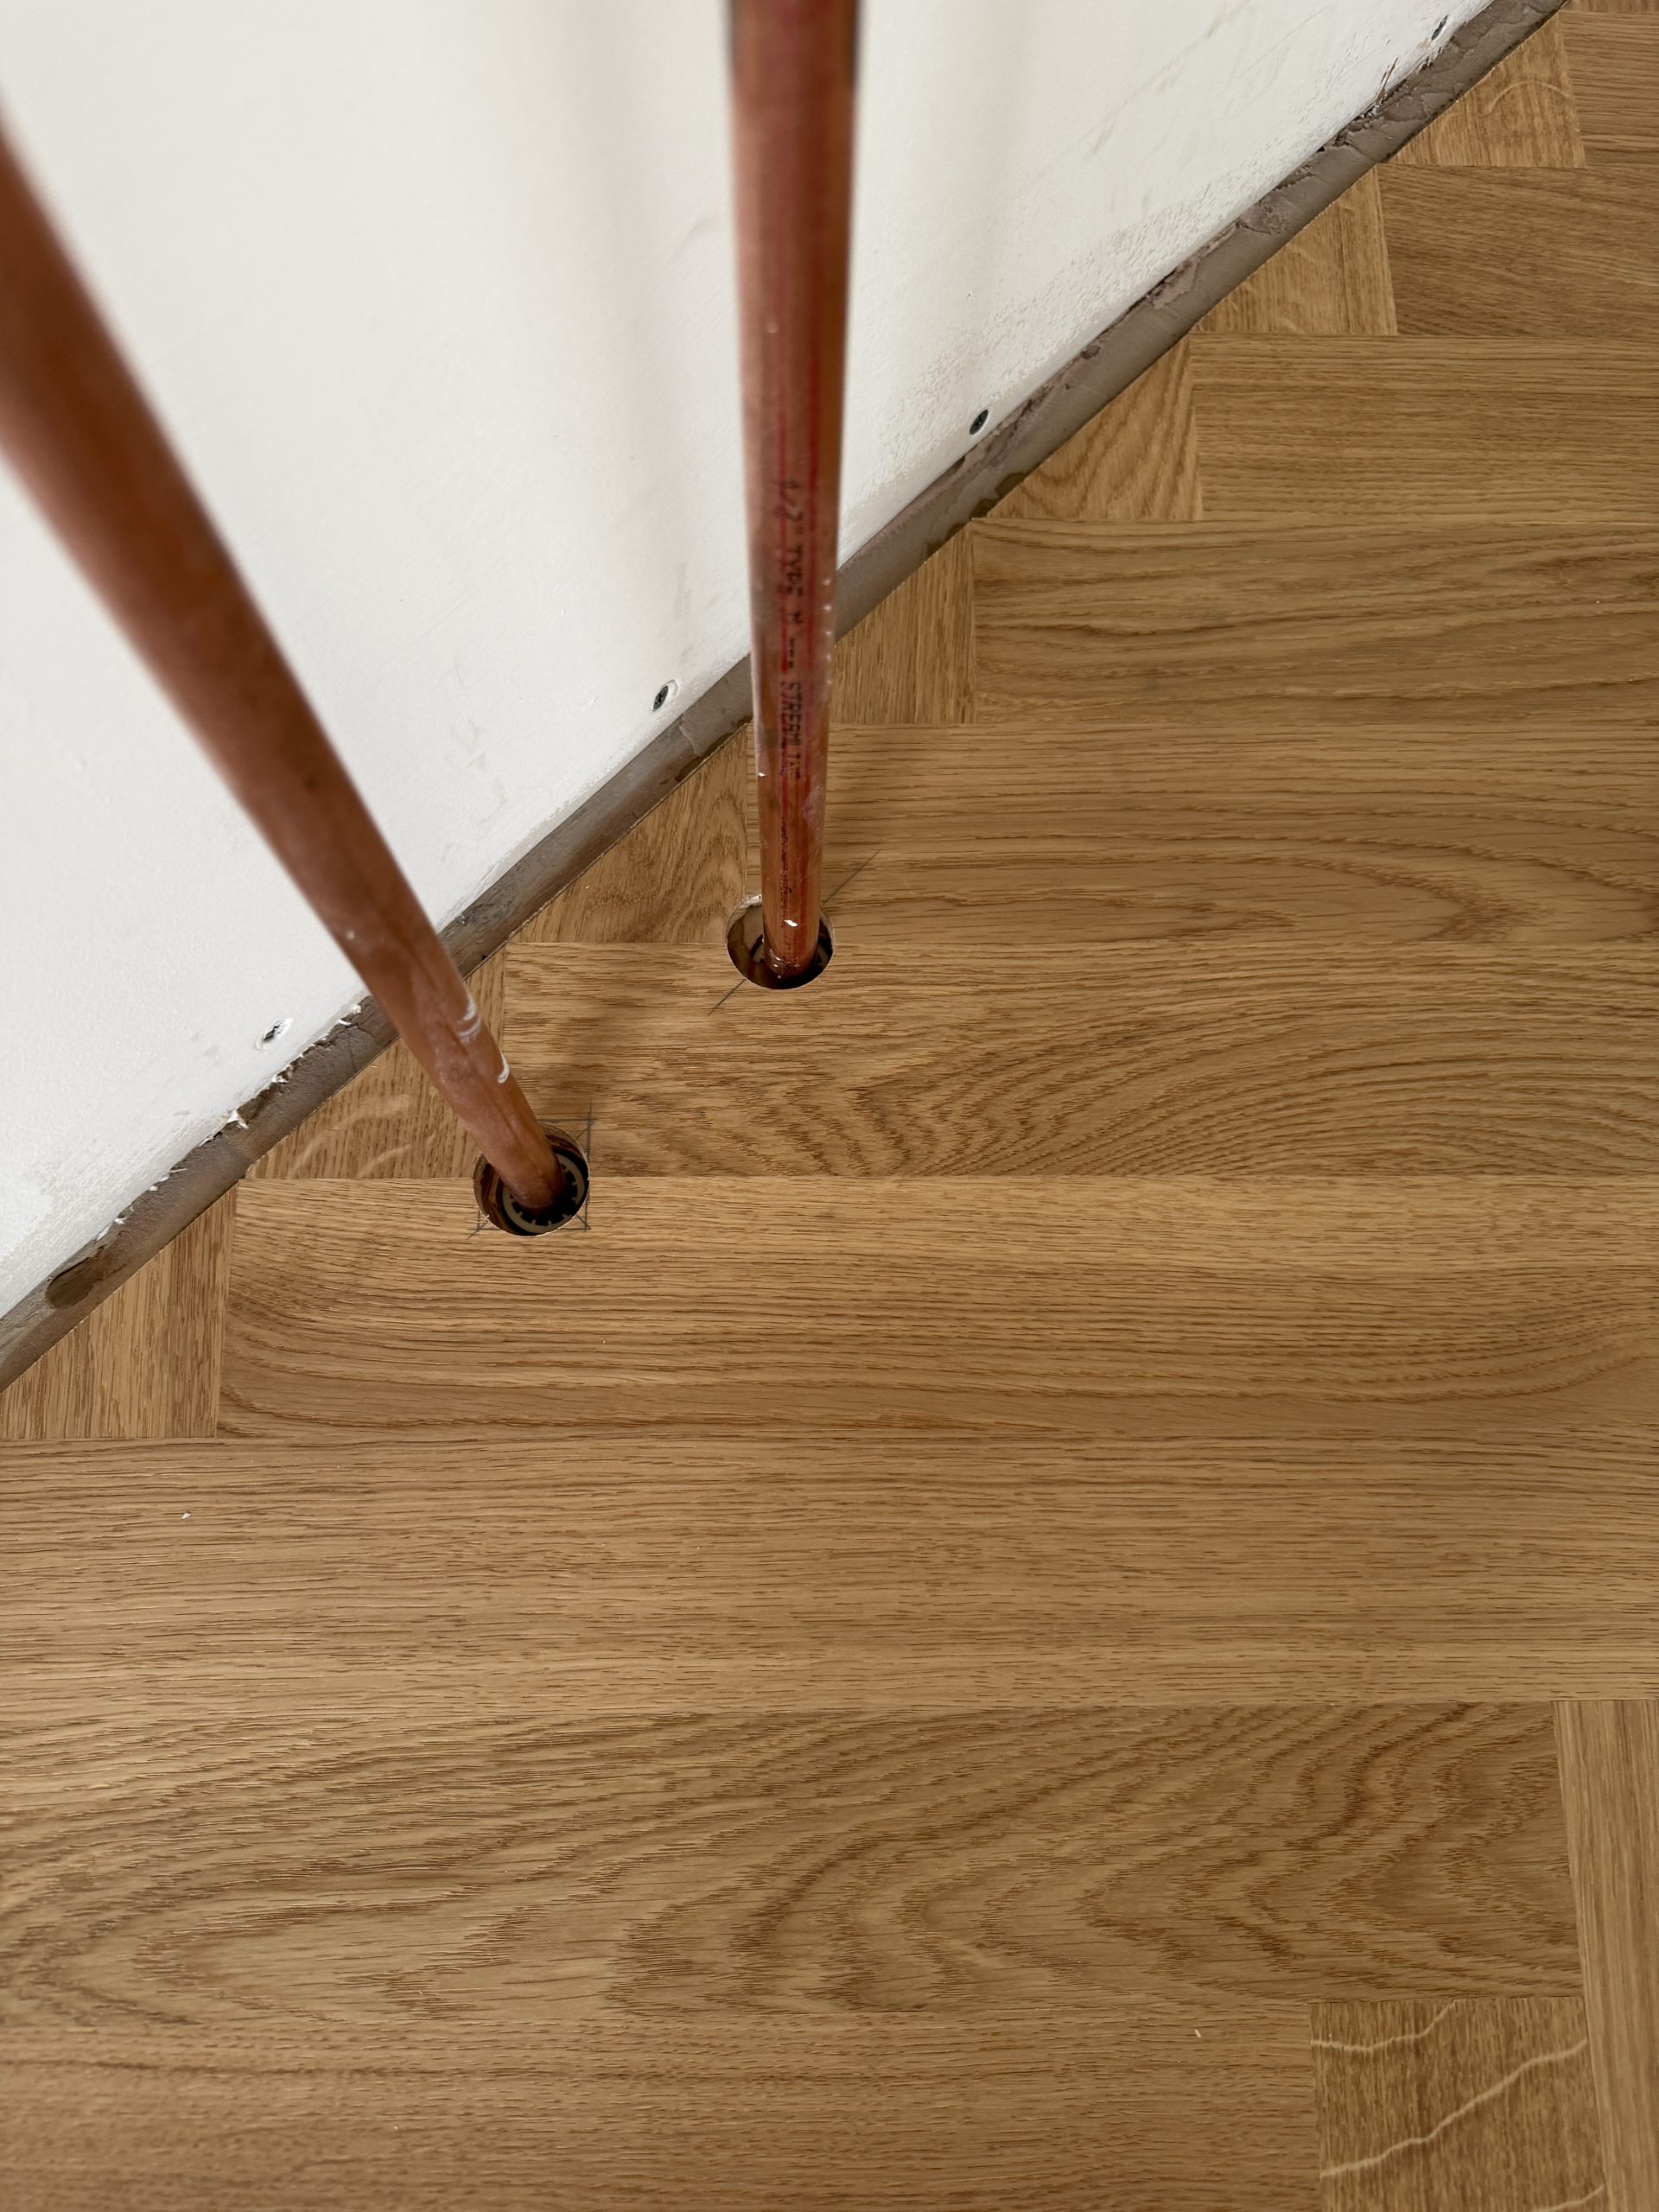
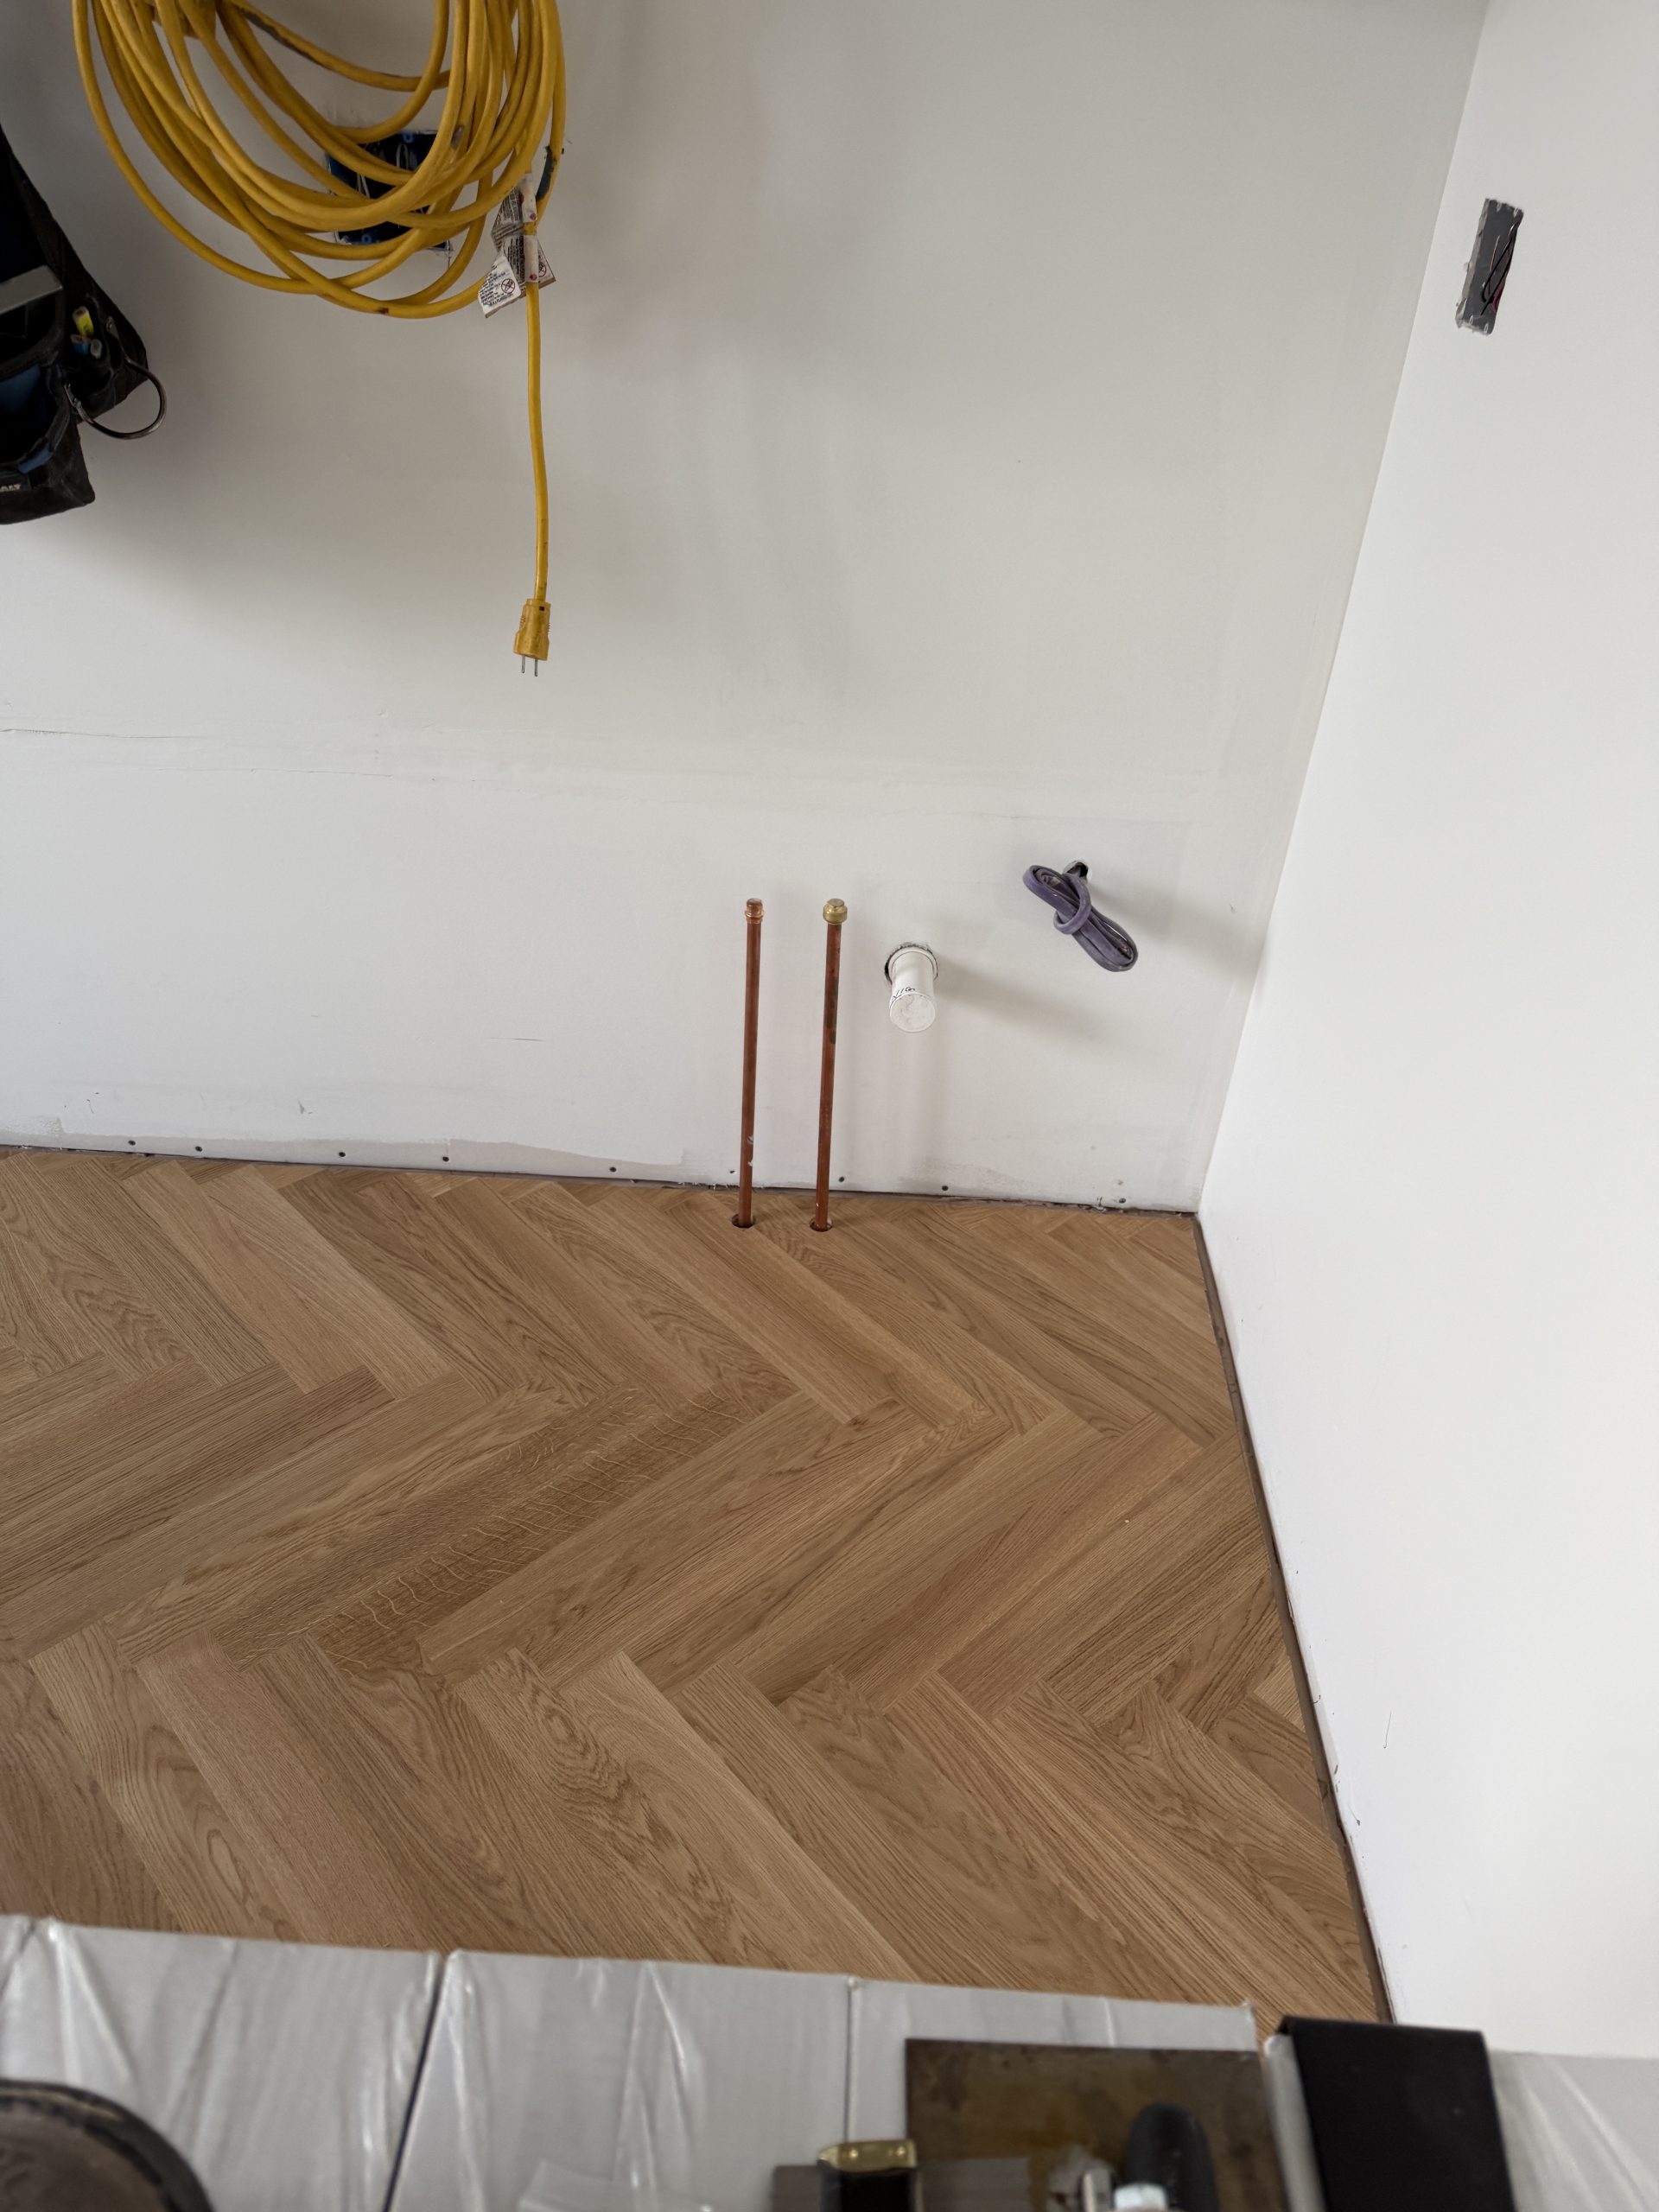
From that point on, rows are added one at a time, weighted down, and allowed to set. We learned that they don’t need to sit overnight – just a few hours – so M would precut and fit out a row, glue it down, and then work on something else for a few hours, move the boxes out of the way and start again. The whole process of layout and gluing took about an hour for interior rows, and a couple of hours for edge cutting. This room had plumbing pipes to work around as well. But he was able to complete the room in under a week from initial triangle to finished row working a couple of evenings and on the weekends.
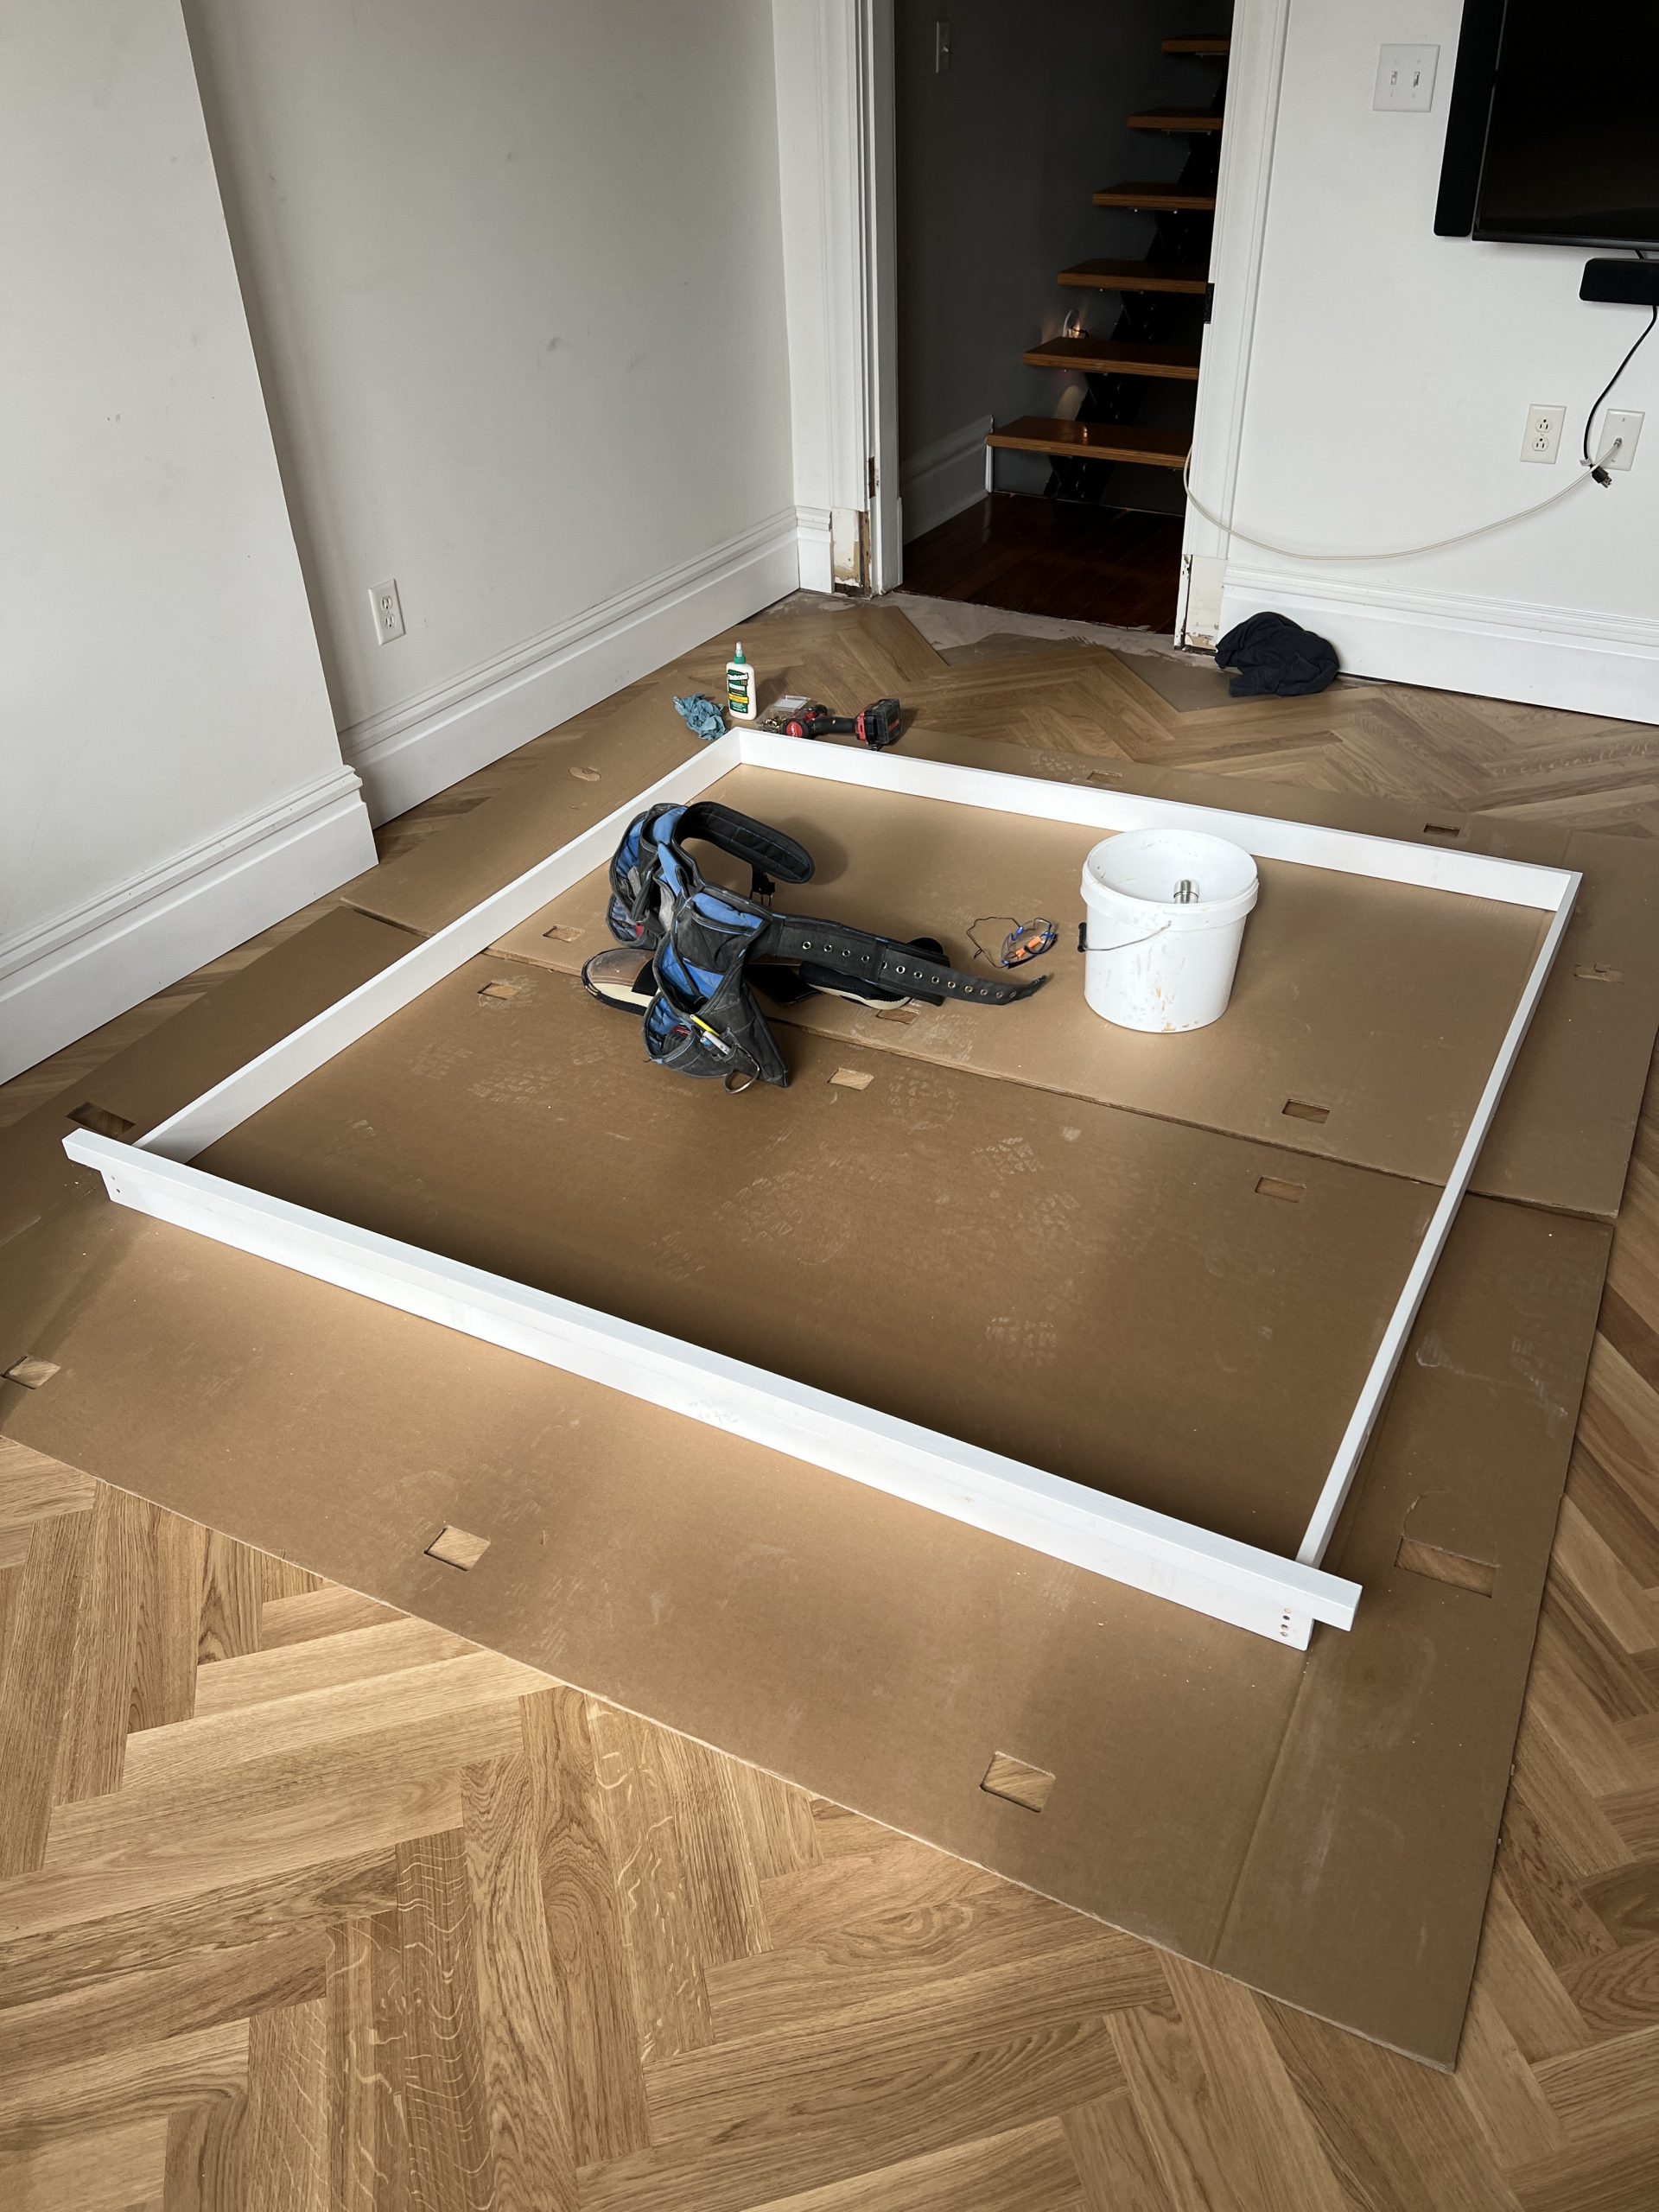
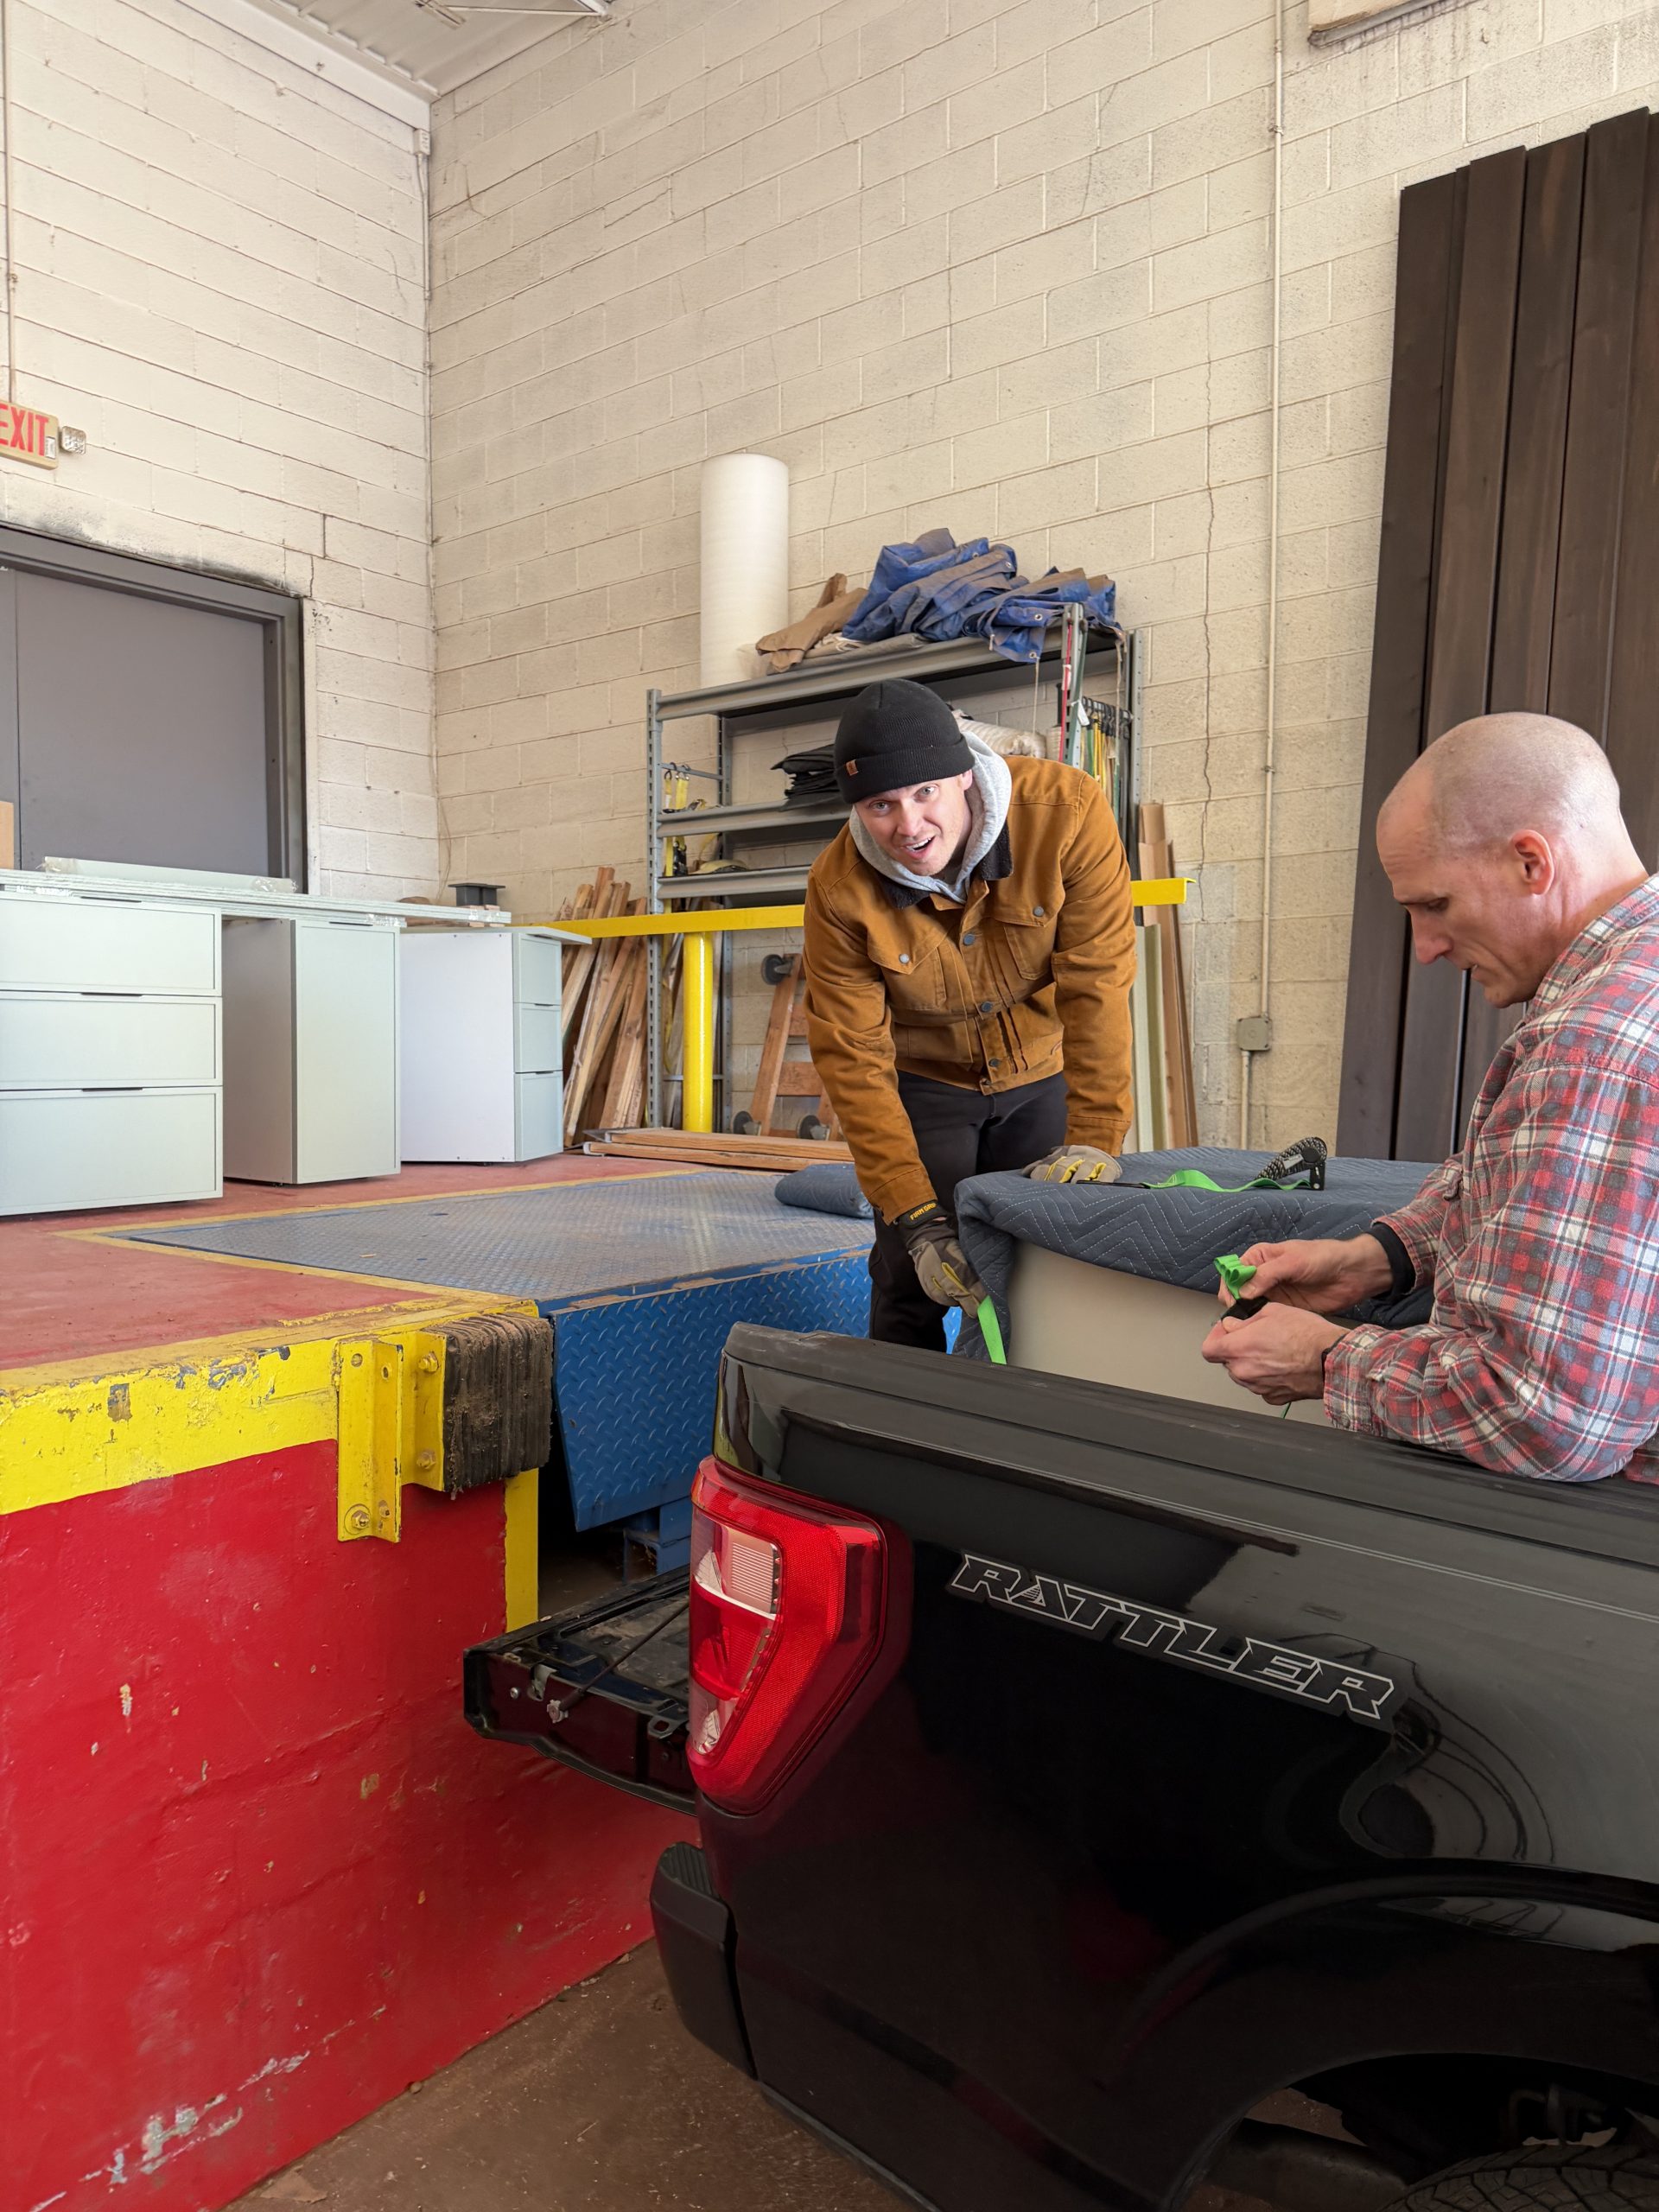
Pickup the cabinets from the shop (carefully!) and install them in the kitchen. Our cabinets were completed just before the holidays, and our cabinet makers wanted them picked up by mid-January to make space for some large orders they needed to stage later in the month.


The closer we get to the finish line on this project, the more nervous I get. And while the whole project has been a fairly collaborative effort, it’s not been 50/50 in every category. From a project management perspective, I think we’ve pretty equally shared oversight of work done by subcontractors, management of the proposals and invoices, and review of shop drawings and submittals. But I’ve done the majority of the drawings and modeling, an exhaustive amount of detailing and measuring and specifying the right products, and then thinking about how it all should fit together in the end. M has done the majority of the labor and the research into means and methods, the purchasing of tools, the sequencing of tasks, and most of the heavy lifting. So now he’s rolling on this monumental task of replacing the flooring throughout our house while we live in it (which isn’t easy), but it’s also becoming a pretty known thing. There’s a known process and a duration to that process. Meanwhile, I’m managing this last surge of work by others which all needs to happen in a very specific sequence, and it ties in items we’ve purchased years ago and drawings I’ve completed years ago, with an infinite number of tweaks along the way. These are also expensive components to this project, and any “mistakes” can’t be easily hidden or fixed without added cost and time. I was so stressed out the day we were scheduled to pick up the cabinets that I took the day off, tried to work a little at home, but mostly just paced around in a nervous flutter.
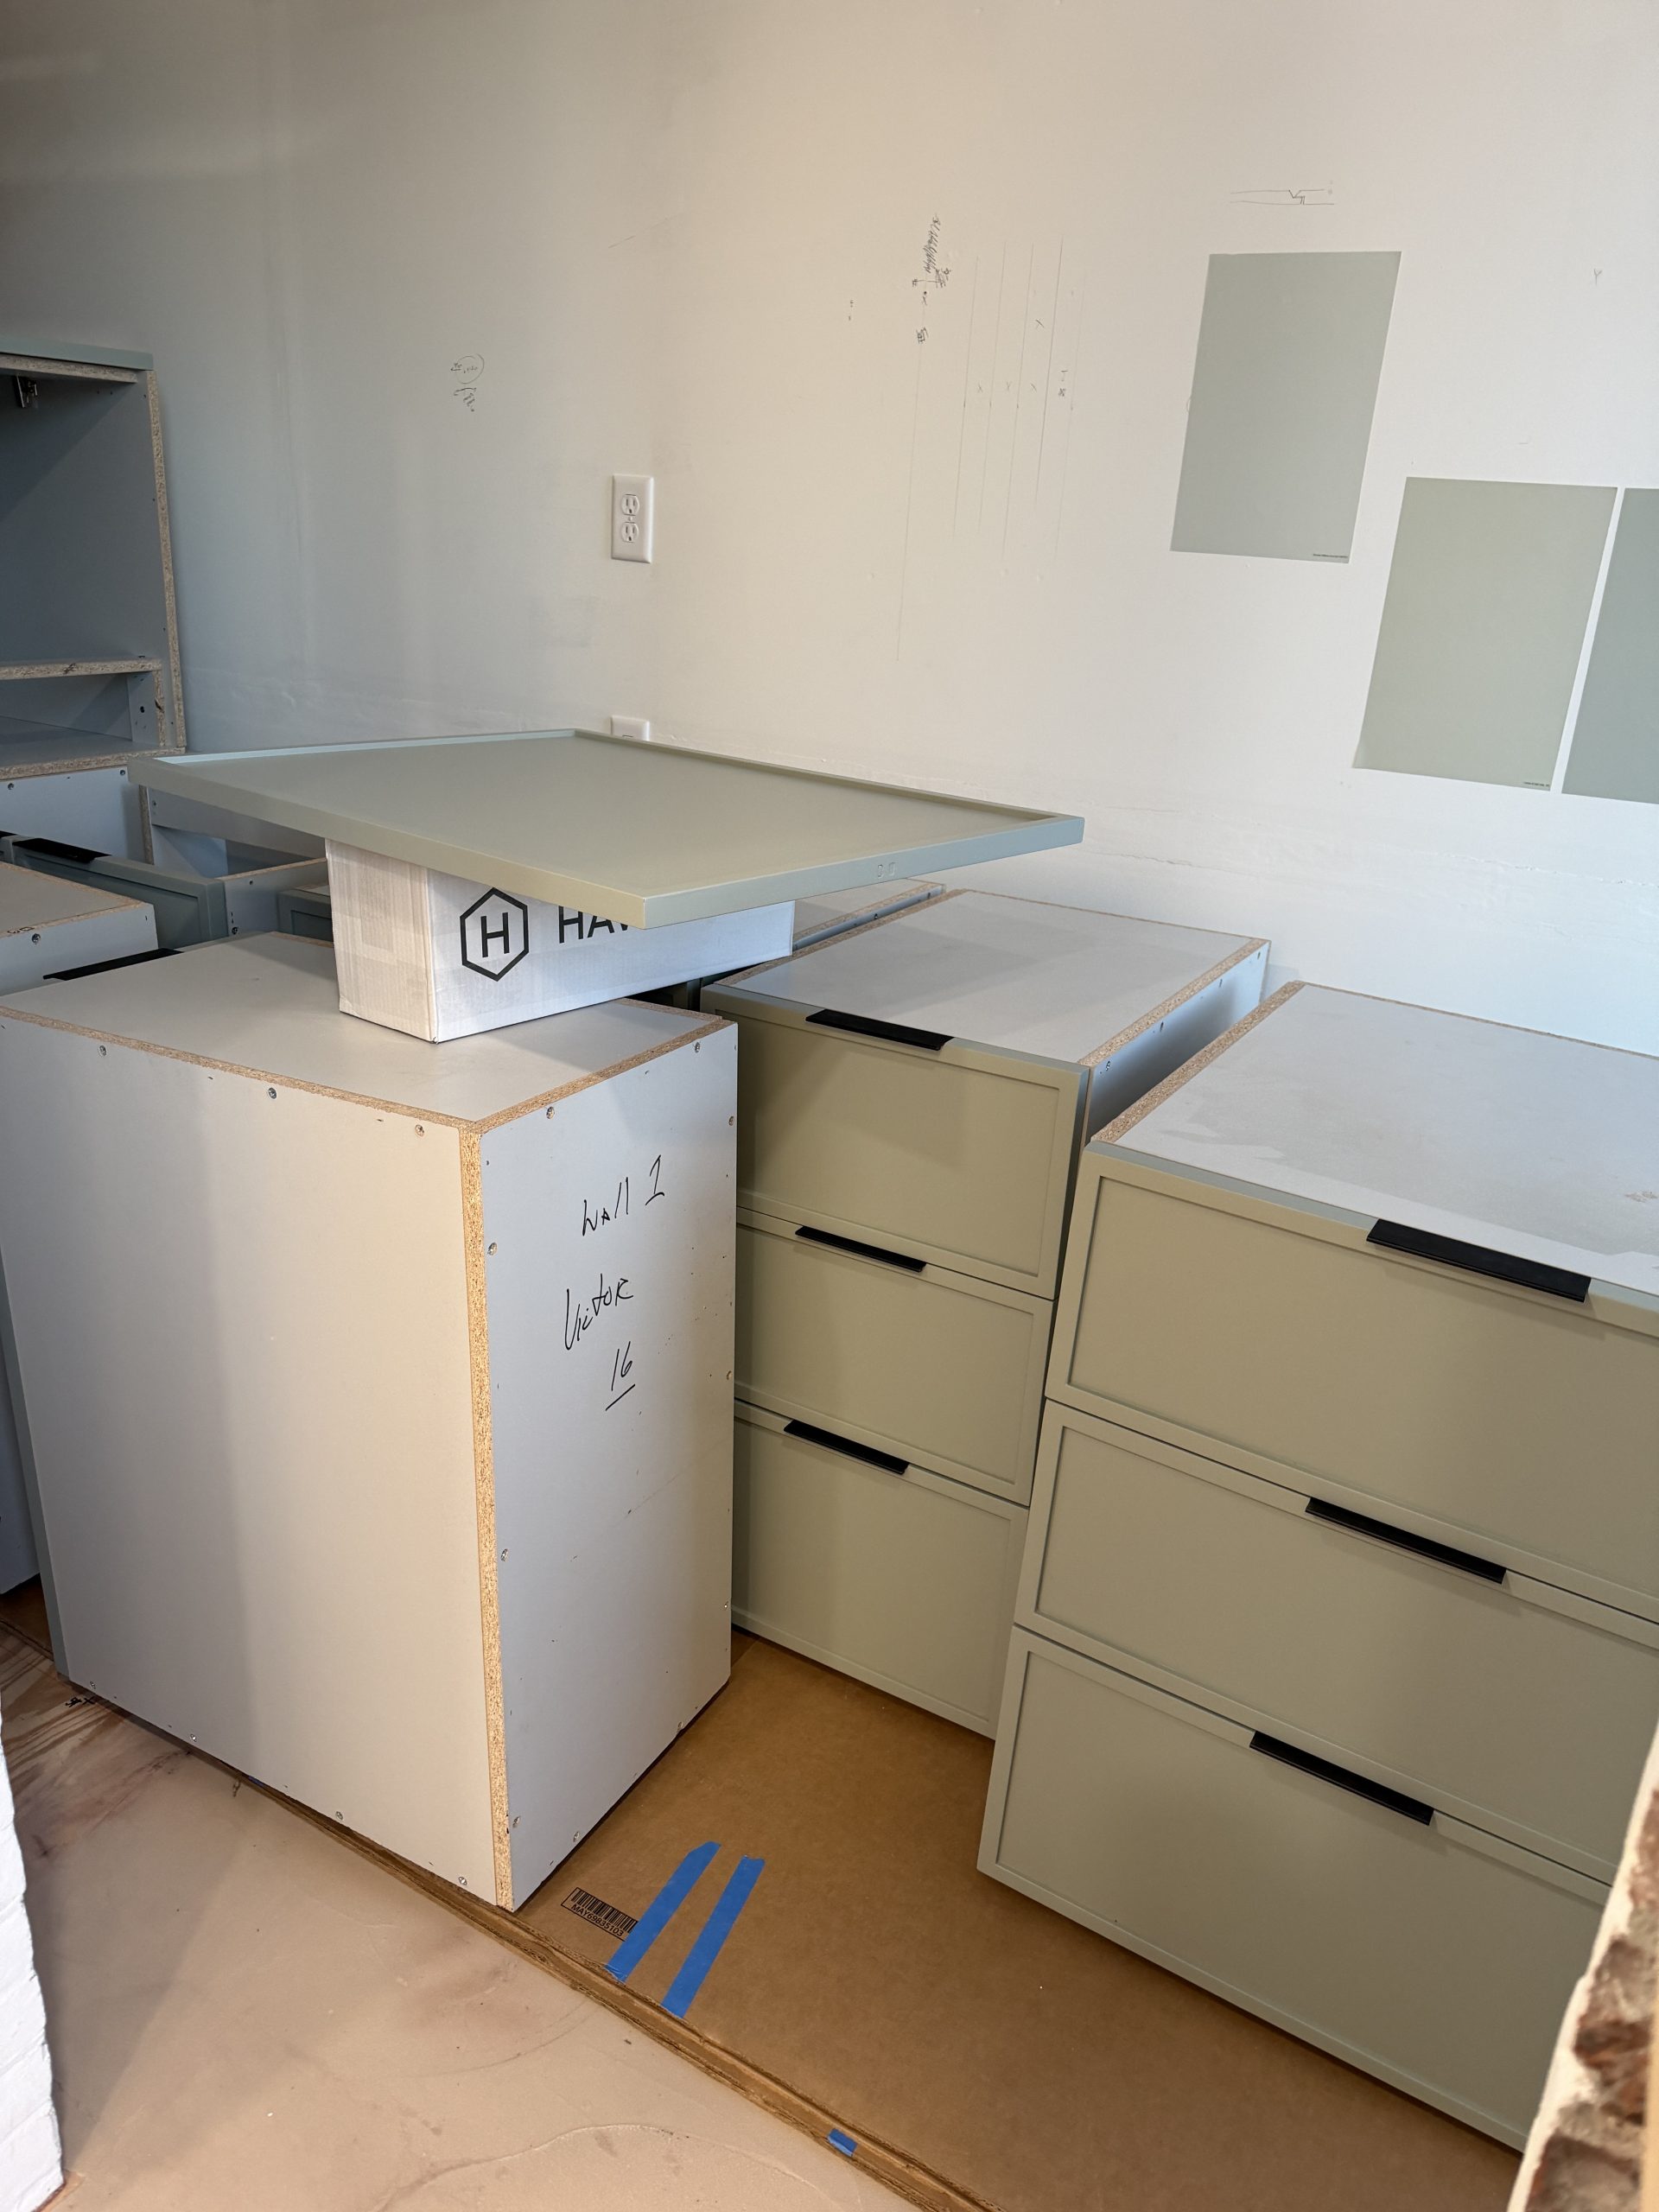
It took three trips to bring all of the cabinets home. We hired our young neighbor again, and F helped out as well. We carefully stacked the units in the pantry until the following weekend. Our cabinet maker came over on Friday afternoon to review some installation tips, and then we made a plan for the order of installation. We determined that there is one key dimension on each wall – centering the range on the bump out on the west wall and centering the sink on the south wall. We’d start there, and then work towards the corner and then towards the end of each wall.
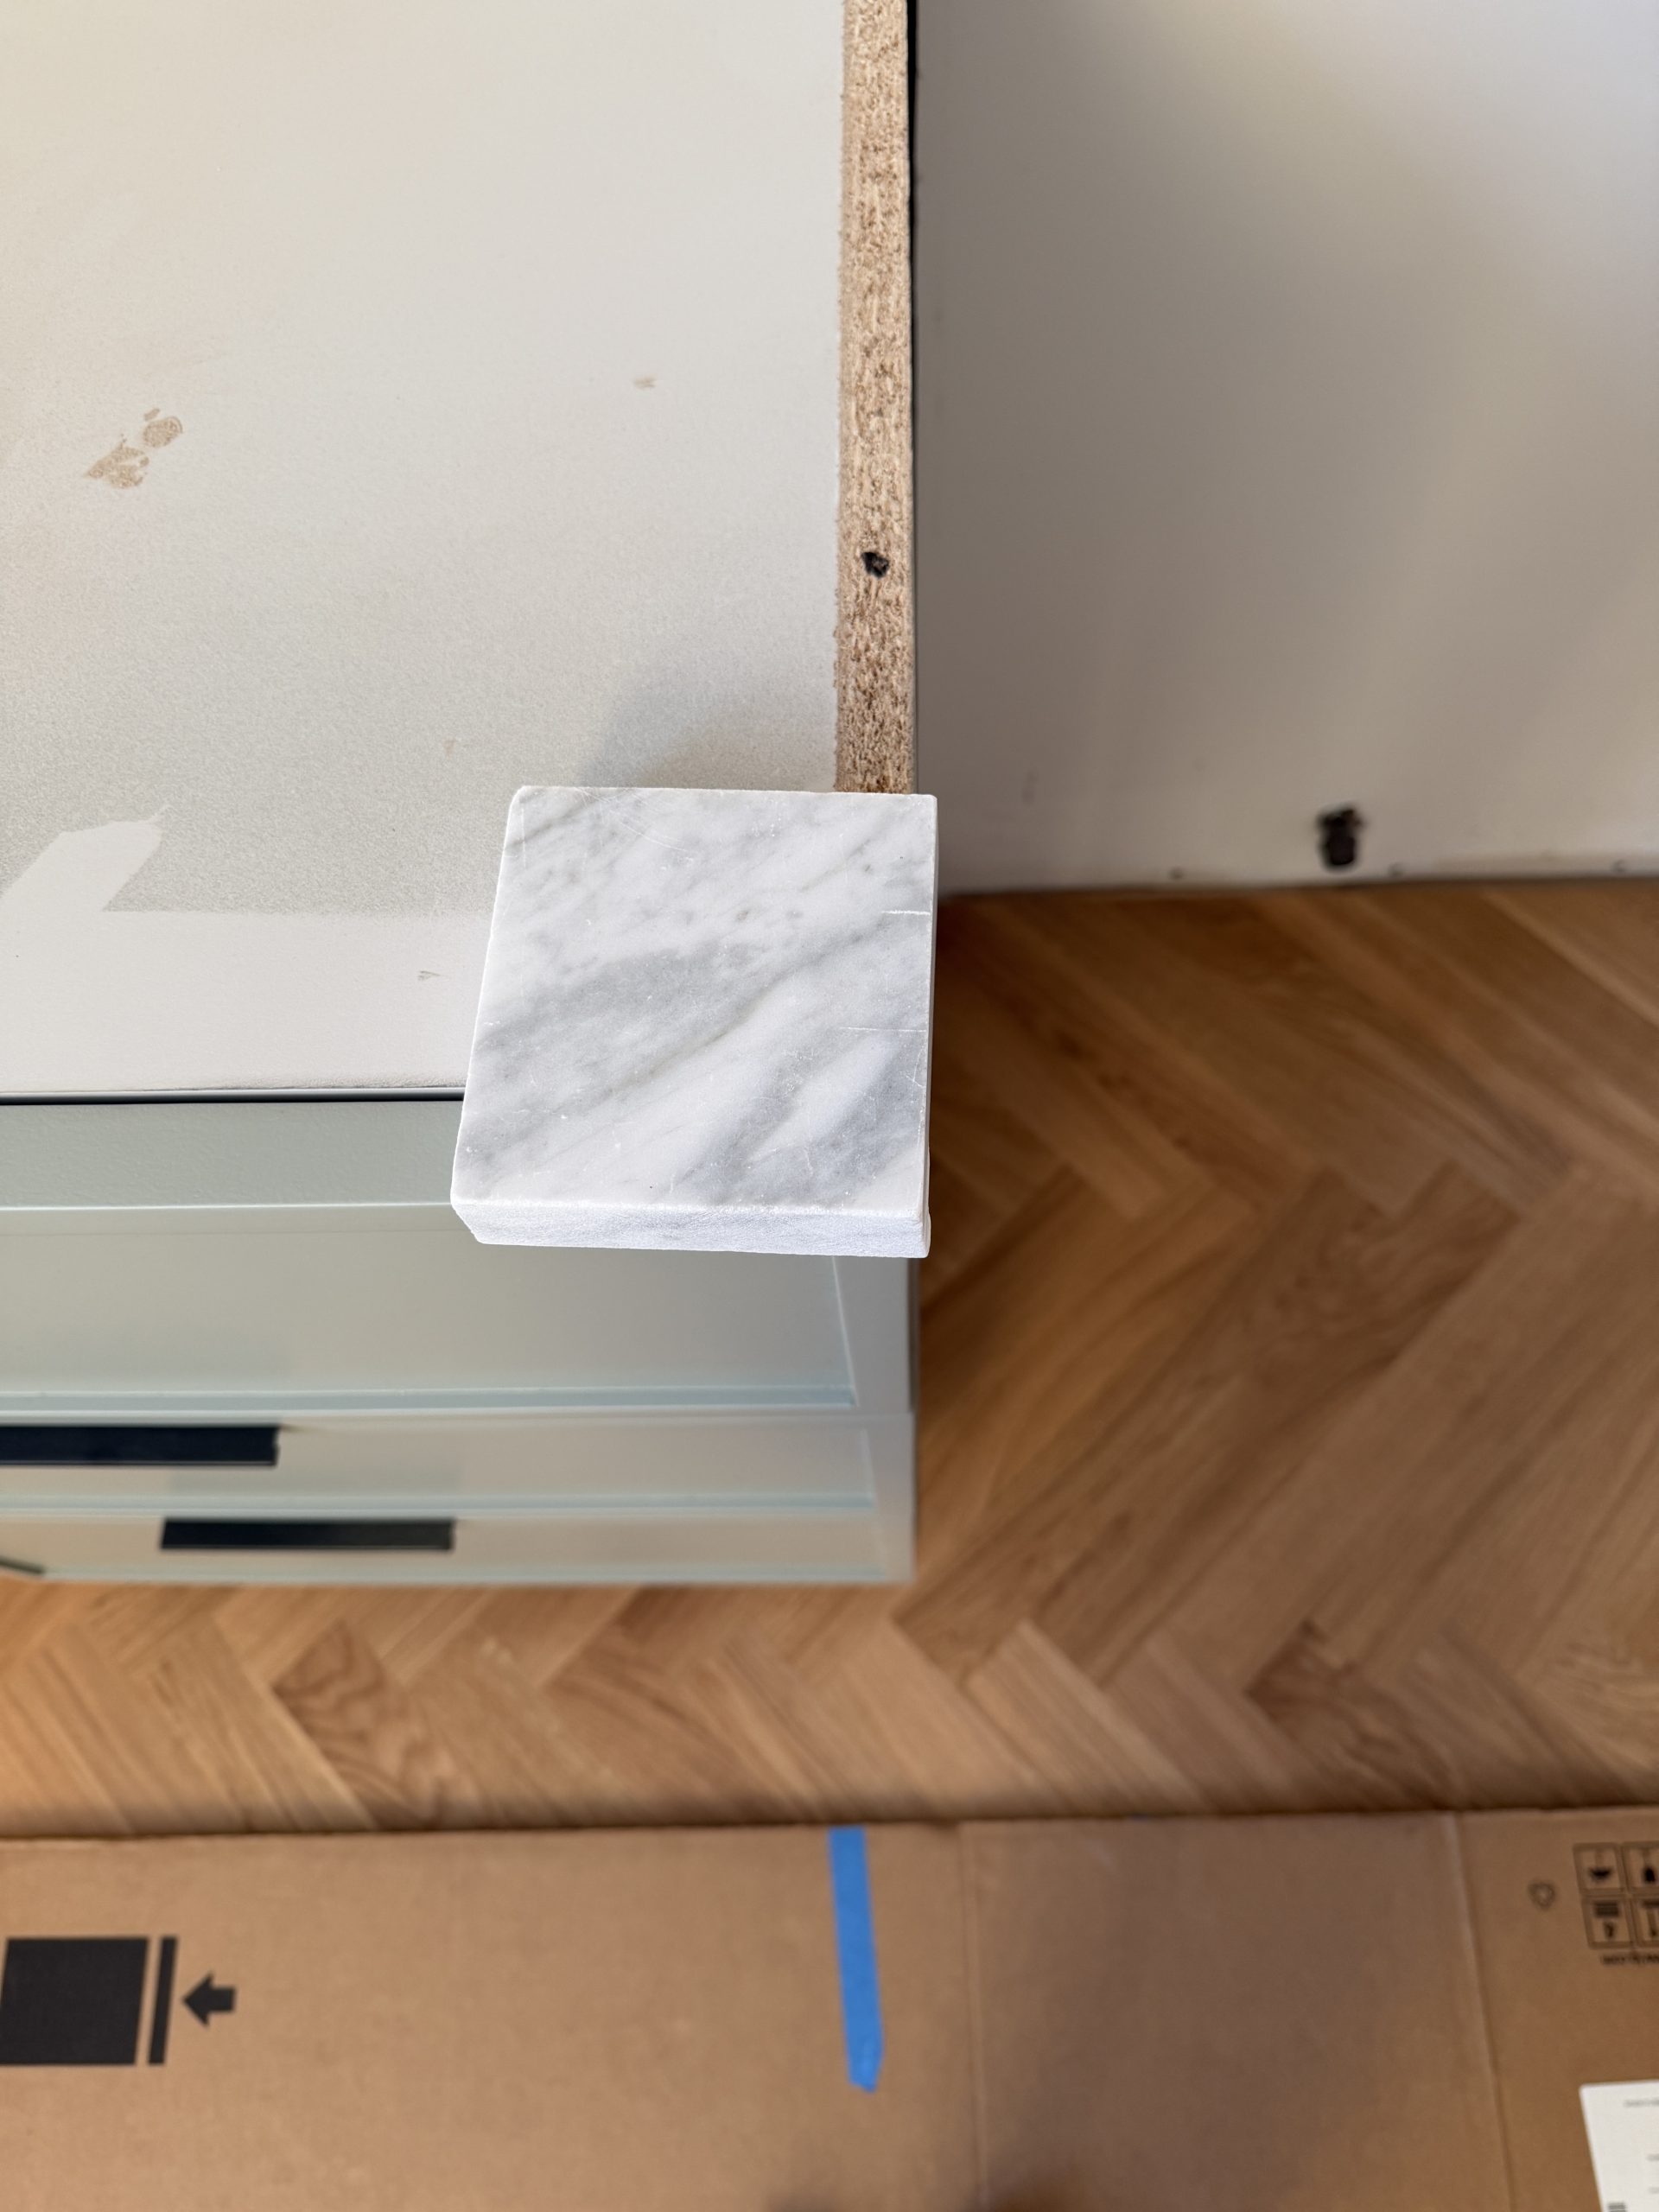
We established the center of the bump out / fume hood enclosure, and pulled the rough opening size from the range cut sheet. Since we have the range in our living room we decided to unbox it and double check the width. (It was spot on). Our cabinet maker recommended allowing an 1/8″ at the opening; the installation guide recommends just 1/16″. We felt like 1/8″ was smarter, and a 1/16″ of an inch on each side wasn’t going to be any more noticeable than 1/32″. We noticed that the drywall corner on the left side of the bump out flared out about an 1/8″ of an inch towards the floor, and so we were having to really push the cabinet into the corner to get the correct spacing. We decided to remove the drywall on that side (it’s completely hidden behind cabinets) so that we could position the cabinet exactly where we wanted it. I know 1/16″ and an 1/8″ sounds tiny, but getting a good starting setup makes everything easier as you go along.
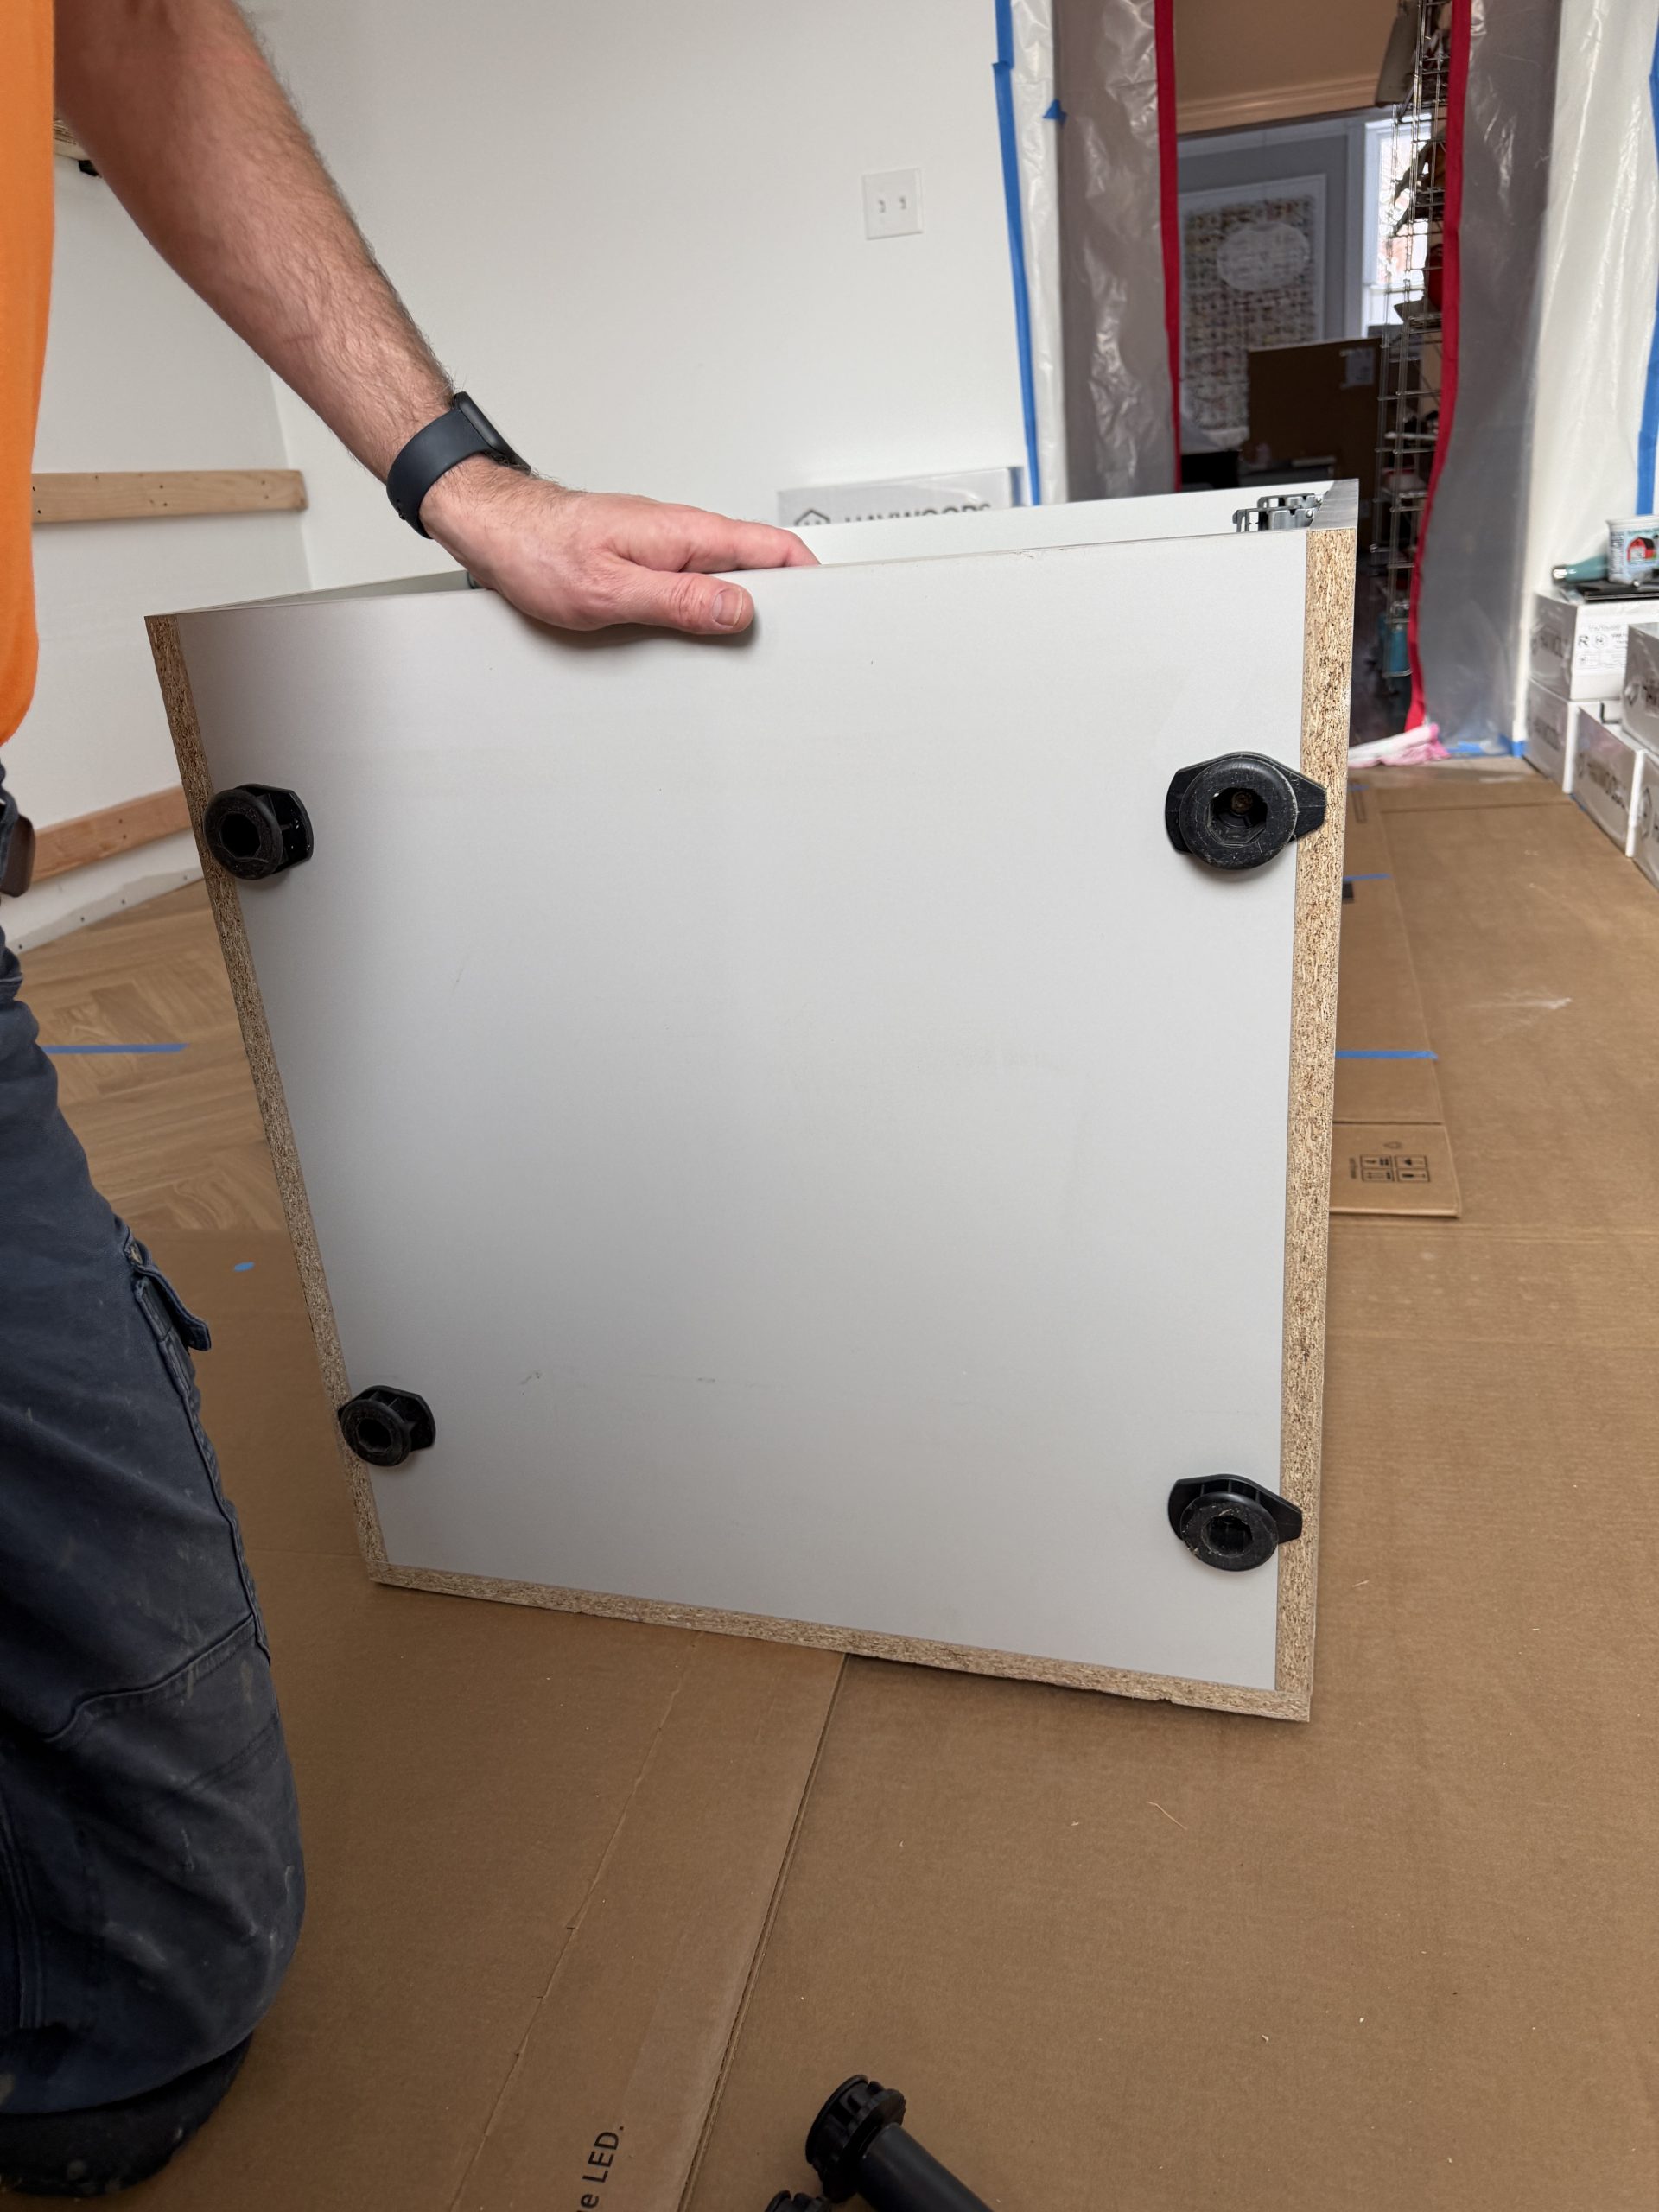
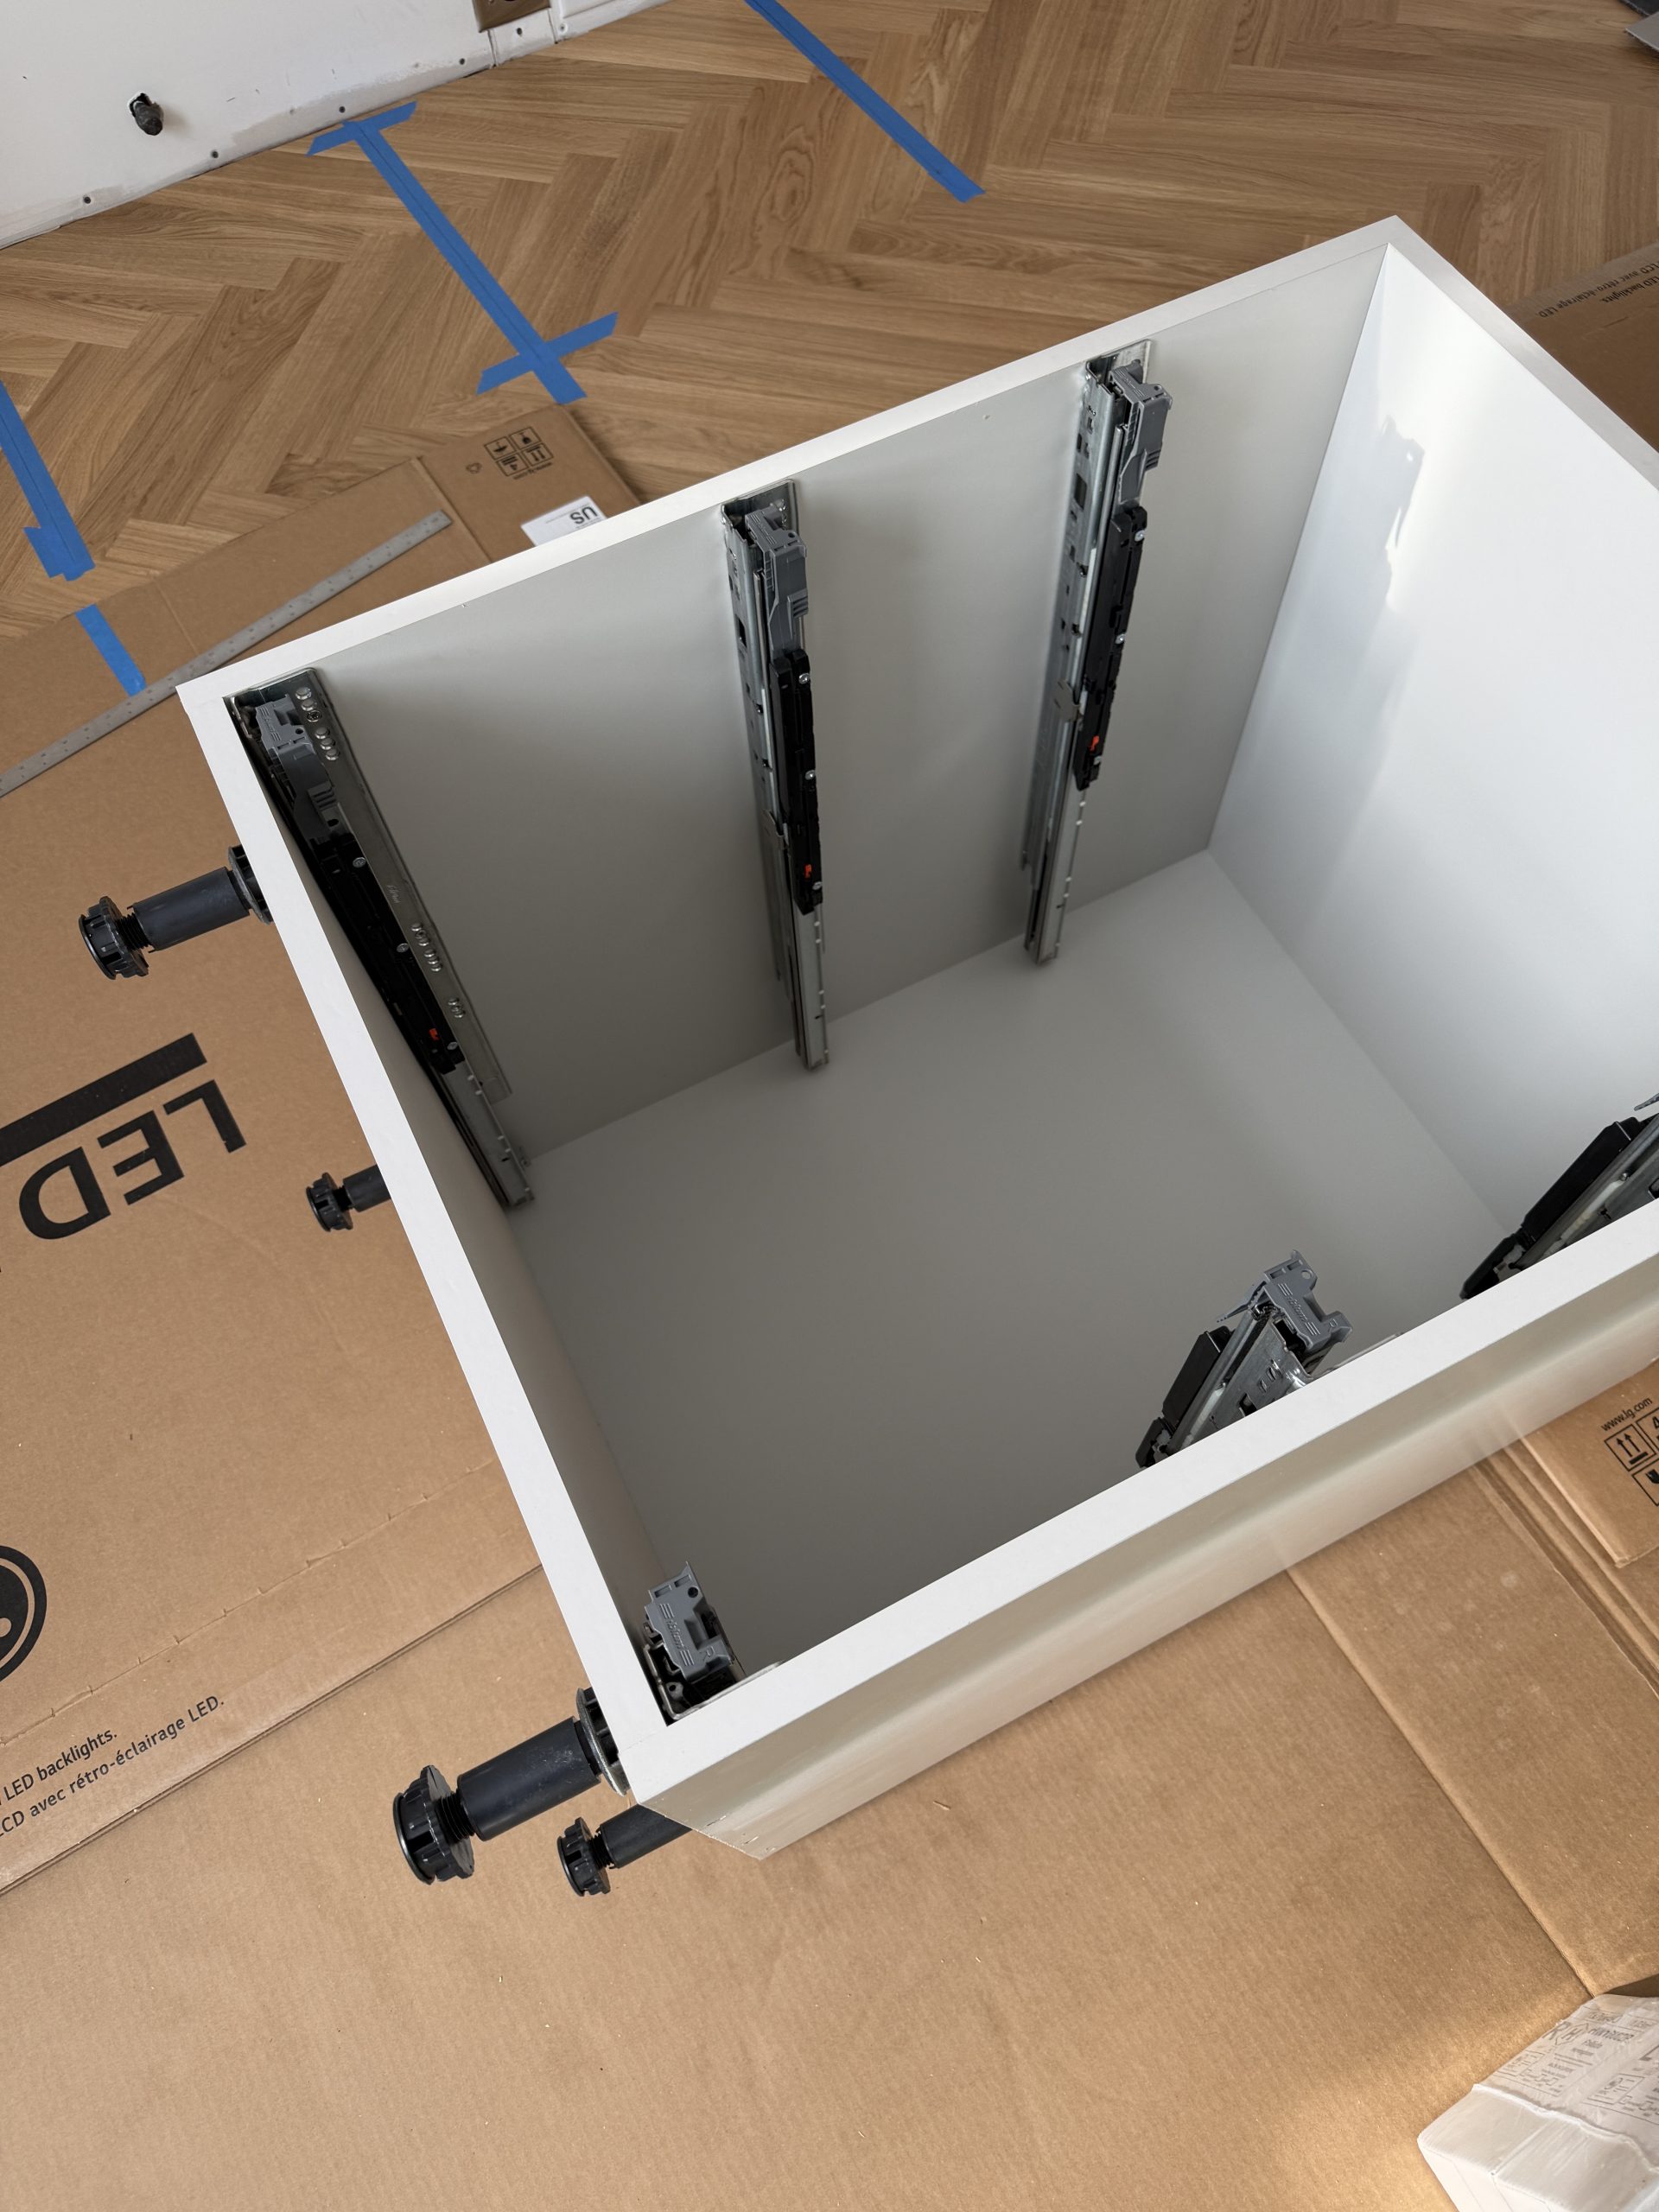
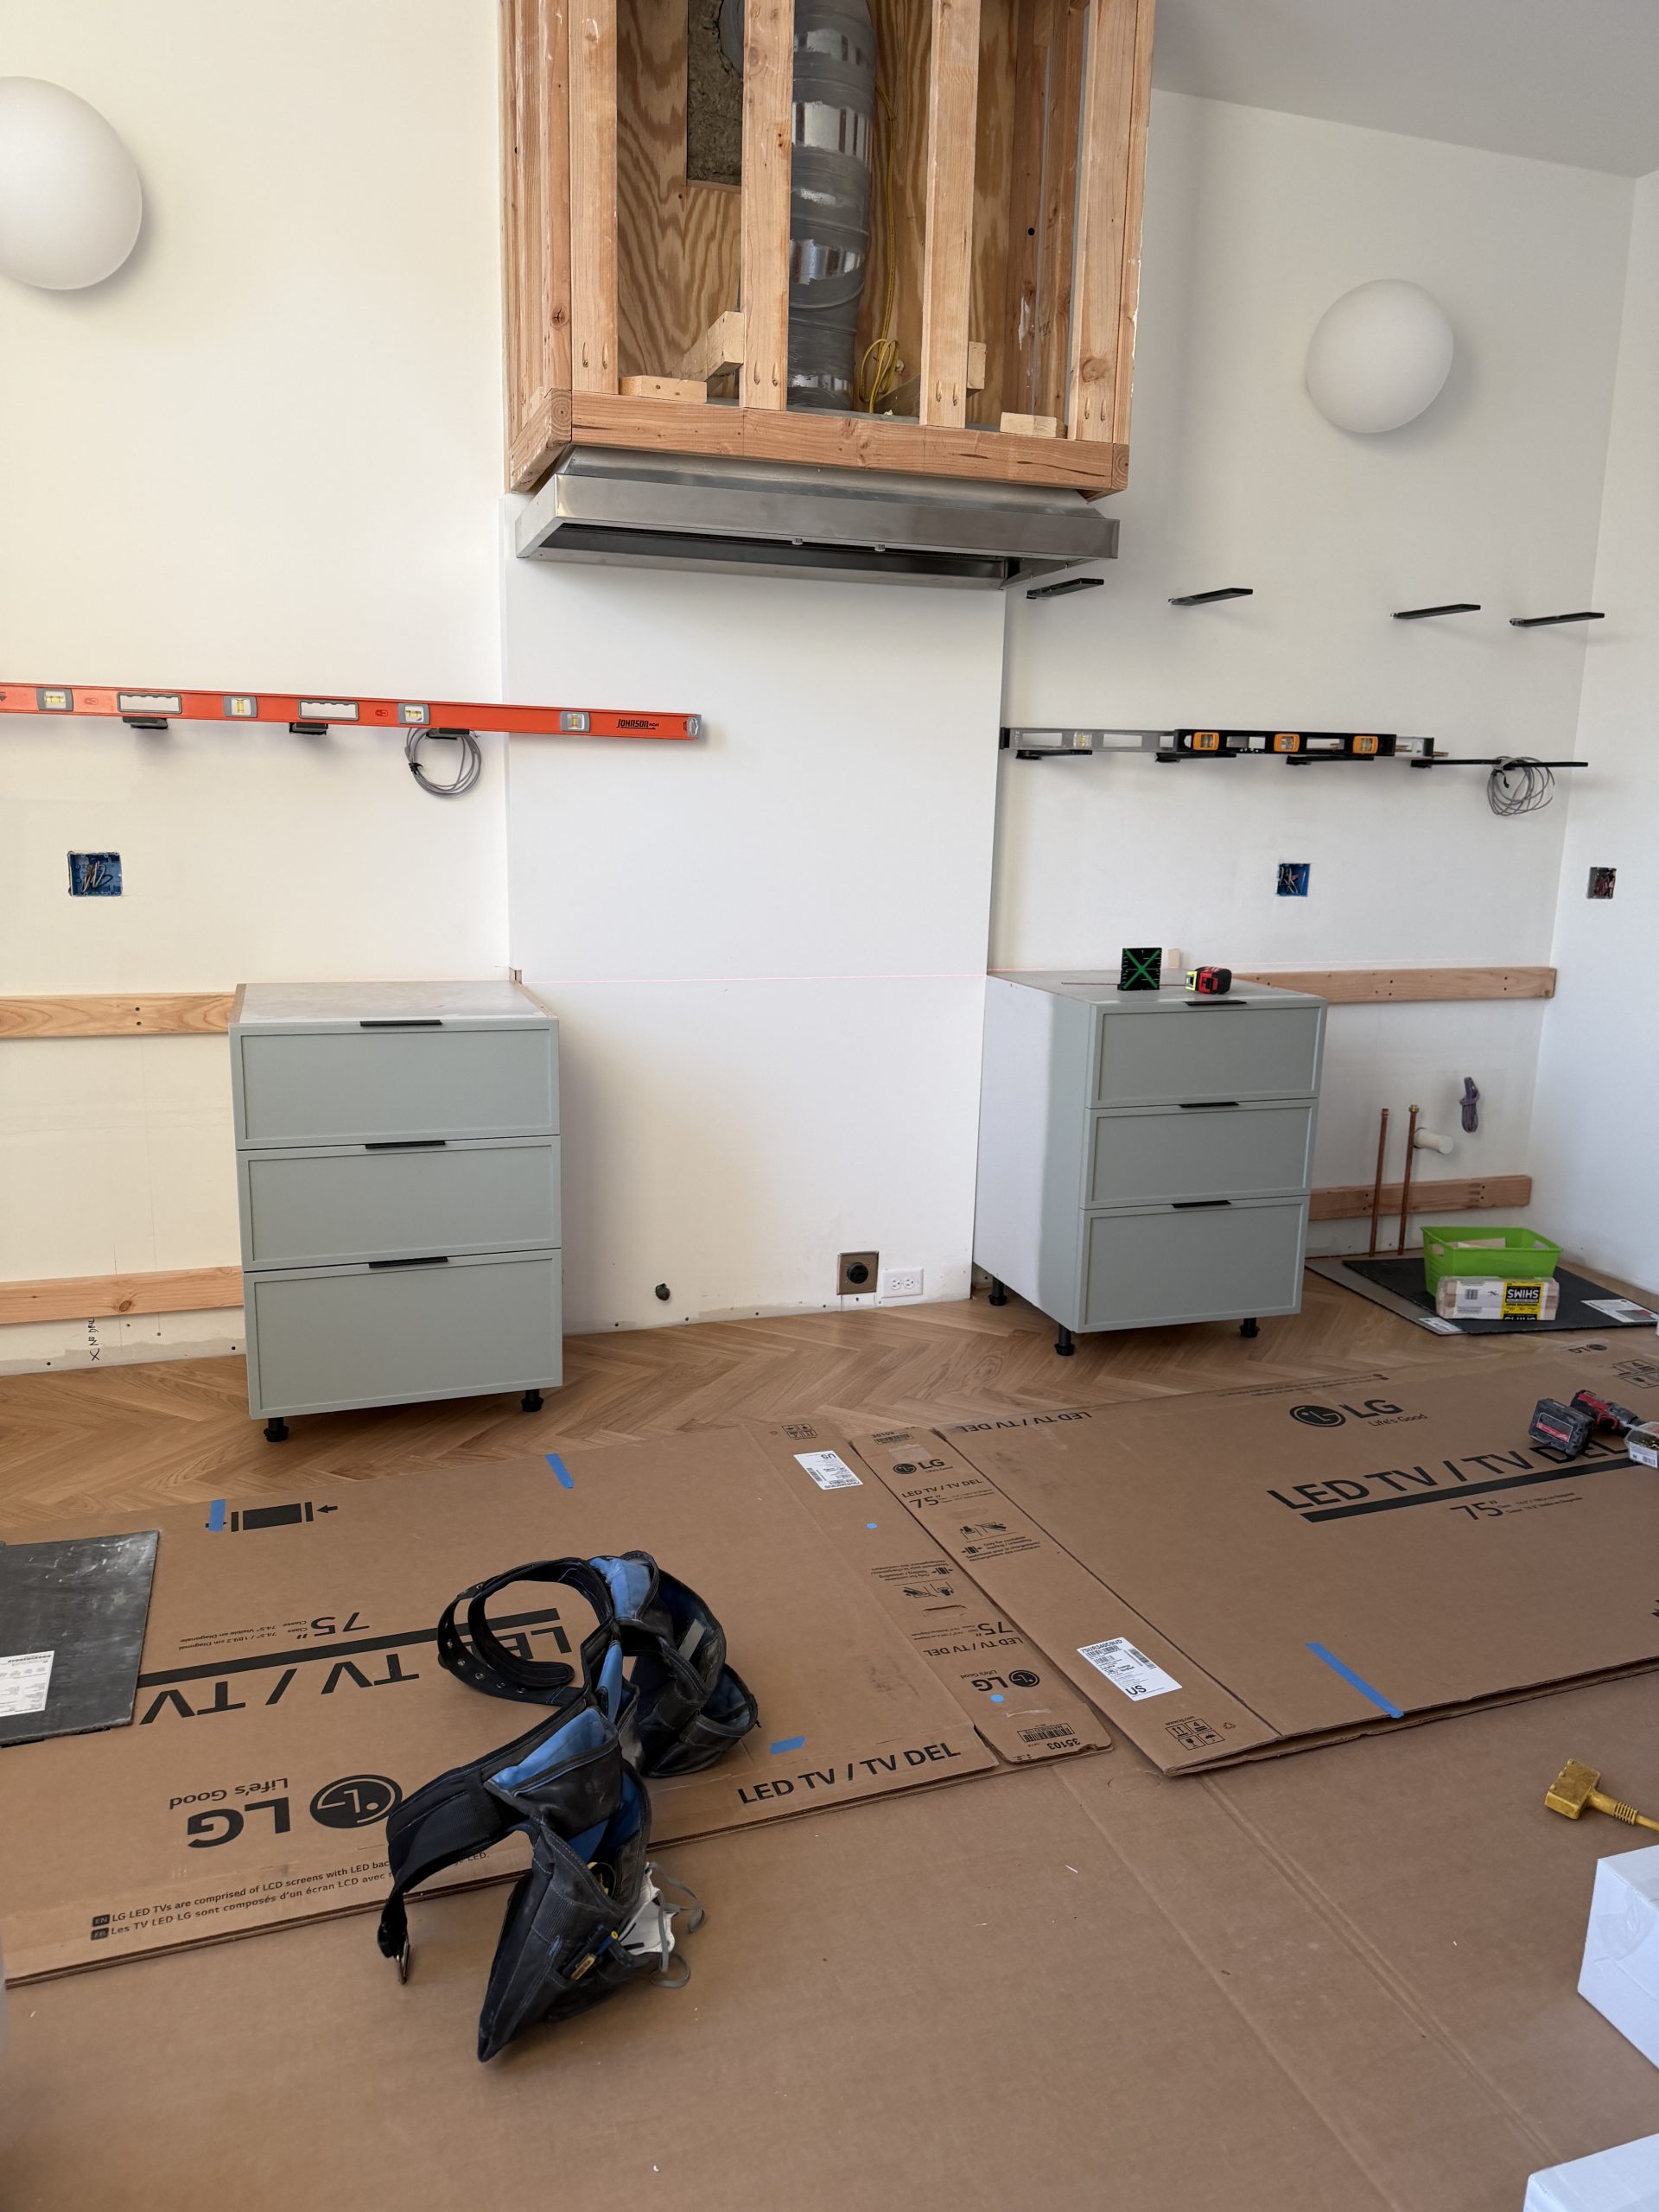
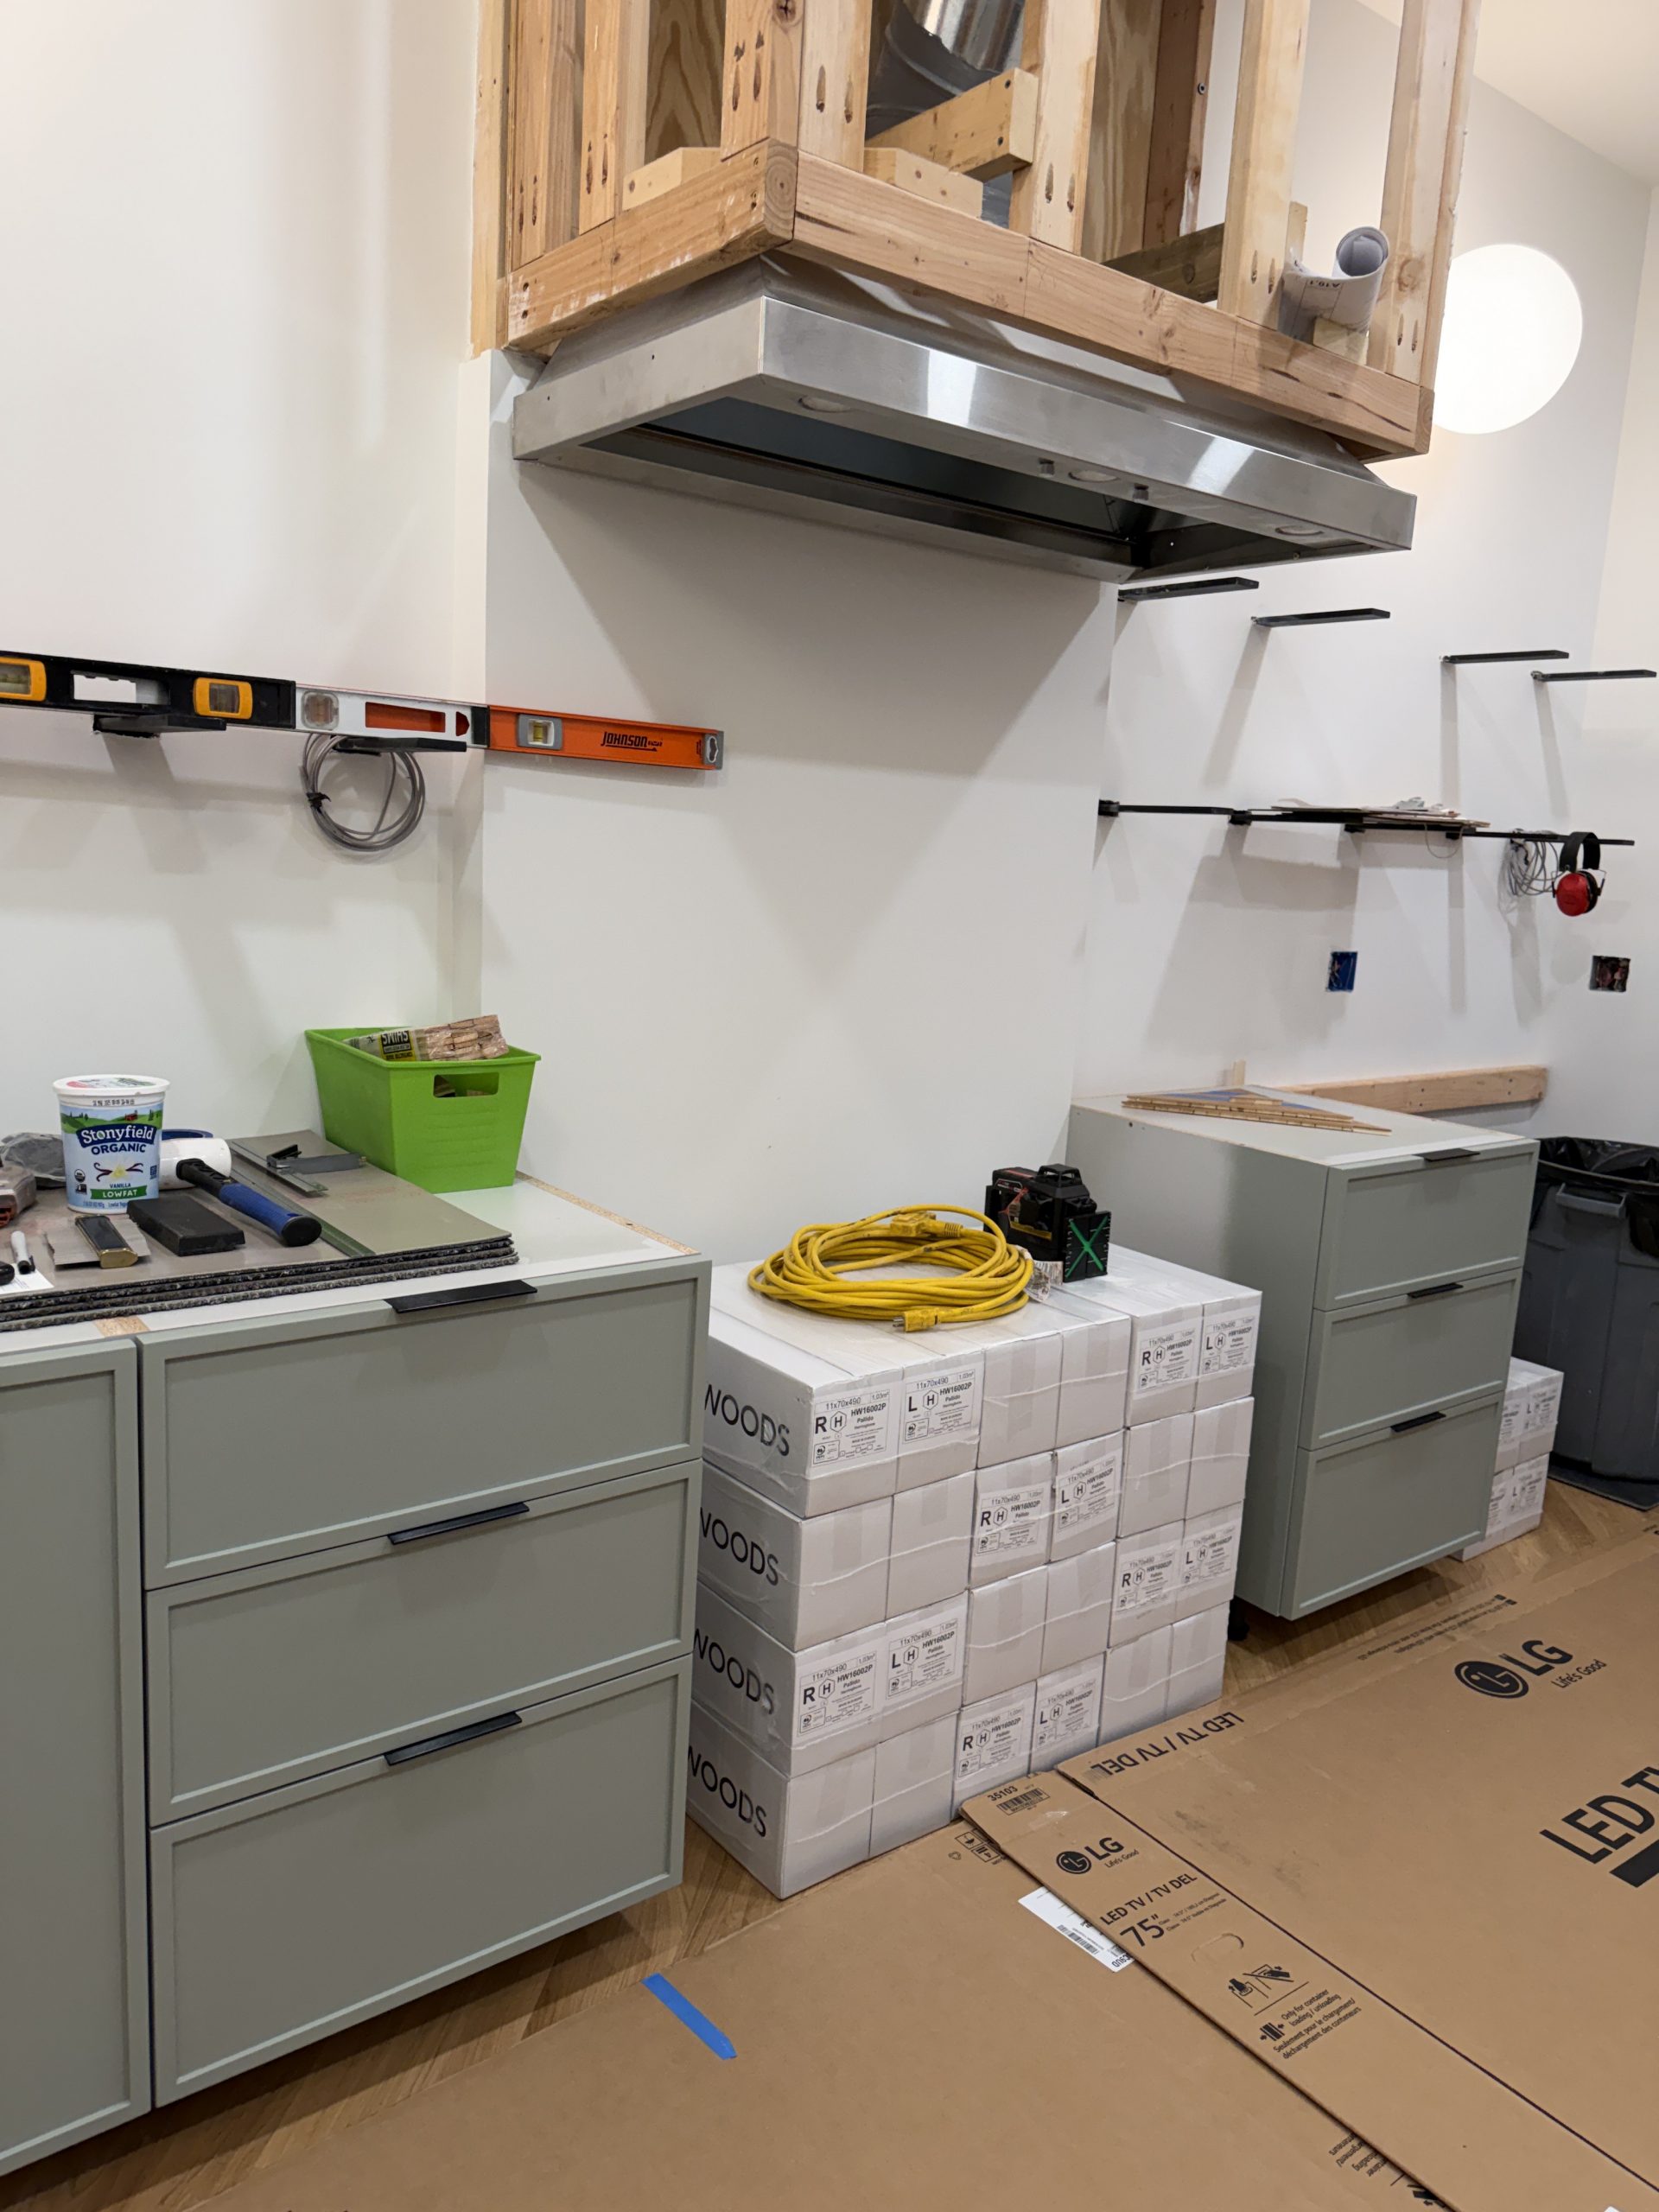
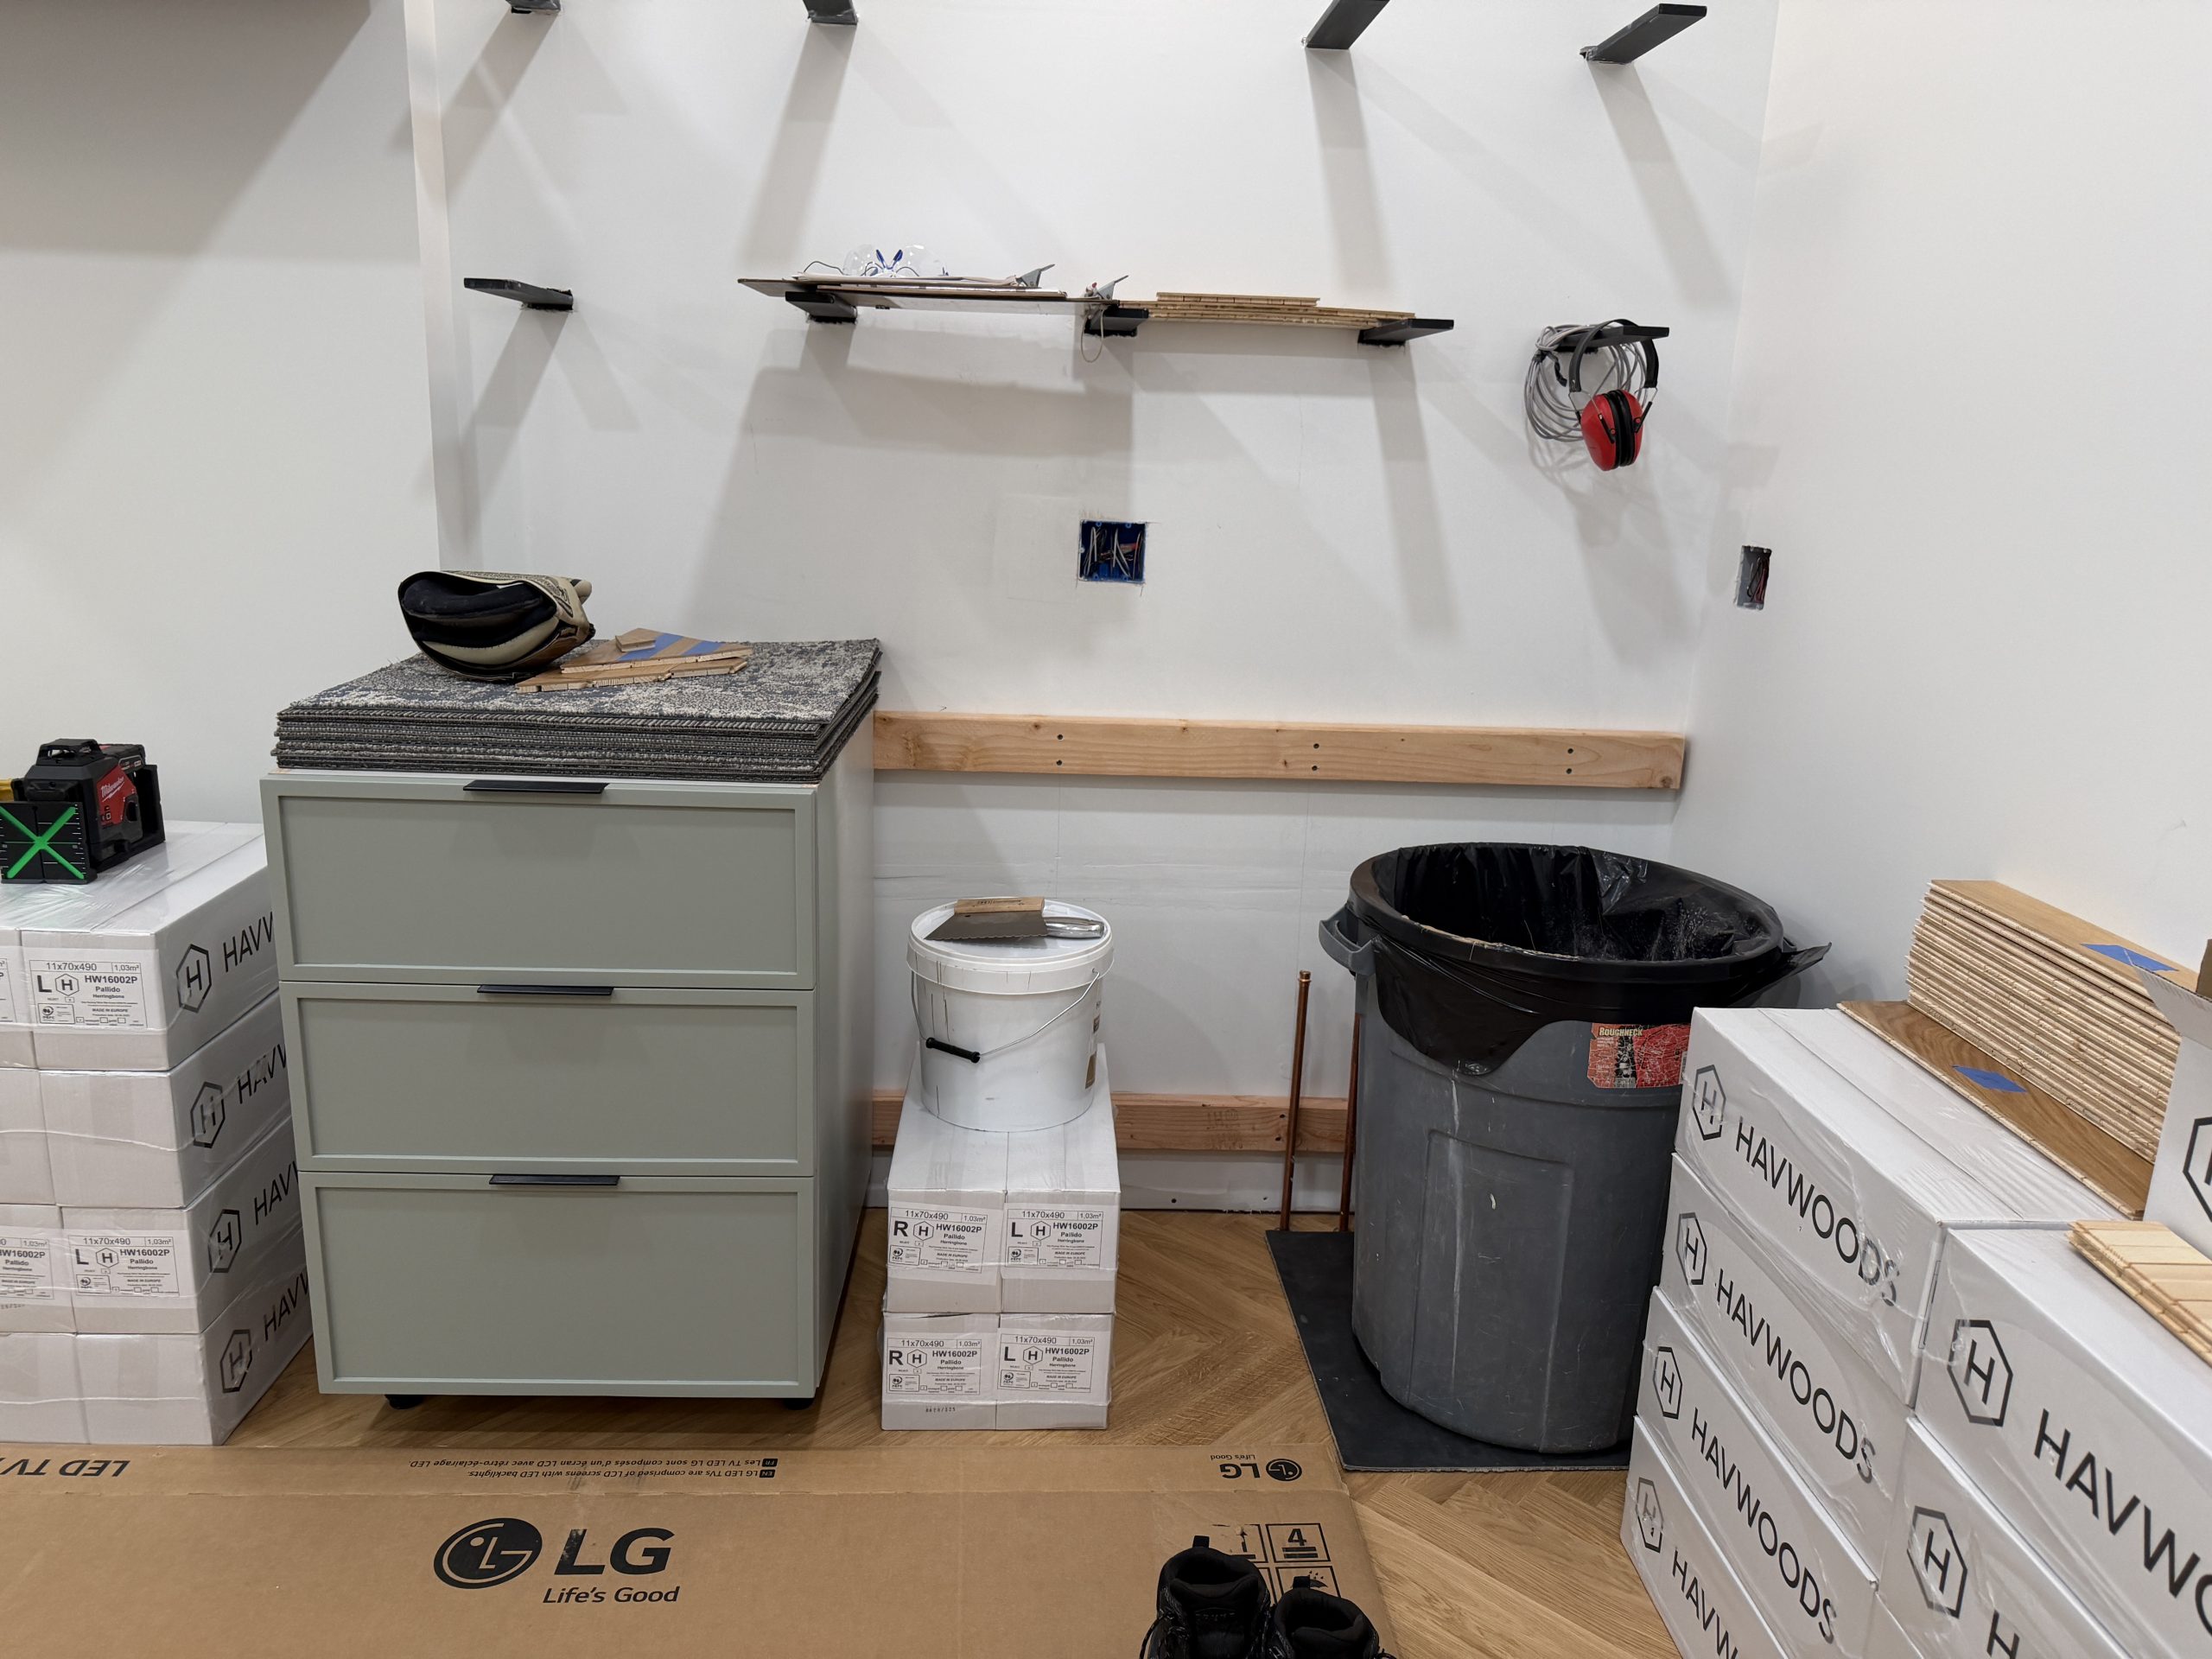
After that, installation for those first three cabinets was pretty easy. We inserted the legs into the receivers on the bottom of the cabinets, and adjusted them close to where we thought they should be. We set the cabinets in place and then reached under them to adjust the legs a hair up or down to get them perfectly level. We used our 3-way level to ensure everything was squared up at the range opening, and checked our measurements and plumb lines a million times. Then we screwed them into the spacers we had attached to the walls.
We have blocking inside the walls as well – in fact, we installed blocking for upper cabinets so if anyone down the road wanted to remove the open shelves and install uppers they could do so. But we also have spacers on the outside face of the west wall because our countertops are extra deep on the wall with the bump out so that the cabinets and range will be flush at the front. We had custom made cabinets that are 26″ deep (typical base cabinets are 24″ deep), so we taking advantage of the extra depth, but still needed spacers on this wall.
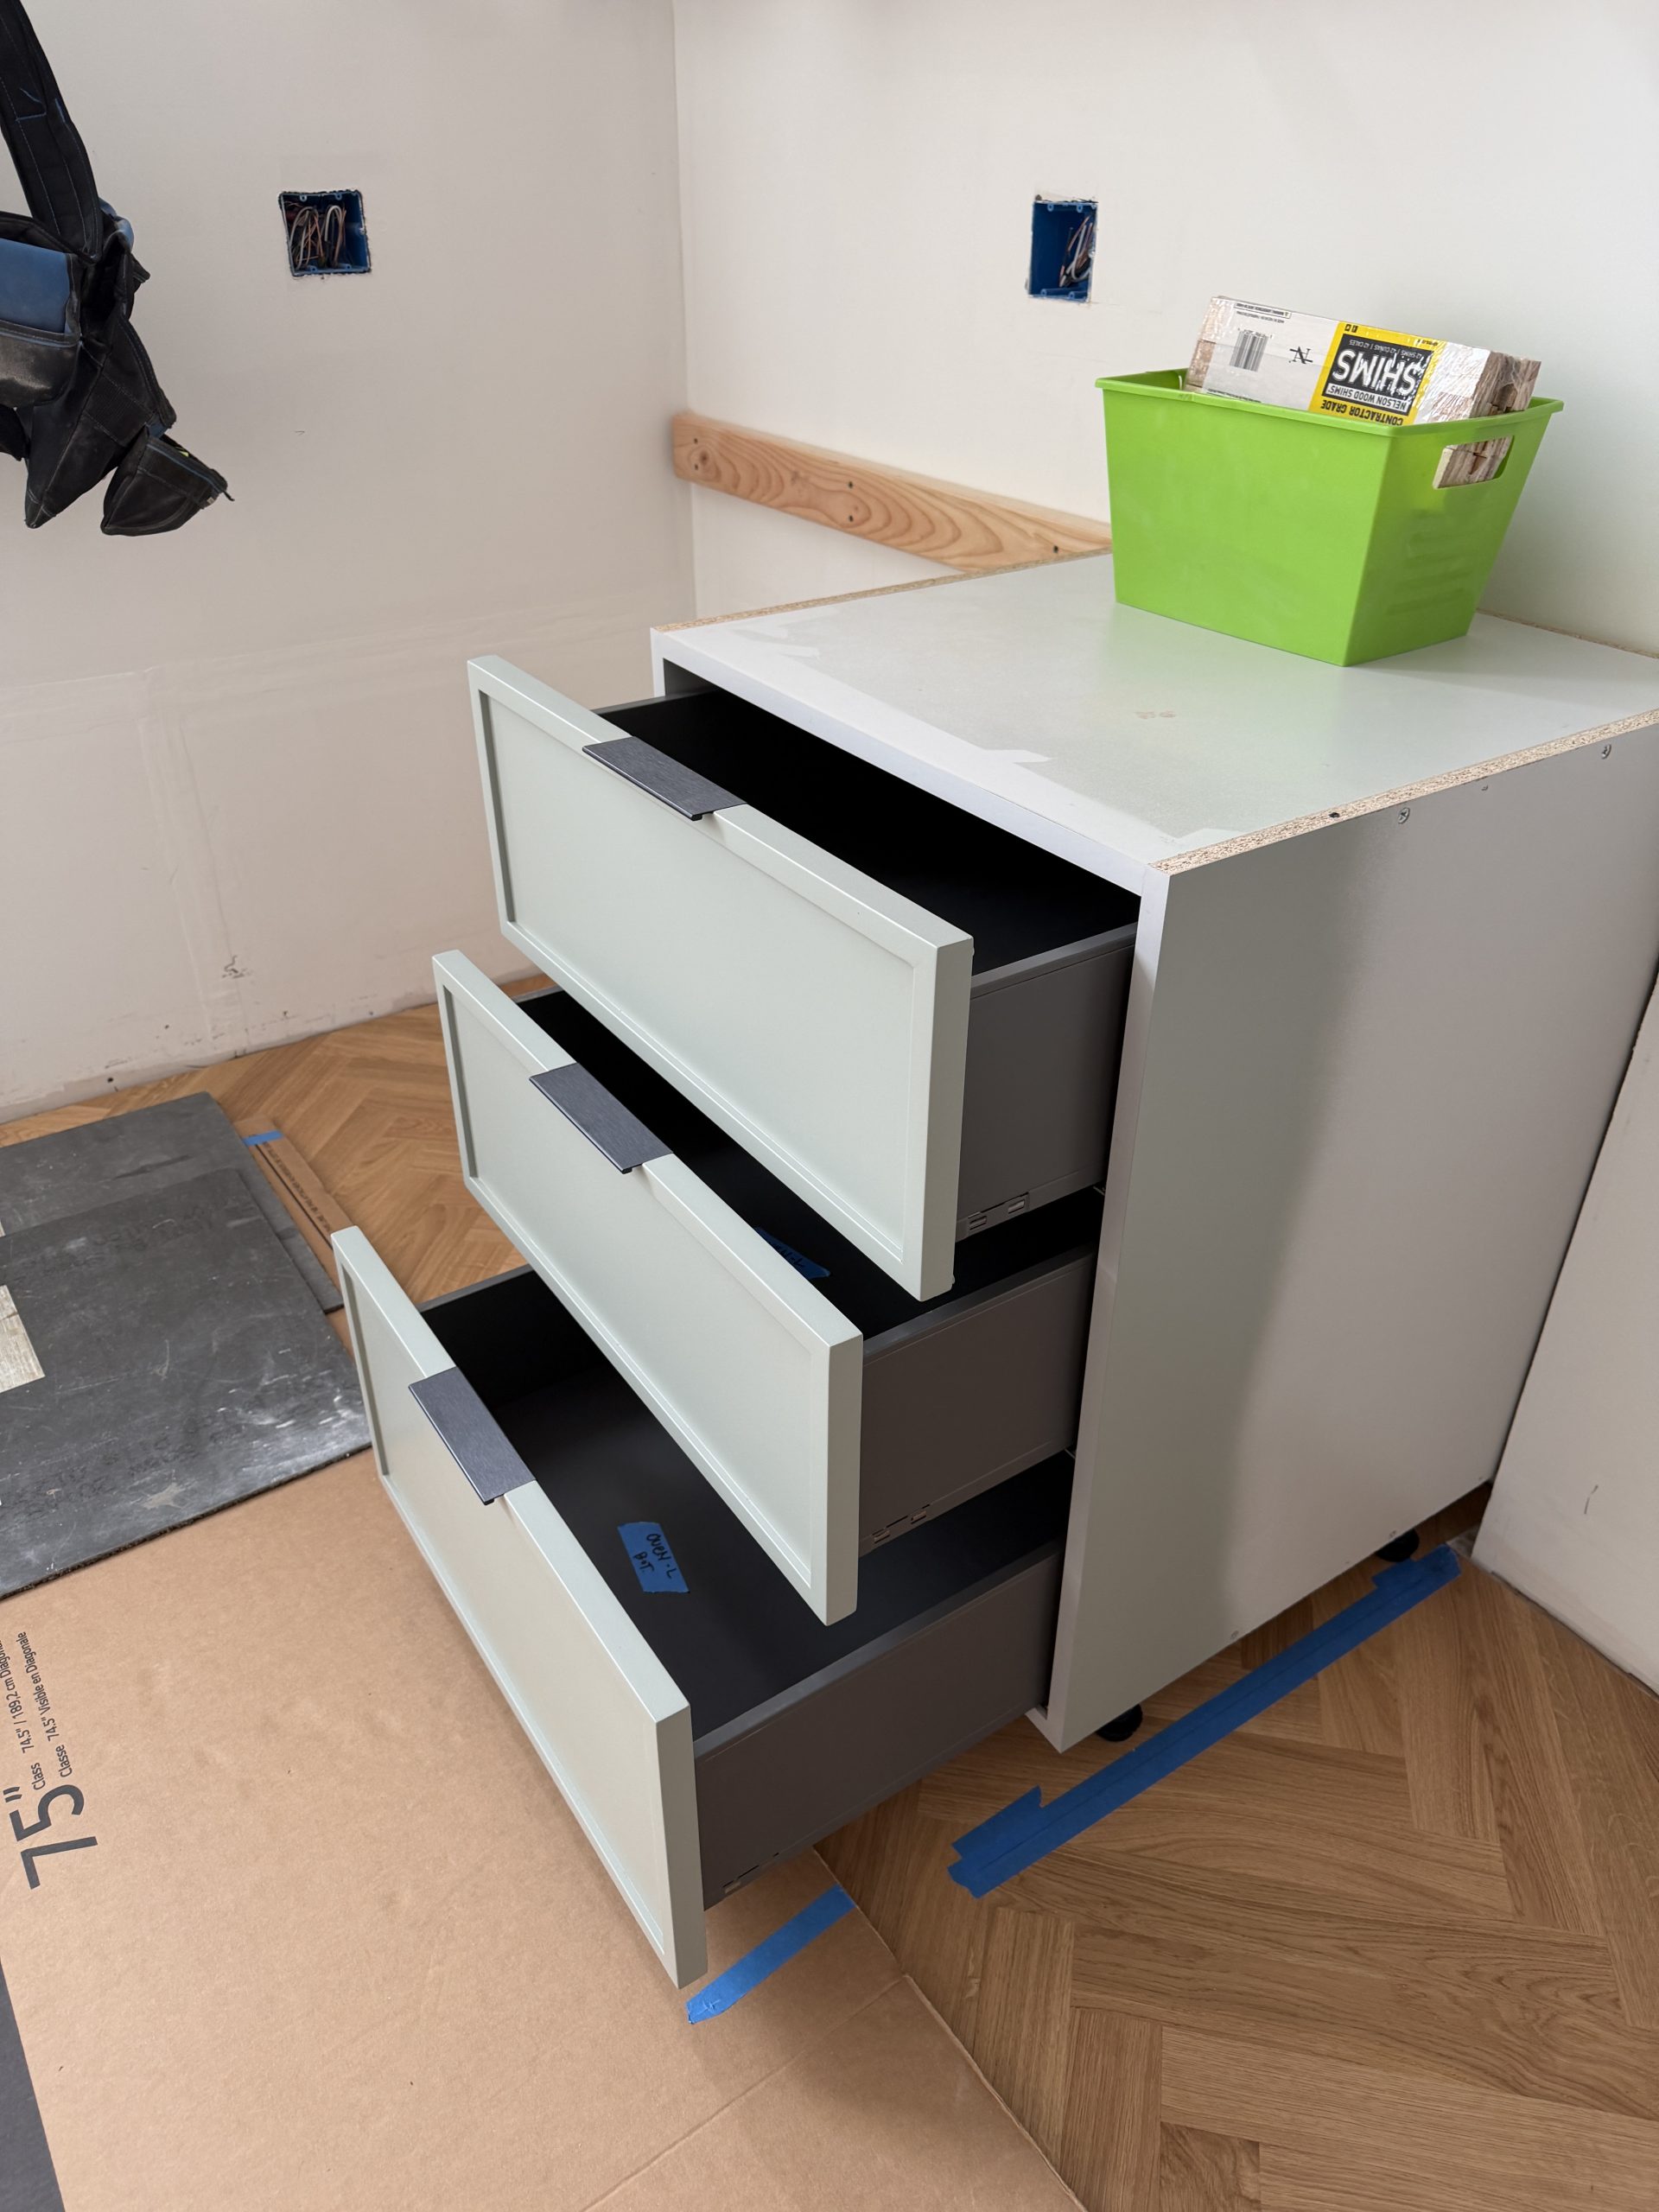
We installed three cabinets on Sunday during a massive snow storm, and then paused at that point to order special drill bits for the cabinets with plumbing. We have those in hand now, so we’ll spend this coming weekend installing most (or all) of the remaining boxes.
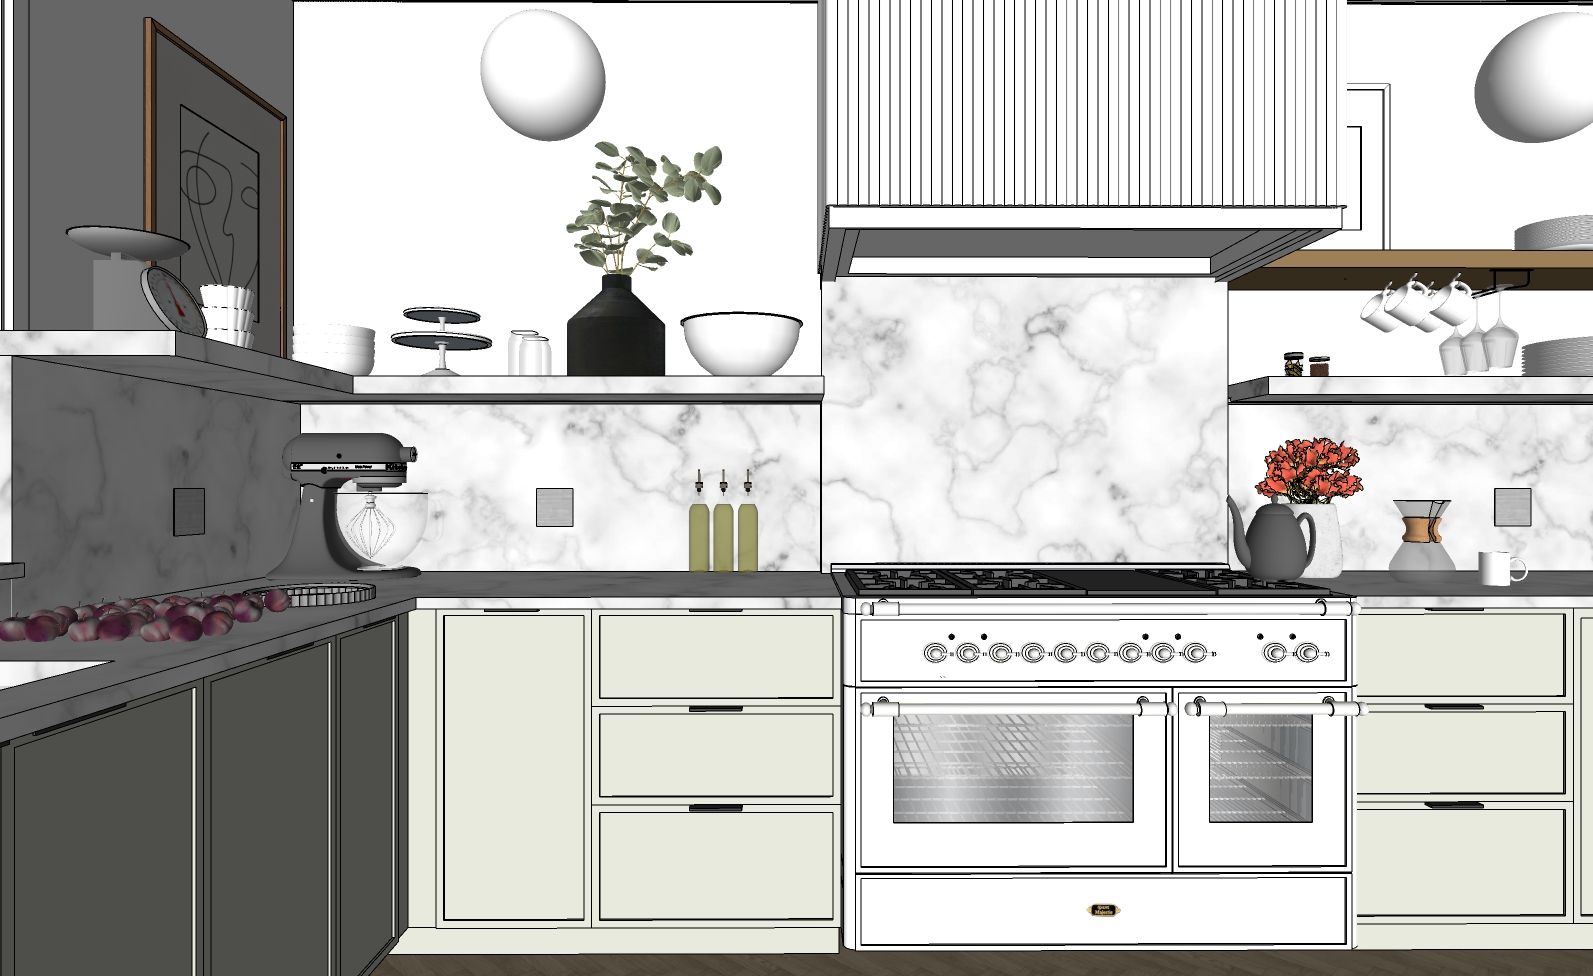
Here’s a Sketchup image of the three boxes we’ve installed – they look just like the model! The February recap will include a whole lot of process shots in the kitchen, and I’ll do a deeper dive into the cabinet design at that time. Welcome back to thirdstory(ies)! Let’s finish this thing, shall we?