

Phase One – May Madness topped March Madness
The month of May on this project was divided into two distinct halves.
B18 and A18.
“By May 18th” and “After May 18th”.
We had a very ambitious to-do list “By May 18th”, a date when an appraiser was scheduled to come to the house and review all of the work we had completed, a 30-page narrative of the full 25+ year scope of work, detailed list of all updates, and all sets of drawings for this project (permit drawings, carriage house package, interior detail drawings, landscape plans, etc.). He was there to assess the work completed, to describe the quality level of the design and finishes, and to review the drawings of the remaining work to be completed to get a pretty good picture of the overall value of everything.
“After May 18th” was just the exhale.
We were out of town the first weekend of May to visit with family and participate in the Sparkle Run – the yearly memorial run for our niece. This year at the race we were also honoring M’s brother who died unexpectedly late last fall. There were parts of the weekend that were really tough, but it’s always good to be together with family, to see E, and to have a couple of days when we don’t have to set a wakeup alarm, and also other people feed us!
Once we were back in town we started working around the clock to get things as finished looking as possible in the kitchen and pantry and to declutter and clean up the house in general.
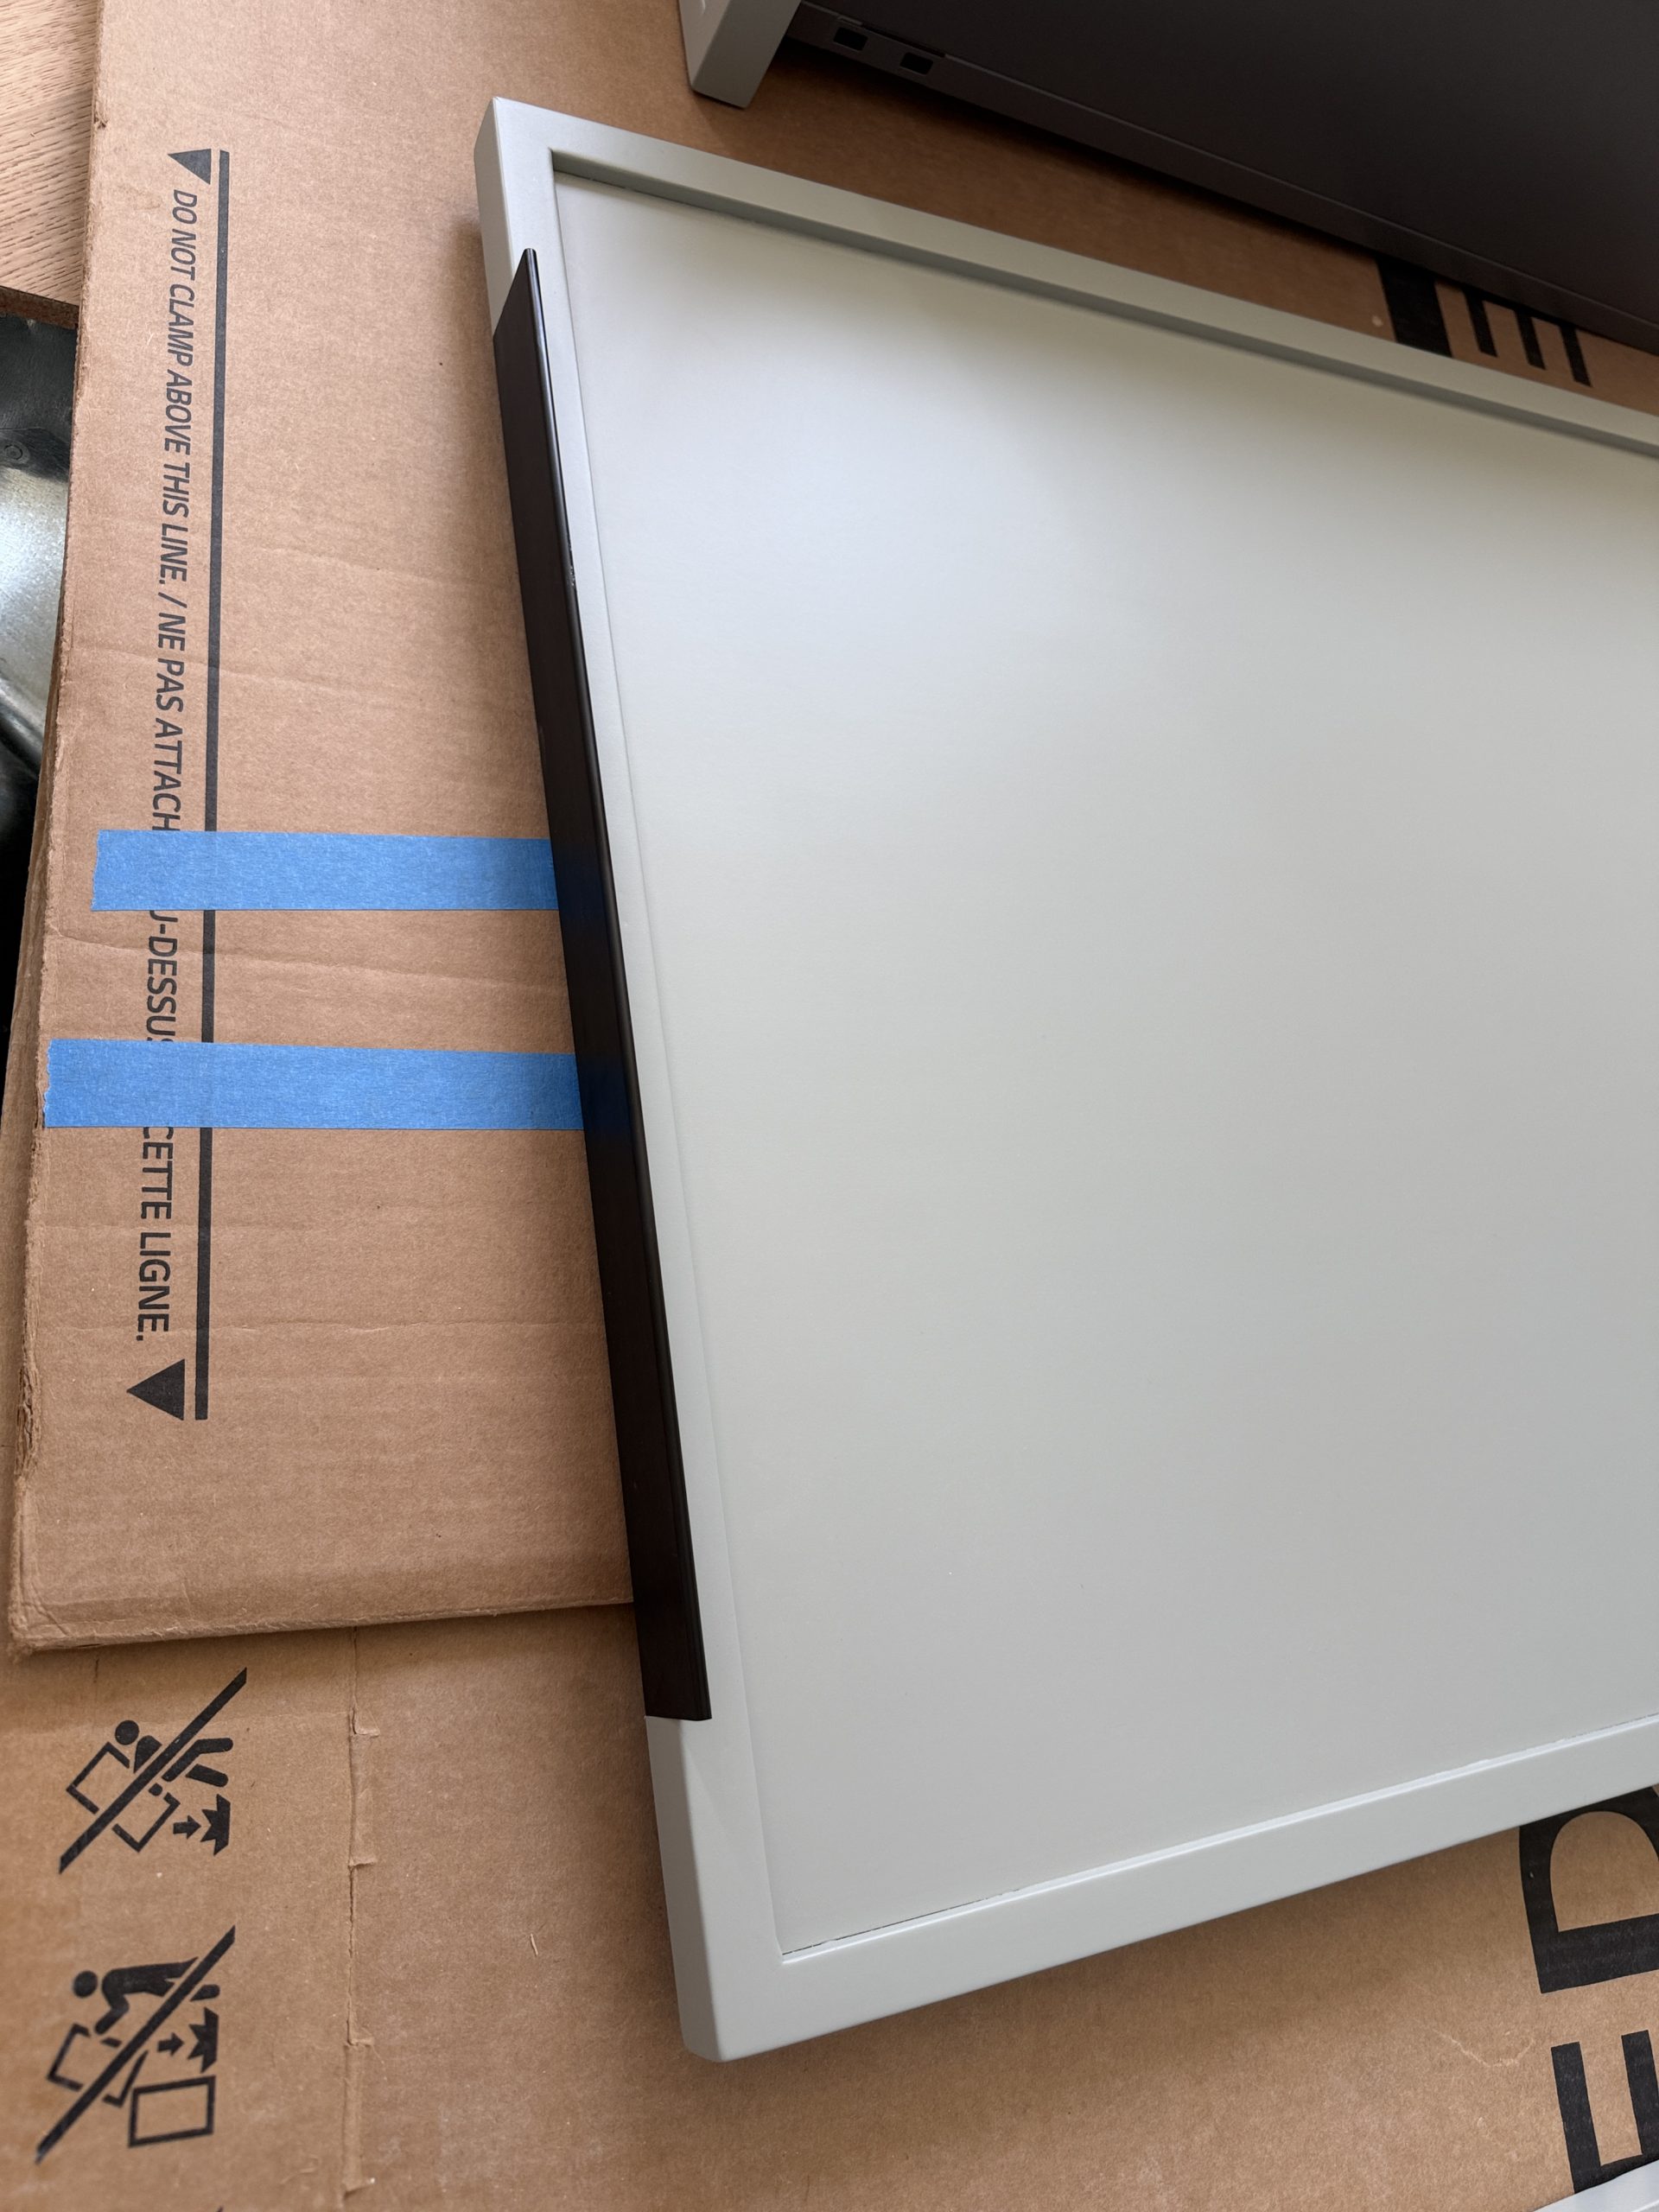
We pushed on our cabinet maker to complete as many of the punch list items as possible so that we could close up most of the cabinet boxes. The Friday before the big day, I ran over at lunch to pick everything up. Two modified drawers at the small sink base, the dishwasher panel with the newly installed hardware, and a couple of corner mockups for the hood surround. We also got the shorter drawer slides to miss the plumbing supply lines, and my backordered roll of cork finally arrived that day as well.


The sink drawer modifications worked out really nicely around the sink plumbing and disposal. The drawer area isn’t huge, but having drawers makes it much more usable storage. We can store some hand towels and cleaning items in the U-shaped drawer, and the bottom drawer is perfect for holding the sink accessories that aren’t in use (like a full sized cutting board that can fit over the sink). Plus it’s the one place where the rotisserie spit for the larger oven fits – the tall triangles on each end push in just perfectly around the plumbing items!


Having the cork arrive was a really big deal. Up until this point we hadn’t placed anything in the cabinets. The inside of the drawers are a dark gray metal – very nice looking and durable. The drawers are full extension, the cabinets are extra deep, and drawer slides are bottom mounted so the width of the drawers goes from edge to edge of the cabinet. There’s a lot of room in each one to store things, and we don’t want everything sliding around from front to back – particularly stacks of plates and bowls and pots and pans. There are plenty of custom inserts for Blum drawers to hold things in place, and even more options for drawer dividers and storage tools available – but those add up ($$$) very quickly, and we’re still easing into how we are using the space. As we slowly fit out the pantry and then the dining room casework and then we start unpacking the storage unit and maybe buying a few new things for the kitchen – we know we’re going to keep shifting items and I don’t want to buy things that we don’t actually need in the long run.
Enter cork! I wanted a protective surface that reduces slipping and sliding, provides protection to the drawer boxes, and was lighter in color than the dark gray so that it’s easier to see items in the drawers. There are plastic and vinyl options for grippy protective surfaces, but some of those are more like an open grid type material which doesn’t cover the full bottom of the drawer. Cork checked all the boxes, plus it’s a natural material which is a nice bonus. And I think it looks really sharp.
The next issue was finding it. Williams Sonoma and other kitchen supply places sell rolls of cork, but everything I was finding was a width that would work great for any standard drawer or cabinet box depth. But ours are all deeper, and I didn’t want a seam in the cork in every box. I finally found a wider roll (and lots of thickness options) in one long roll from a company based in Houston called WidgetCo. I ordered it in March, the backorder date shifted a few times, but it finally arrived on Friday the 15th which was great because that was the weekend we needed to shift everything from the temp kitchen to the real one.
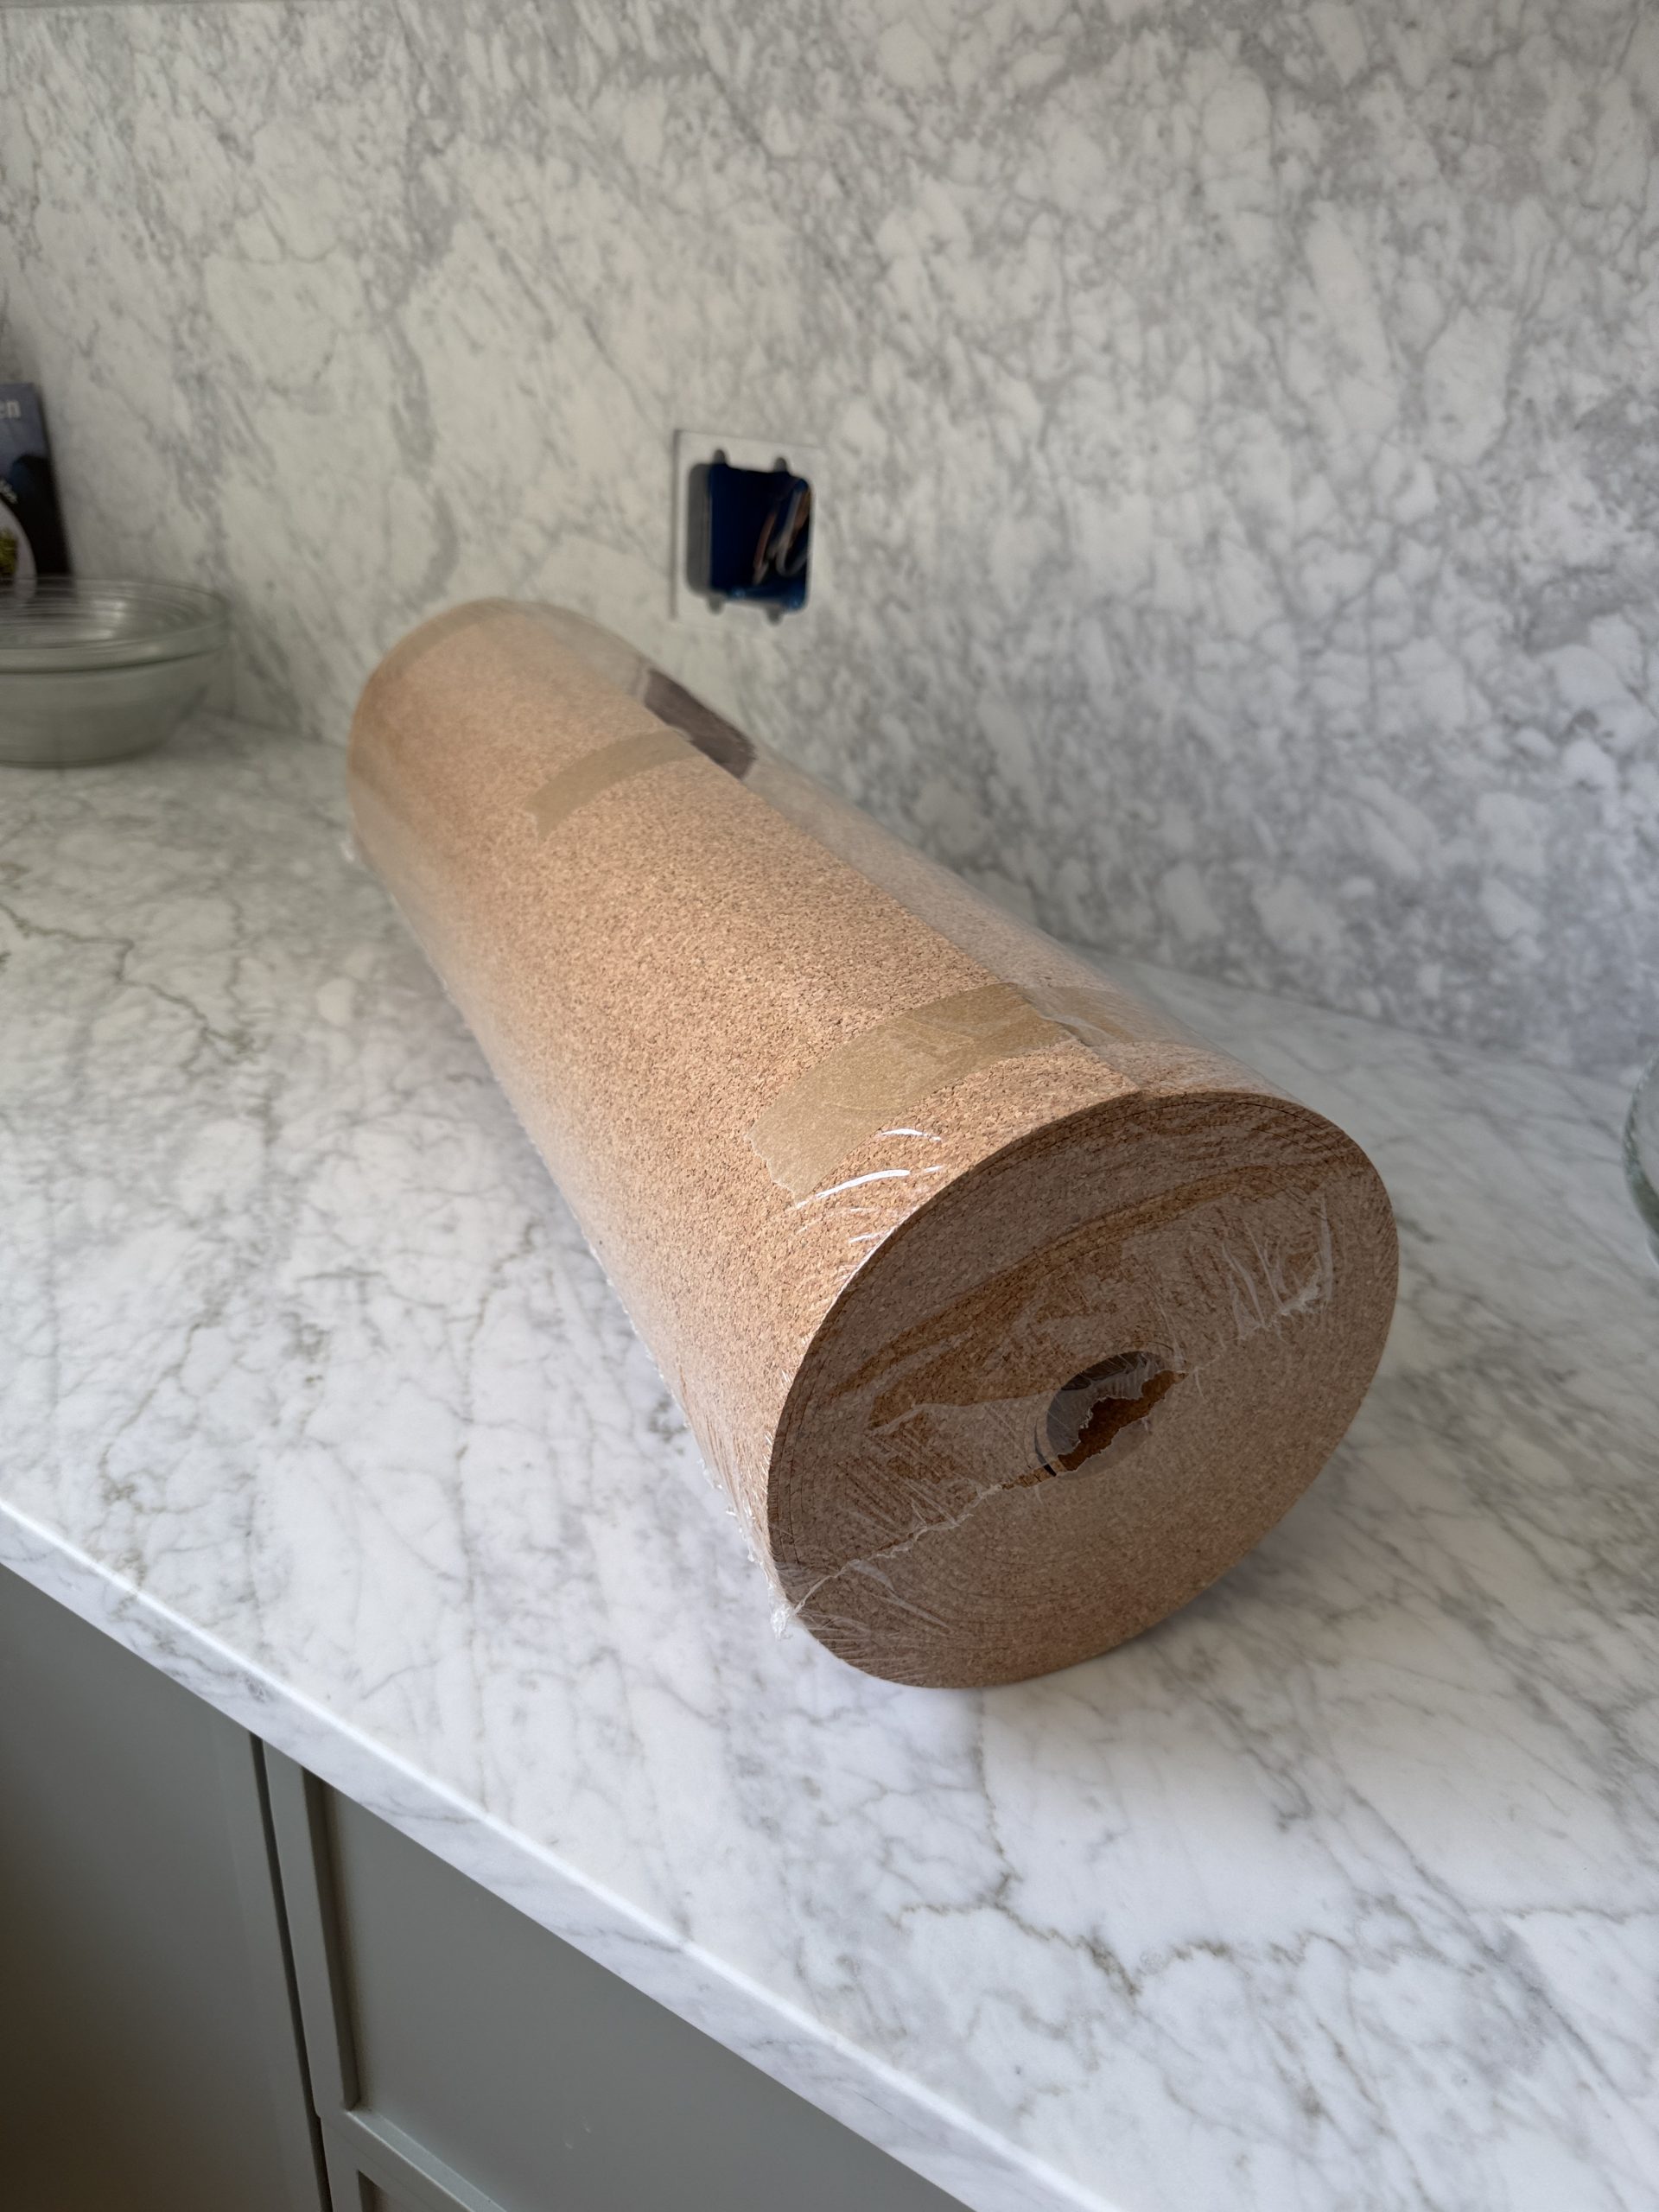


Measuring each box, laying it out perfectly square, and carefully cutting it took hours but I was thrilled with the results. As M continued laying floors in the pantry, I fit out the cabinets and started washing and sorting the temp kitchen items. We had done our best to keep things clean, but items on the shelves that we didn’t use often were still kind of grimy. With no ventilation, things that we cooked on the burner left a residue on things around it. (Side note: the biggest thing I’ve noticed in the new kitchen is just how remarkable a heavy duty ventilation system is for keeping everything clean. We have already cooked some high heat / high splatter factor dishes – and pancakes on the griddle! – and heat, steam, grease – the super fine particles – all of it is just removed like magic. That slightly sticky residue buildup in our old kitchen drove us bananas.)


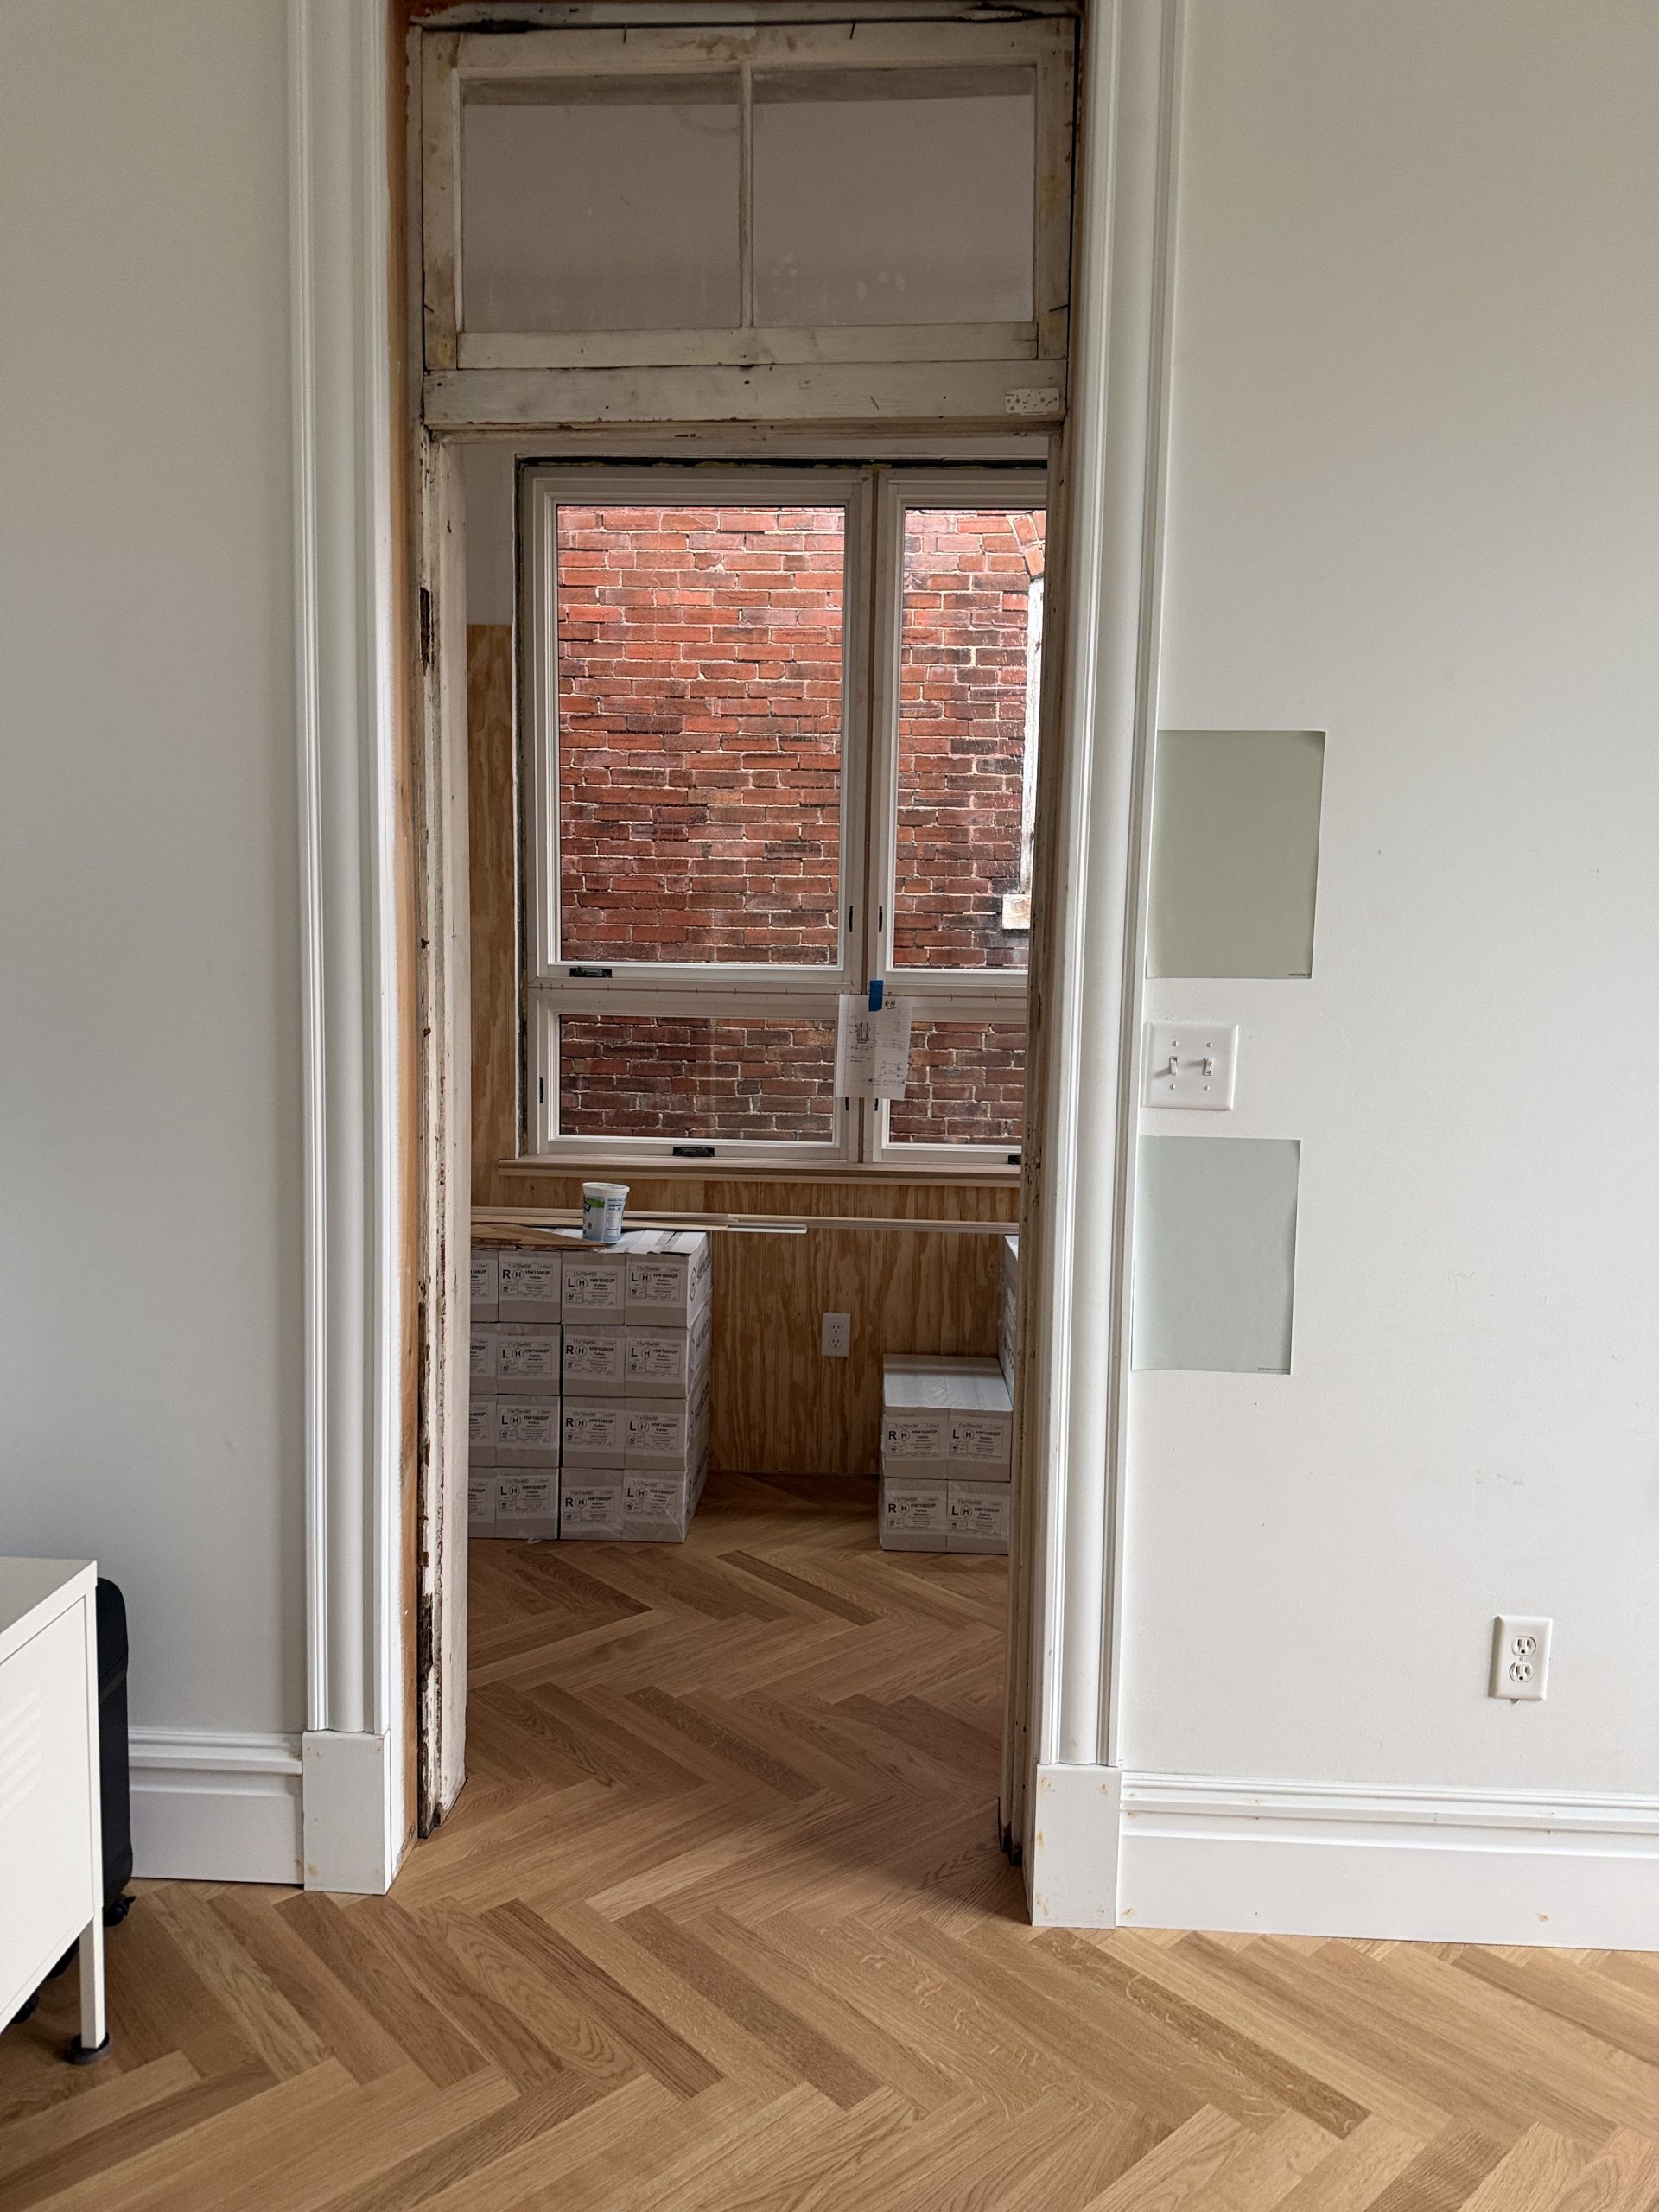
A big goal I had before the 18th was to get that shelving unit out of the dining room and into the pantry. Even if it was empty, it was just visual clutter that blocked the new opening to the kitchen and the view of the new windows beyond. I took the two large tubs that stored our food items, and started putting accumulated clutter into grocery bags to sort for recycling, donation or trash, and moved a lot of extra things we want to keep but don’t have space for yet into the trunk of my car. We moved the shelves and the trash / recycling into the pantry and deep cleaned everything. It was starting to feel like a real kitchen!


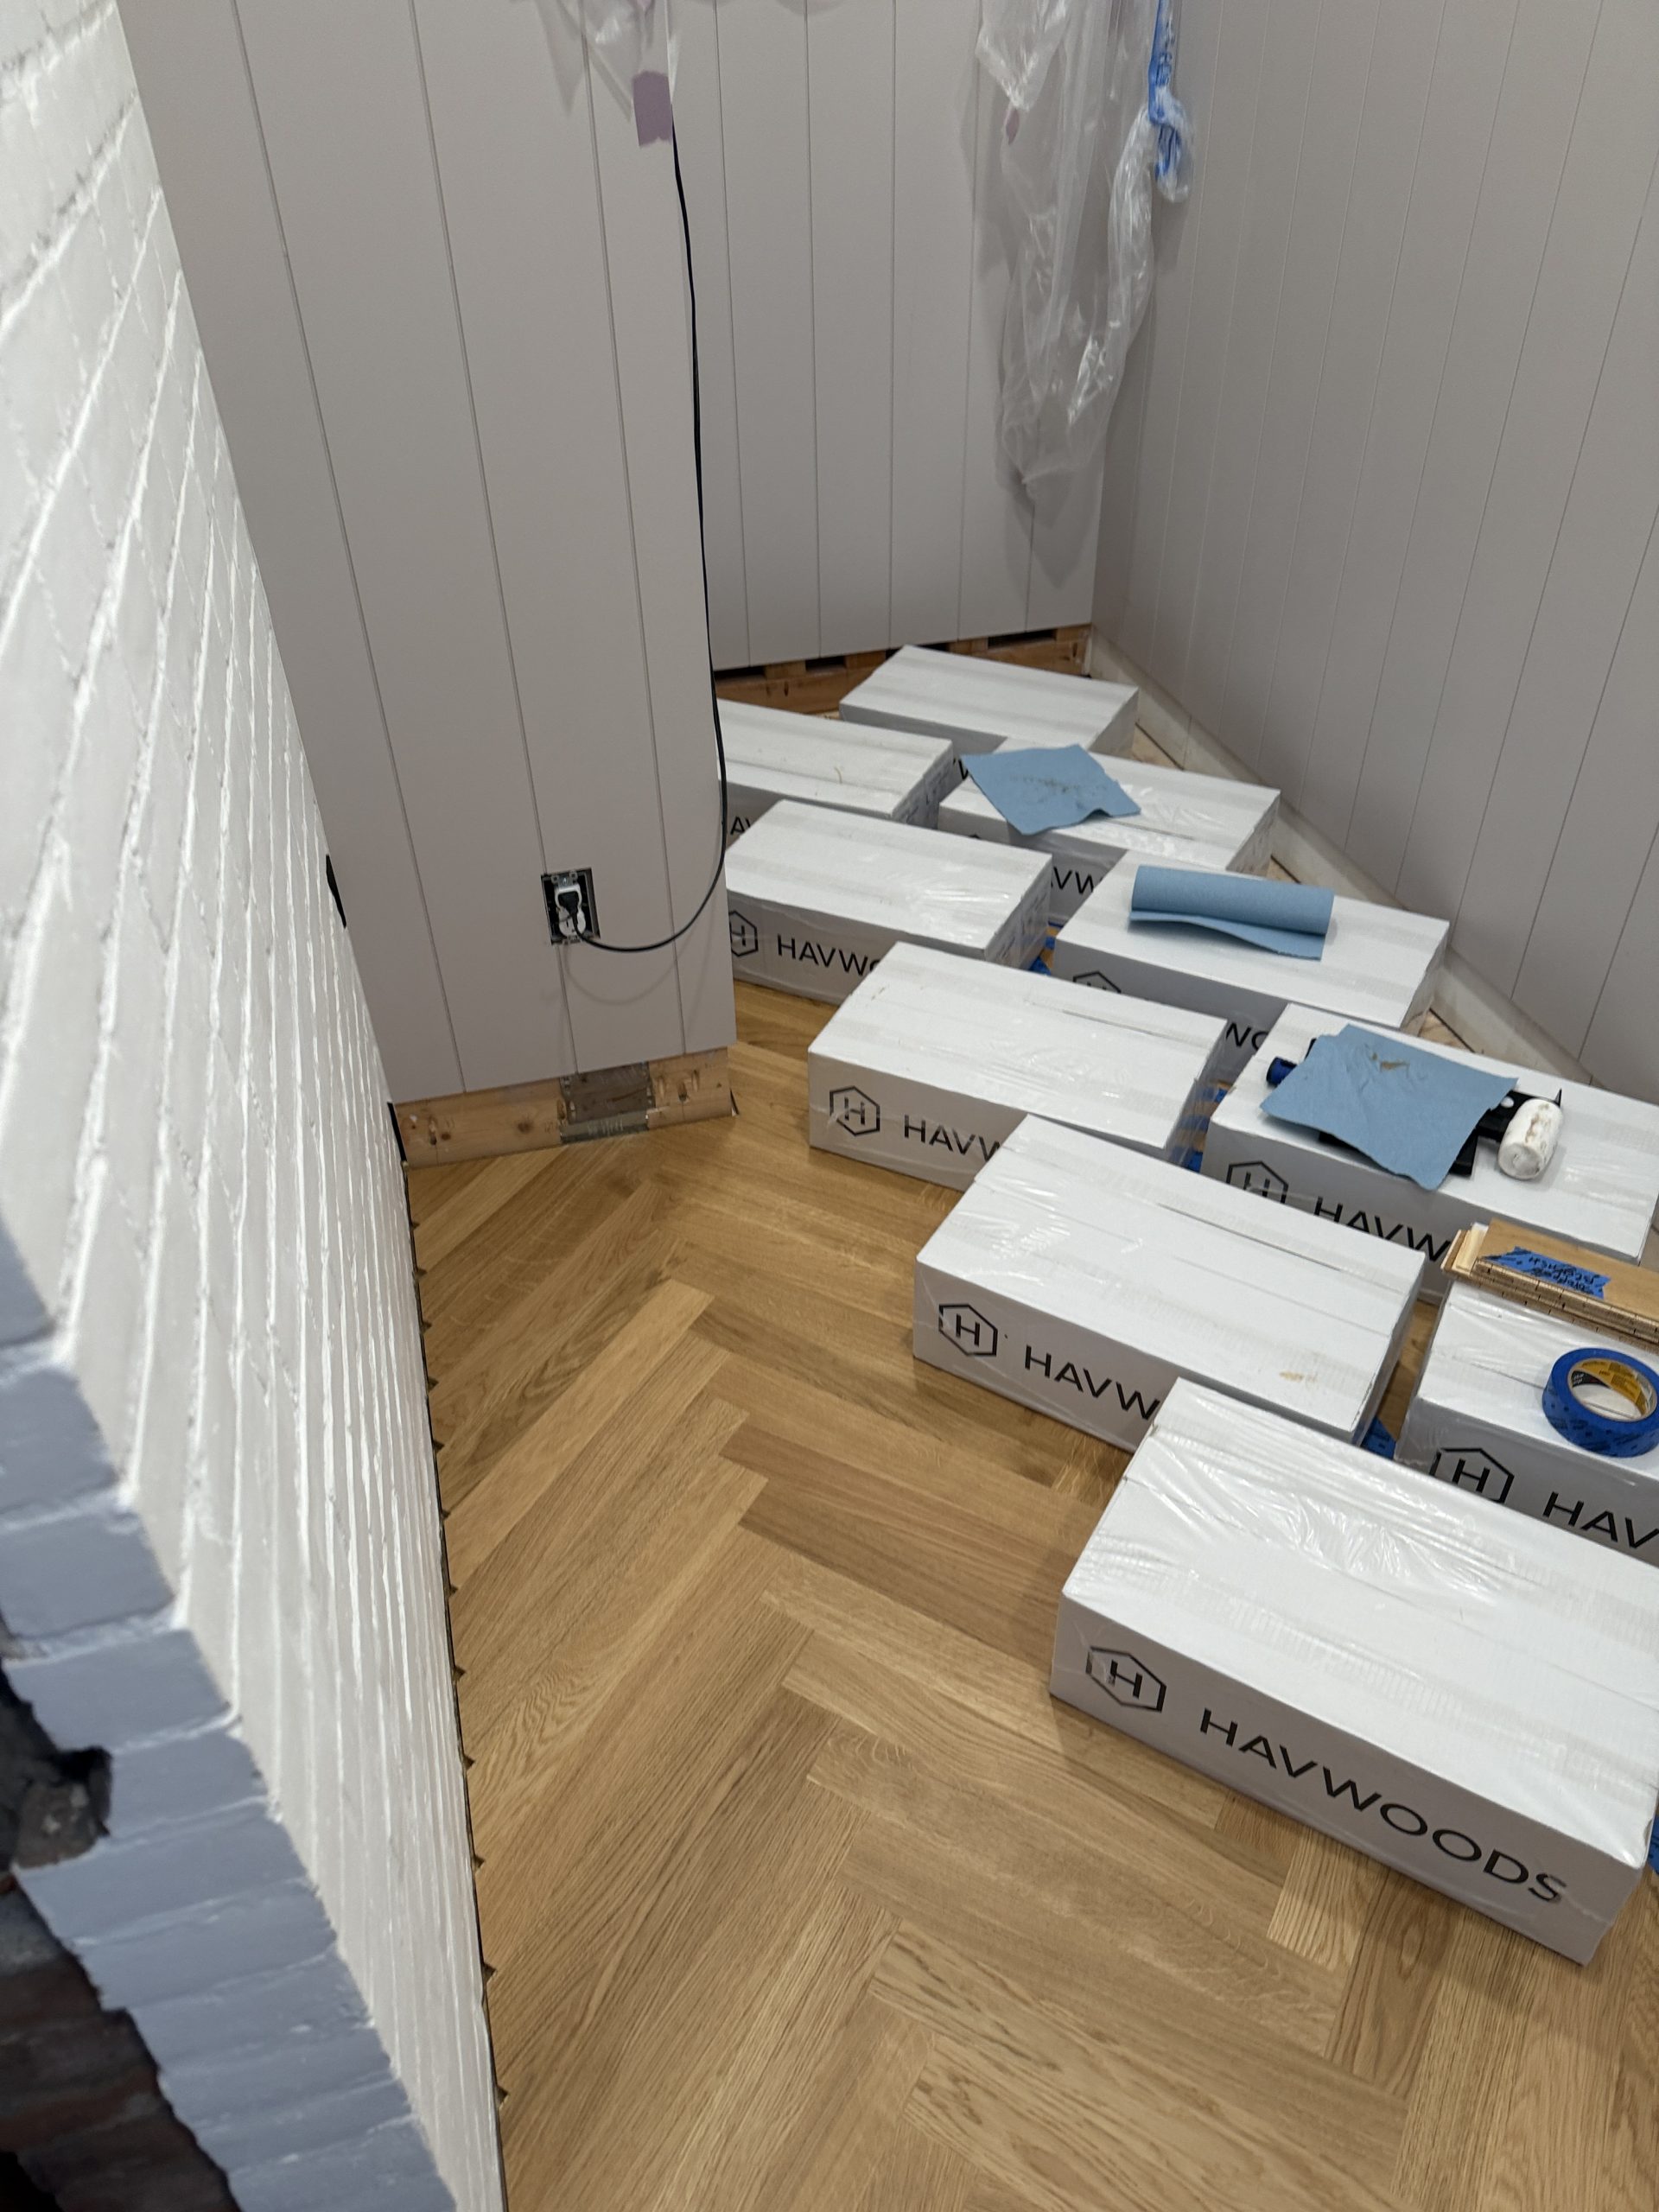
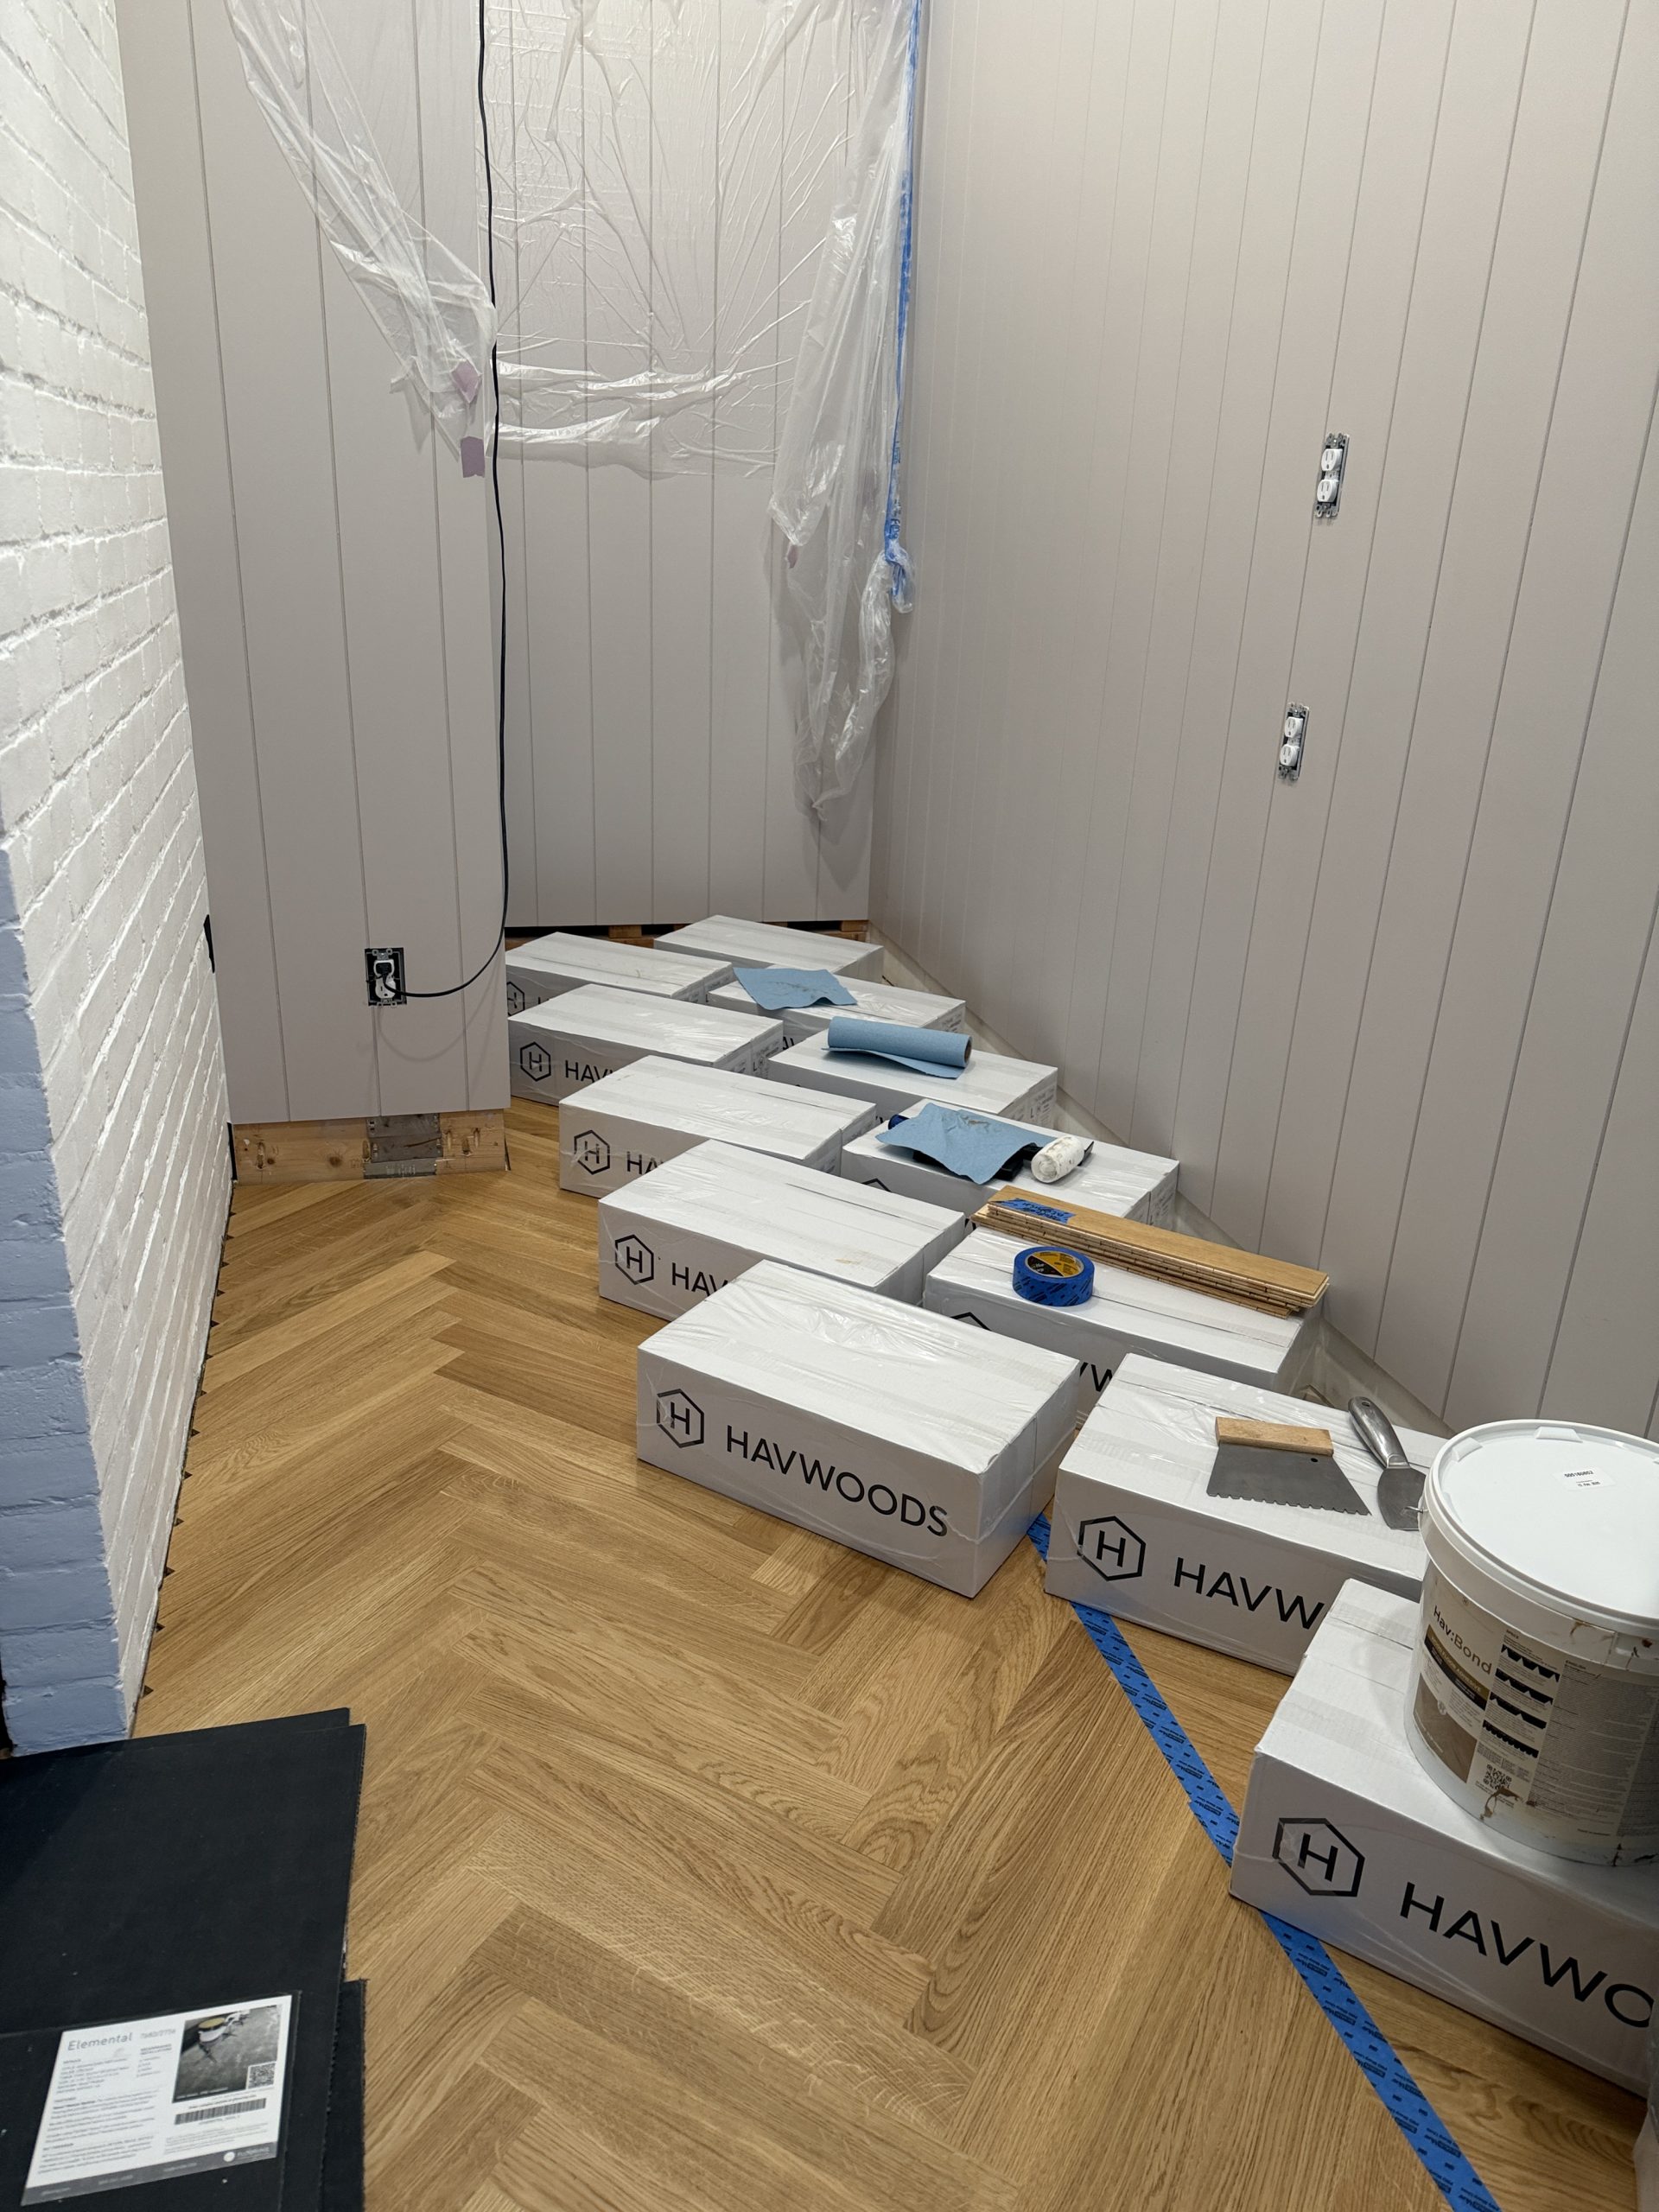


Back to that flooring progress. Once M got through the doorway (always a challenge when moving perpendicular from the direction of the ‘V’), he made quick progress in the room. The more flooring he installed, the happier we were with the color choice for the wainscoting. This room has exposed brick walls like the addition upstairs, and our goal was to scribe the flooring to the wall rather than installing a base or quarter round to cover a gap. That means that we have the task ahead for us to cut a dozen or so teeny triangles to glue into place. But it’s all looking fantastic.
I took a few shots the morning of the 18th just to document where we are at this point in the first phase of this project.


After the 18th we had a long holiday weekend where we had a nice balance of time with friends, family time, and a reasonable project to-do list. And did I mention girls soccer?!? I don’t know how we actually got anything done around that schedule! We were so sleep deprived from the first half of the month that it has taken the last half of the month to (sort of) catch up. There are other project items outside of hammer swinging that are requiring a lot of time and paperwork as well, so maybe June or July’s updates can cover those.
Our electrician returned to install the long awaited GFI outlets in the backsplash. We were trying to use a warm gray that complimented the steel cover plates, but they took forever to come in. The cover plates are kind of a nightmare – they have a back piece that we wanted recessed in the stone, but the margin between the edge of the black plastic and the edge of the steel plate is so small that it was nearly impossible to mill the stone perfectly so that the plate sits flush but there’s no gap showing on any side. We had them err on the side of caution, and I’ve been slowly sanding the edges of the plastic to sort of whittle away at the edges and sit flush. It makes me very annoyed that it’s so fussy, but once they are installed flush I get a little nicer to be around. They also have these fussy covers that go over the screws which are also not a lot of fun to get perfectly aligned. I’ve done two of the five, so we’ll see if I complete this task in June.


The final weekend in May had some detail trim work in the pantry, and our custom jambs for the opening from the kitchen to the pantry were made. Closing up the walls here is really going to make the room feel finished.


My mom recently took part in the opening celebration for a 50-year-old time capsule that was buried at the elementary school where she taught fourth grade. That had me thinking that this might be a great opportunity to slide a time capsule of sorts into this wall for a future homeowner to possibly discover one day. I’ve been thinking about what that might contain, and I’ll write more about that soon.
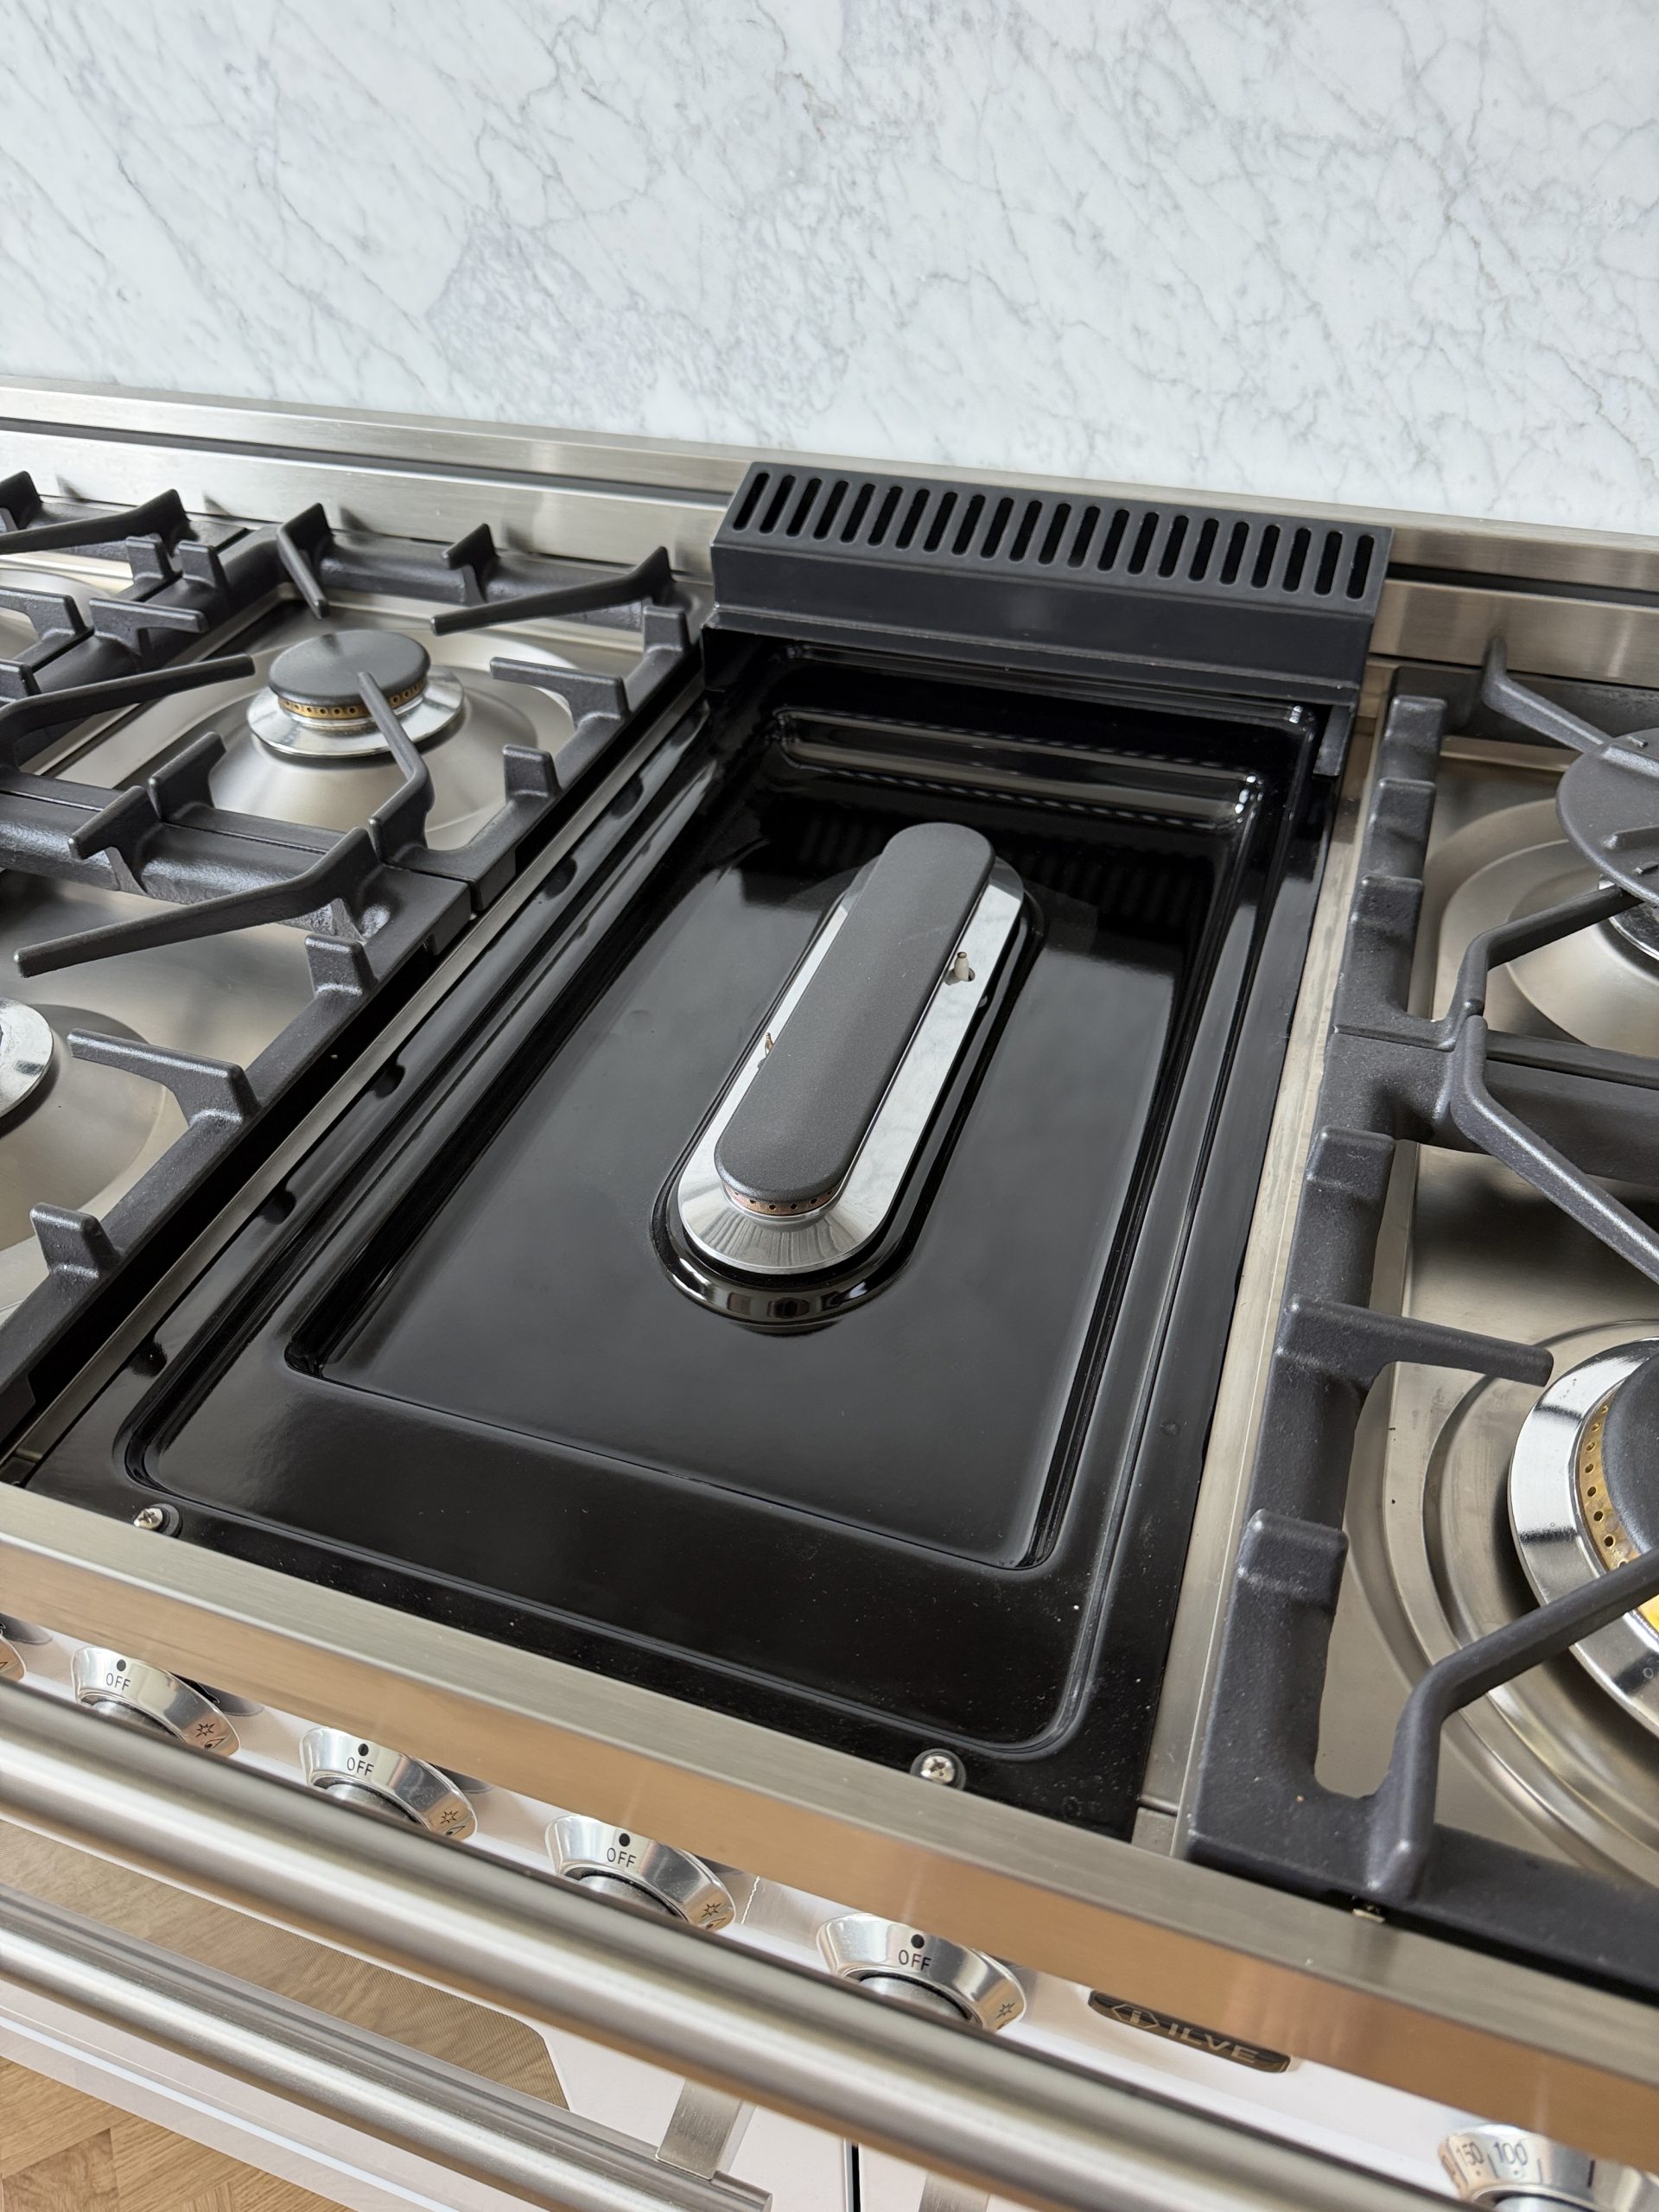
One thing I know for certain is that we are all thoroughly enjoying the new kitchen. I aim to try one new thing a day – to test out another oven setting (there are 14 total), or a new accessory, or a recipe that was too ambitious for the old kitchen. It’s a joyful space, and I detail it at the end of the day like the fancy sports car that she is.
Also, having a dishwasher after seven plus years without one – GAME. CHANGER.


Cheers to surviving May and all of the ups and downs that came with it. And cheers to June with some restorative work for our minds and bodies.
Amazing! How did the appraisal go? I am sure they were so impressed with everything! The floors are so beautiful! And the stone!!