


Sometimes when I know I’m going to spend a lot of time riding in a car I bring a project along. Usually it’s Thanksgiving time and I’m addressing envelopes for holiday cards, but for our summer vacation I had plans to make a lap full of paper flowers. I got the supplies together and then promptly forgot them – but at least I remembered to bring the gumball machine invitations to drop in the mail (we were waiting on last minute confirmation that our party time wasn’t going to conflict with the season’s new soccer schedule). So when we got back last weekend I decided to start this project. I made about forty of the flowers, and my original idea was to string them together and hang them as a loose garland over F’s bed. But then I worried about how top heavy they were, and thought they might all hang downward instead of outward. So the next night I decided to just start attaching them to the wall in a free form manner.

Hmmm, okay, but still not exactly what I was going for.

I’ve changed them up to make a simple wreath, and I’m thinking I like the simplicity – and the symmetry – of this.

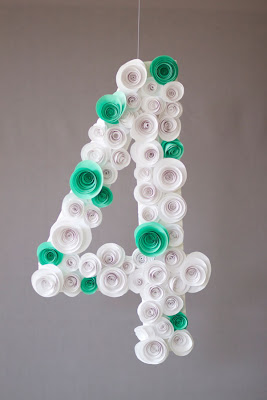
Yesterday I laughed when I saw this “4” with paper flowers on Oh Happy Day – because I’m quite sure, if given the choice, F would choose to have a giant four over her bed, or a giant “F”.

I love the wreath. How did you attach the flowers to the wall?
I used Museum Putty – it’s my favorite thing ever. I get it at ArtMart, and I use it on everything – every frame hanging on my wall has it in the corners because it keeps everything perfectly level. I also use it under anything that is breakable and sitting on a shelf – piggy banks and the like, just as added insurance from an errant toy getting thrown around.
That’s also what I used on most of the items on F’s desk wall. It doesn’t slip over time if the object it’s holding up is light.